Foundations may not seem like the sexiest of topics but watching one get made will give you a whole new appreciation for what's under the covers of your house. Our crew spent the last couple of weeks constructing our pretty little raised perimeter foundation. I tried to capture the process in photos, as it is quite an impressive production. Several of our neighbors even stopped by to comment on the progress and how quickly everything's moving along.
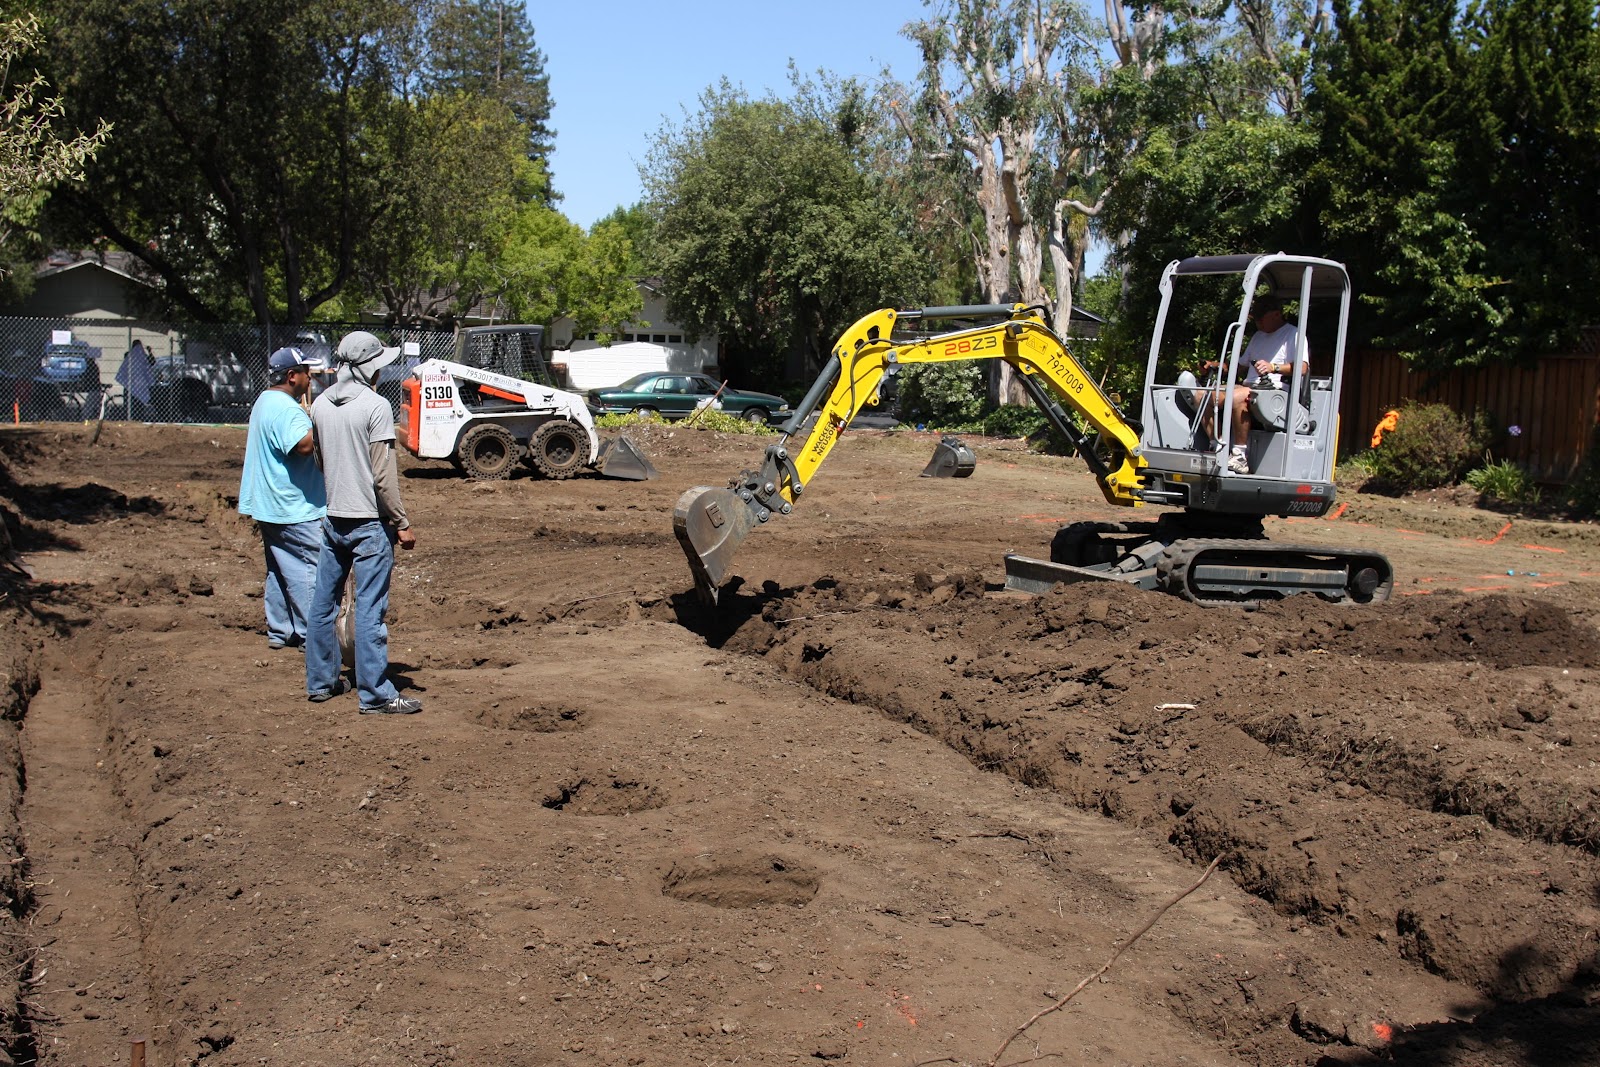
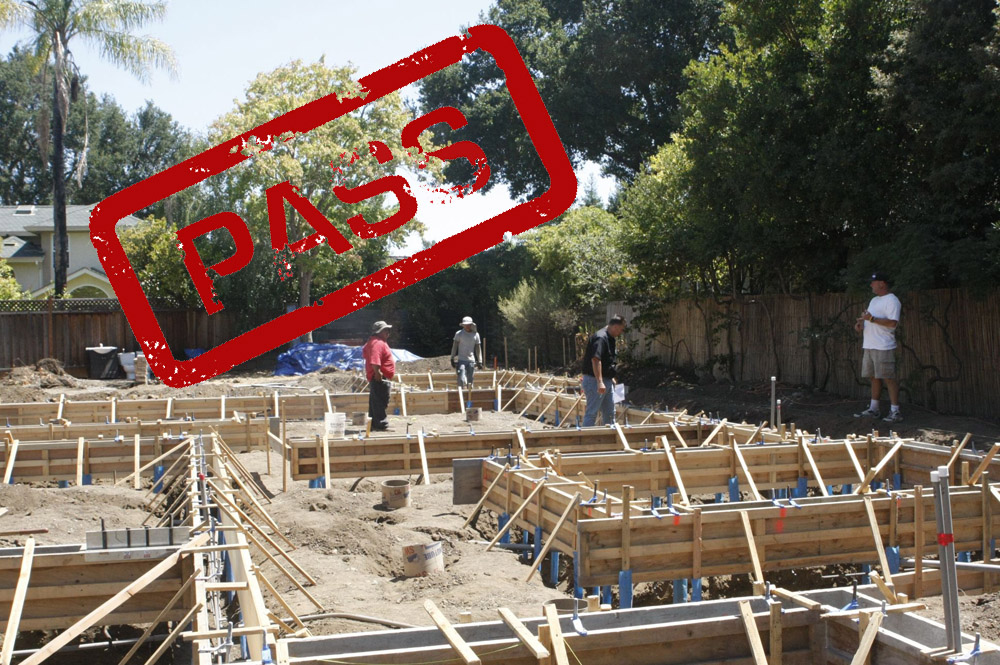
Before construction begins the city requires a licensed surveyor to layout exactly where the house should be and ensure it's not encroaching on the setbacks. Stakes are placed to mark the corners of the house and string runs between them giving a visual outline of the perimeter walls.
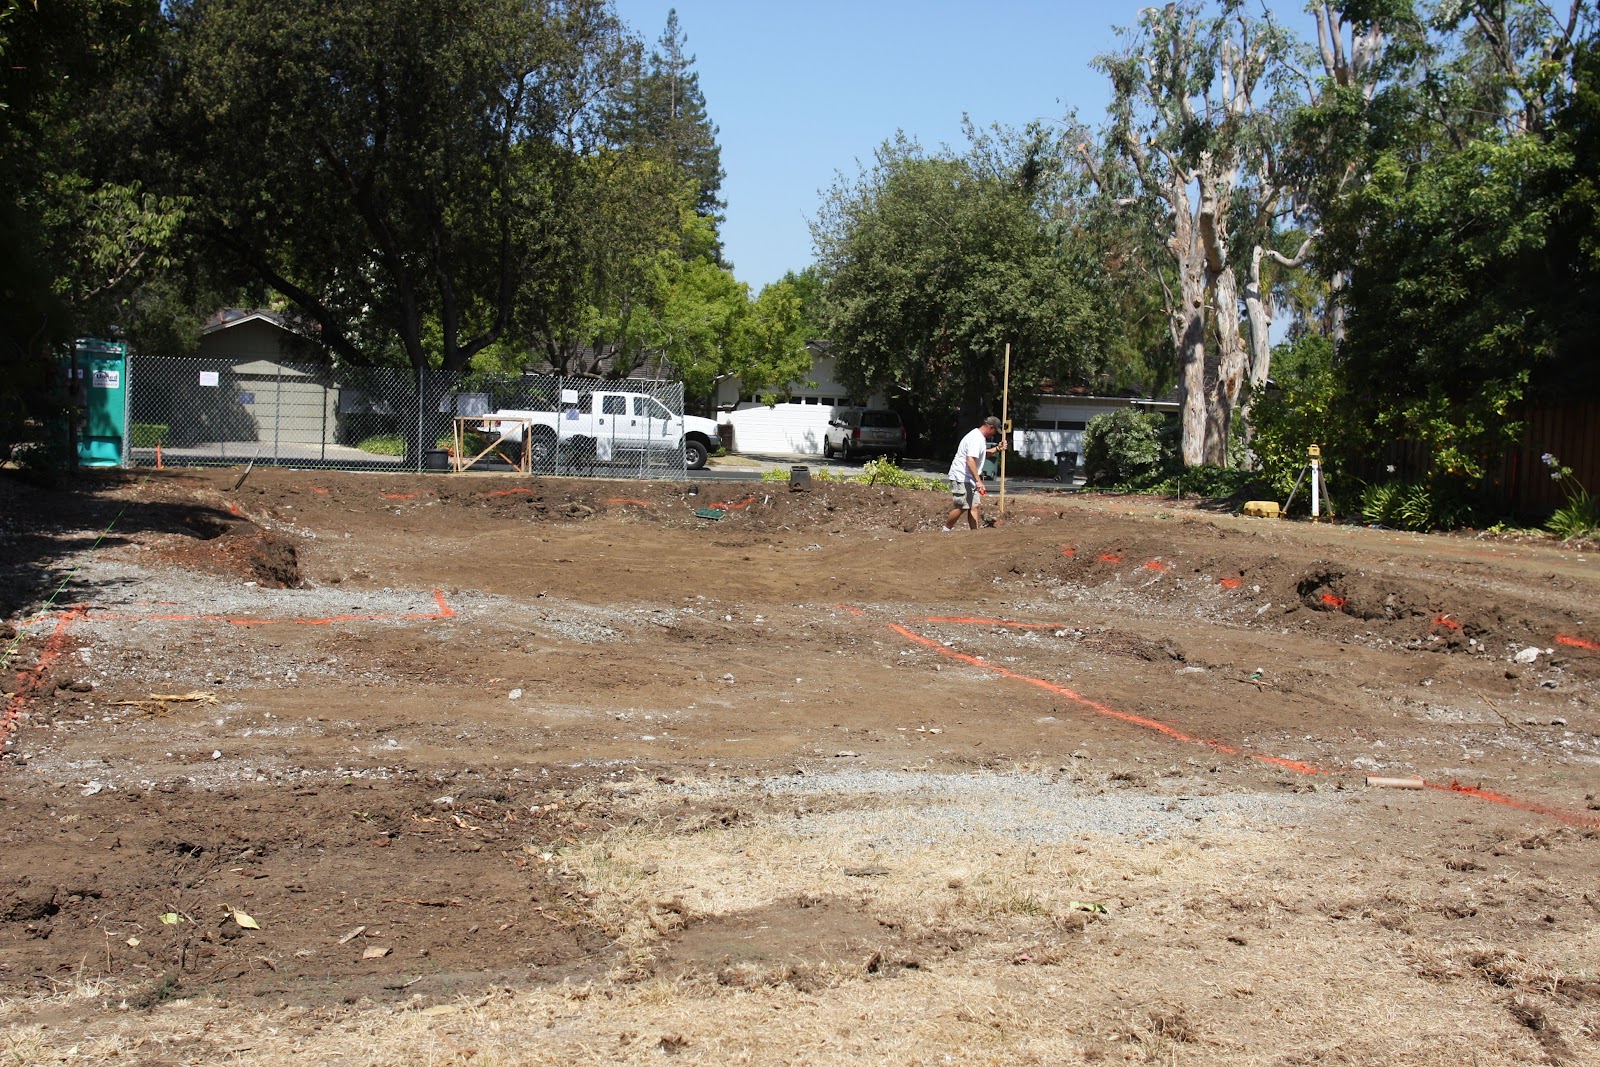 |
| The surveyor's stakes + string outline the house's footprint. |
Excavation involves removing the topsoil and digging underground to create the foundation. Unless you're going for the Leaning Tower of Pisa look, it's very important that you do not build a foundation on ground that's too soft to support your structure. The ground needs to be compacted enough to bear the load of the house.
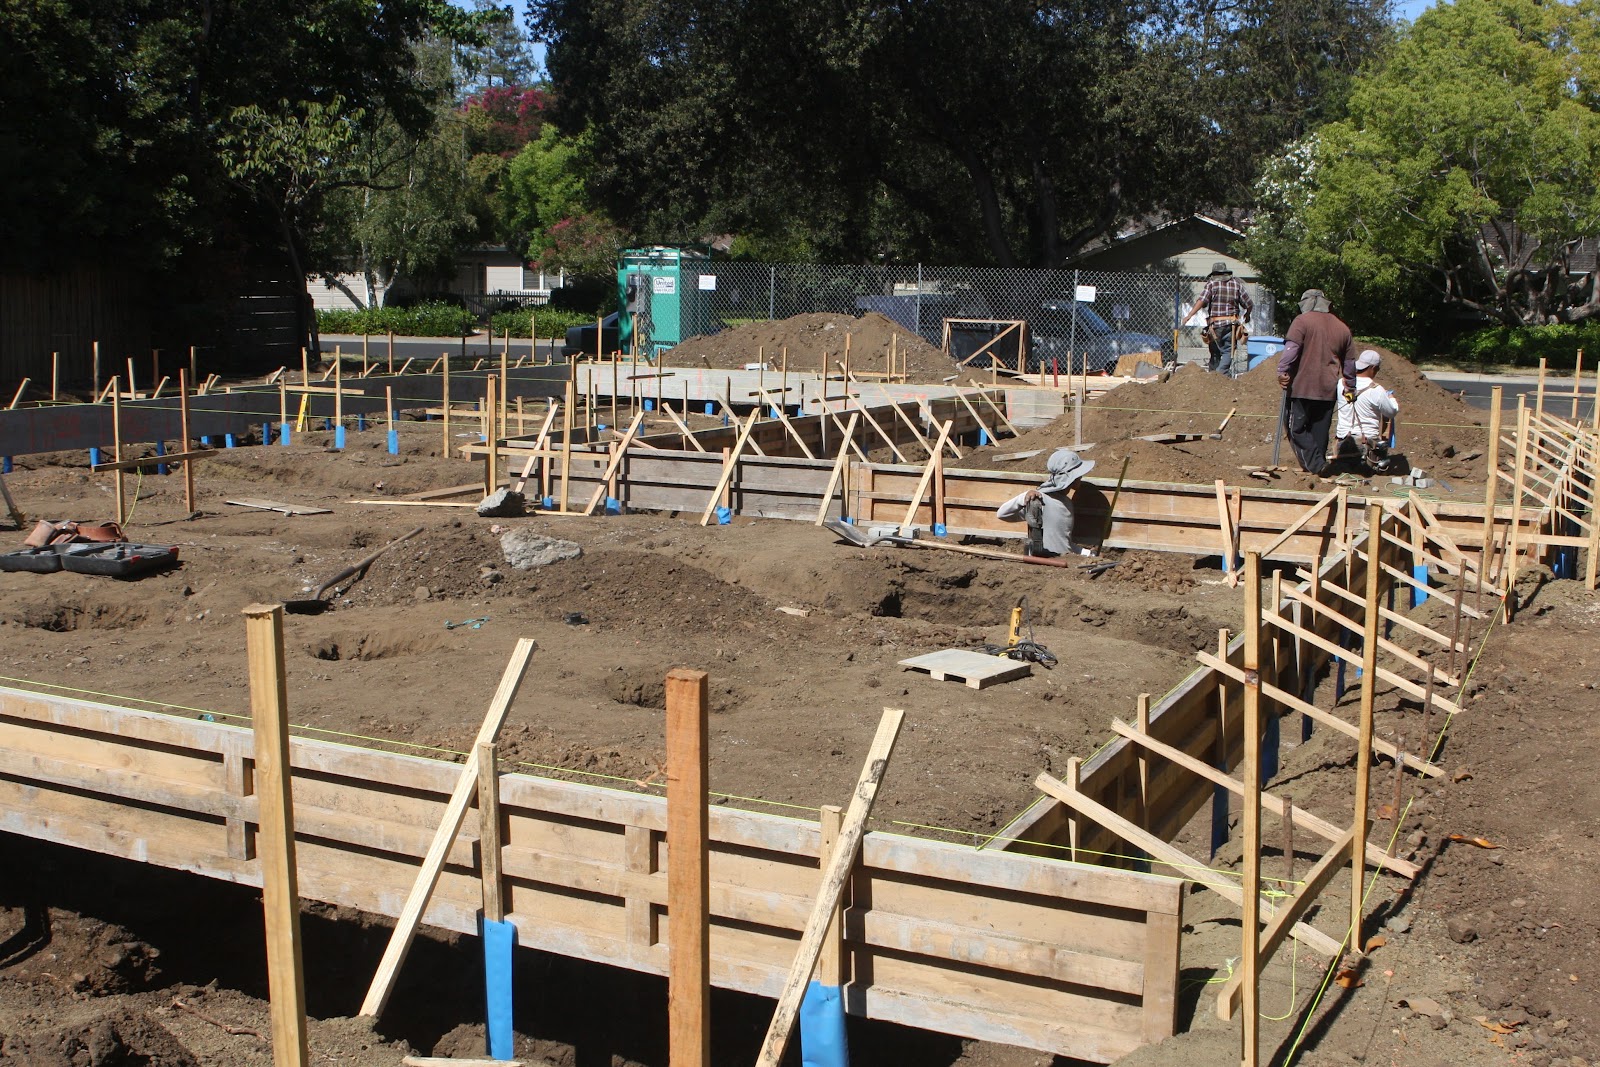
Foundations have two major components: footings and a stem wall. Footings are poured concrete pathways that help spread the weight of the home from the foundation walls to the surrounding soil. In addition to the pathways, oversized mole holes are punched out for piers. Piers are a part of the footing that support girders—vertical beams which carry the floor system. Well built footings ensure that weight is distributed over a large area so that the finished house does not settle.
 |
| Digging the footing pathways & piers. Palo Alto requires they be at least 20" deep in undisturbed soil. |
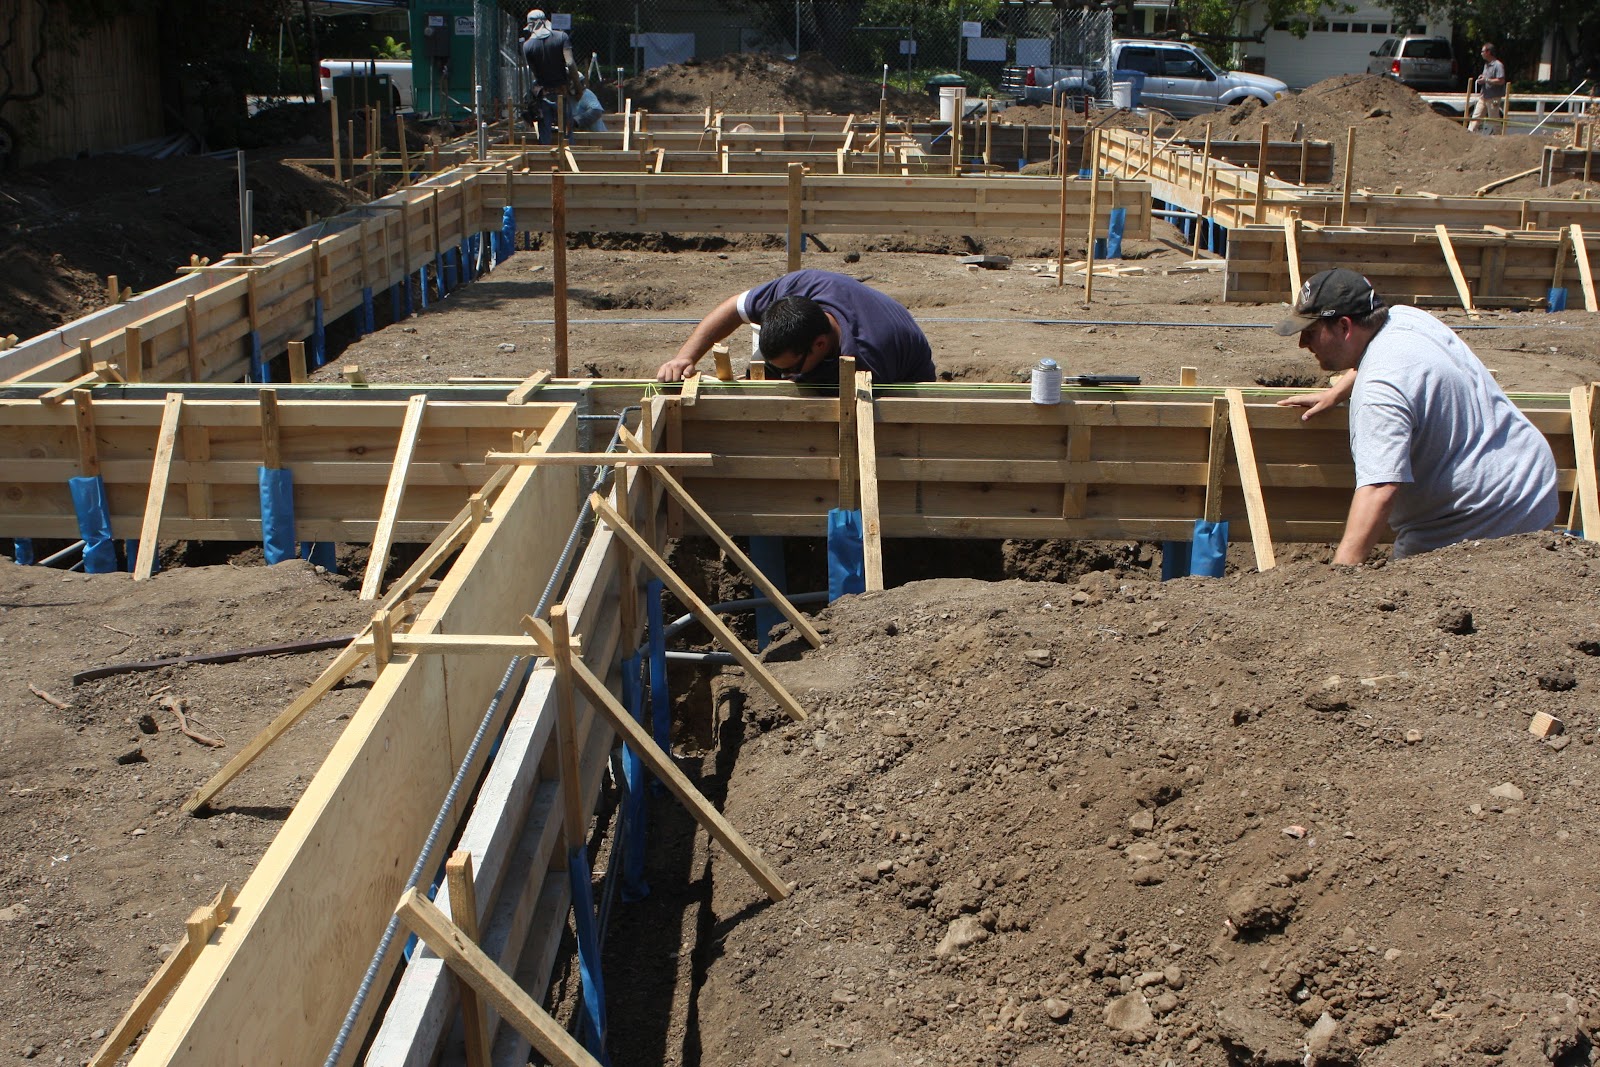
Above the footings sits the stem wall, the top part of the foundation that connects the foundation to the vertical walls of the home. Forms are temporary molds into which concrete is poured to shape the stem wall. Made out of lumber, the forms hang above the footing cavity and need to be sturdy enough to prevent a concrete "blow out" when you fill them. To hold the forms in position, wood stakes are lodged into the ground every few feet and screwed into the form wall.
 |
| Building forms is hard work. Especially if you have to redo stakes to apply blue sleeves. Hint: Use the sleeves. |
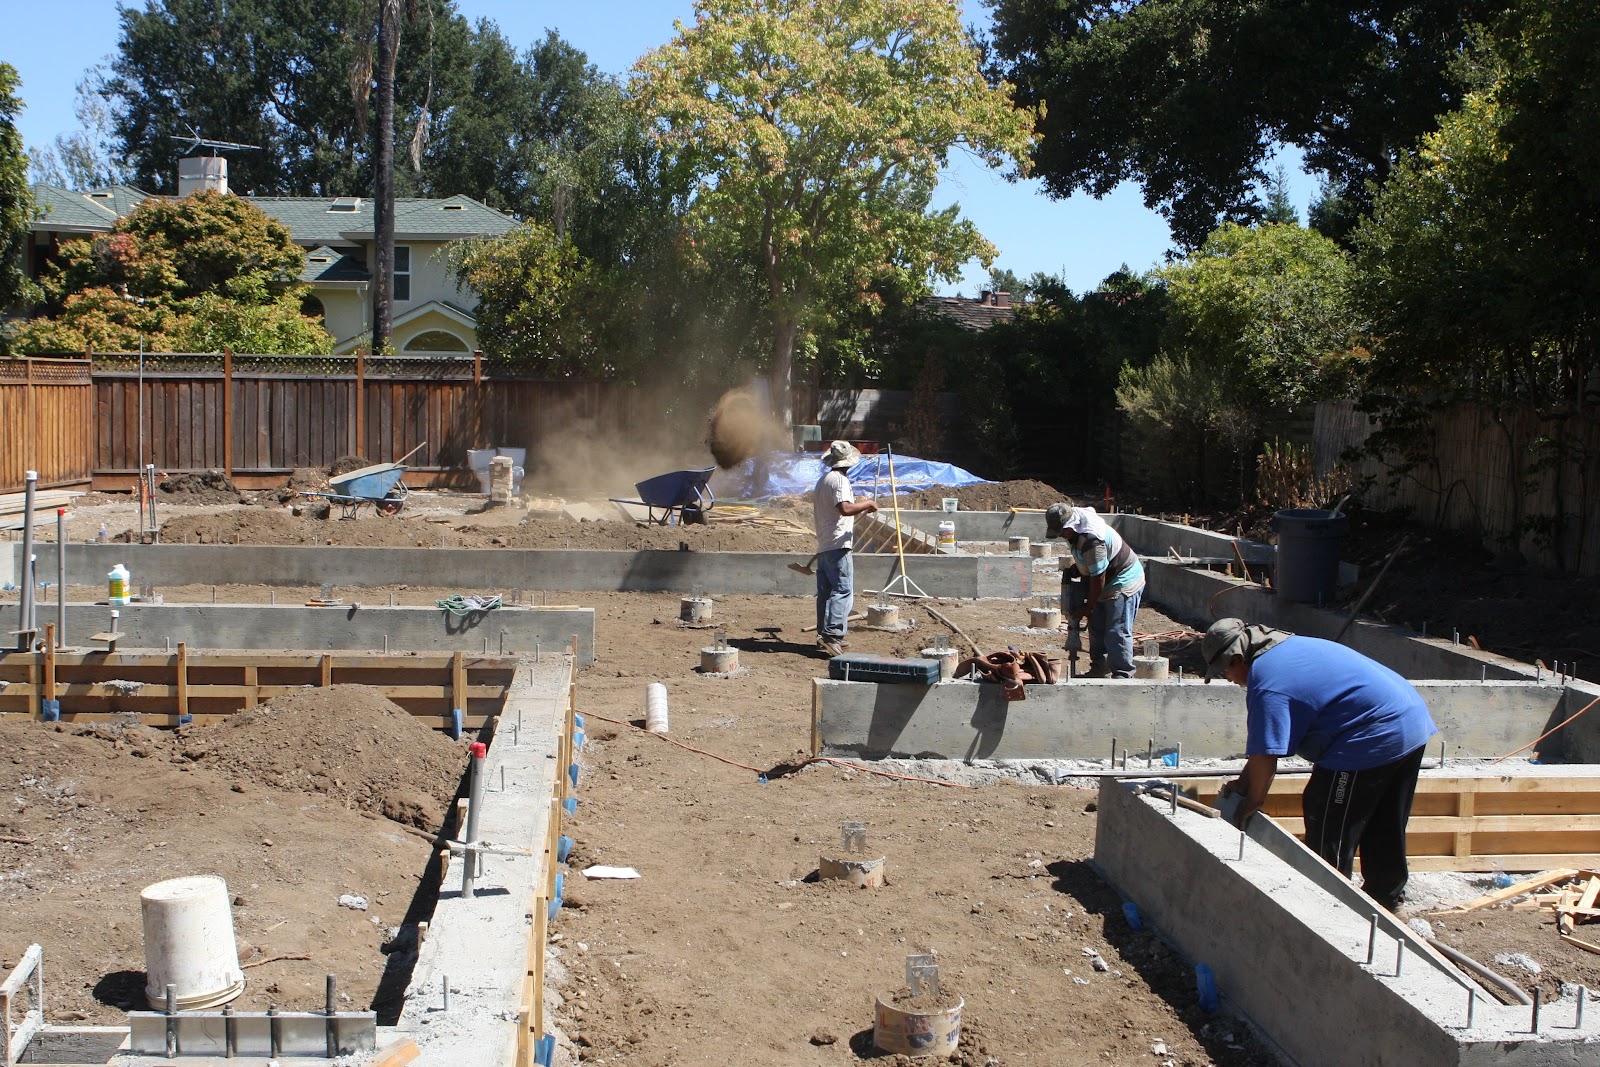
Before pouring the concrete, steel rebar, short for reinforcing bar, is added to strengthen the footings and stem wall. The rebar holds the concrete together, allowing different loads and weights to be transferred throughout the structure. This helps your house resist shear and bending from conditions like soil movement, earthquakes and wind pressure. Hold downs and anchor bolts are embedded in the cement foundation to anchor to the frame and keep the walls from lifting off.
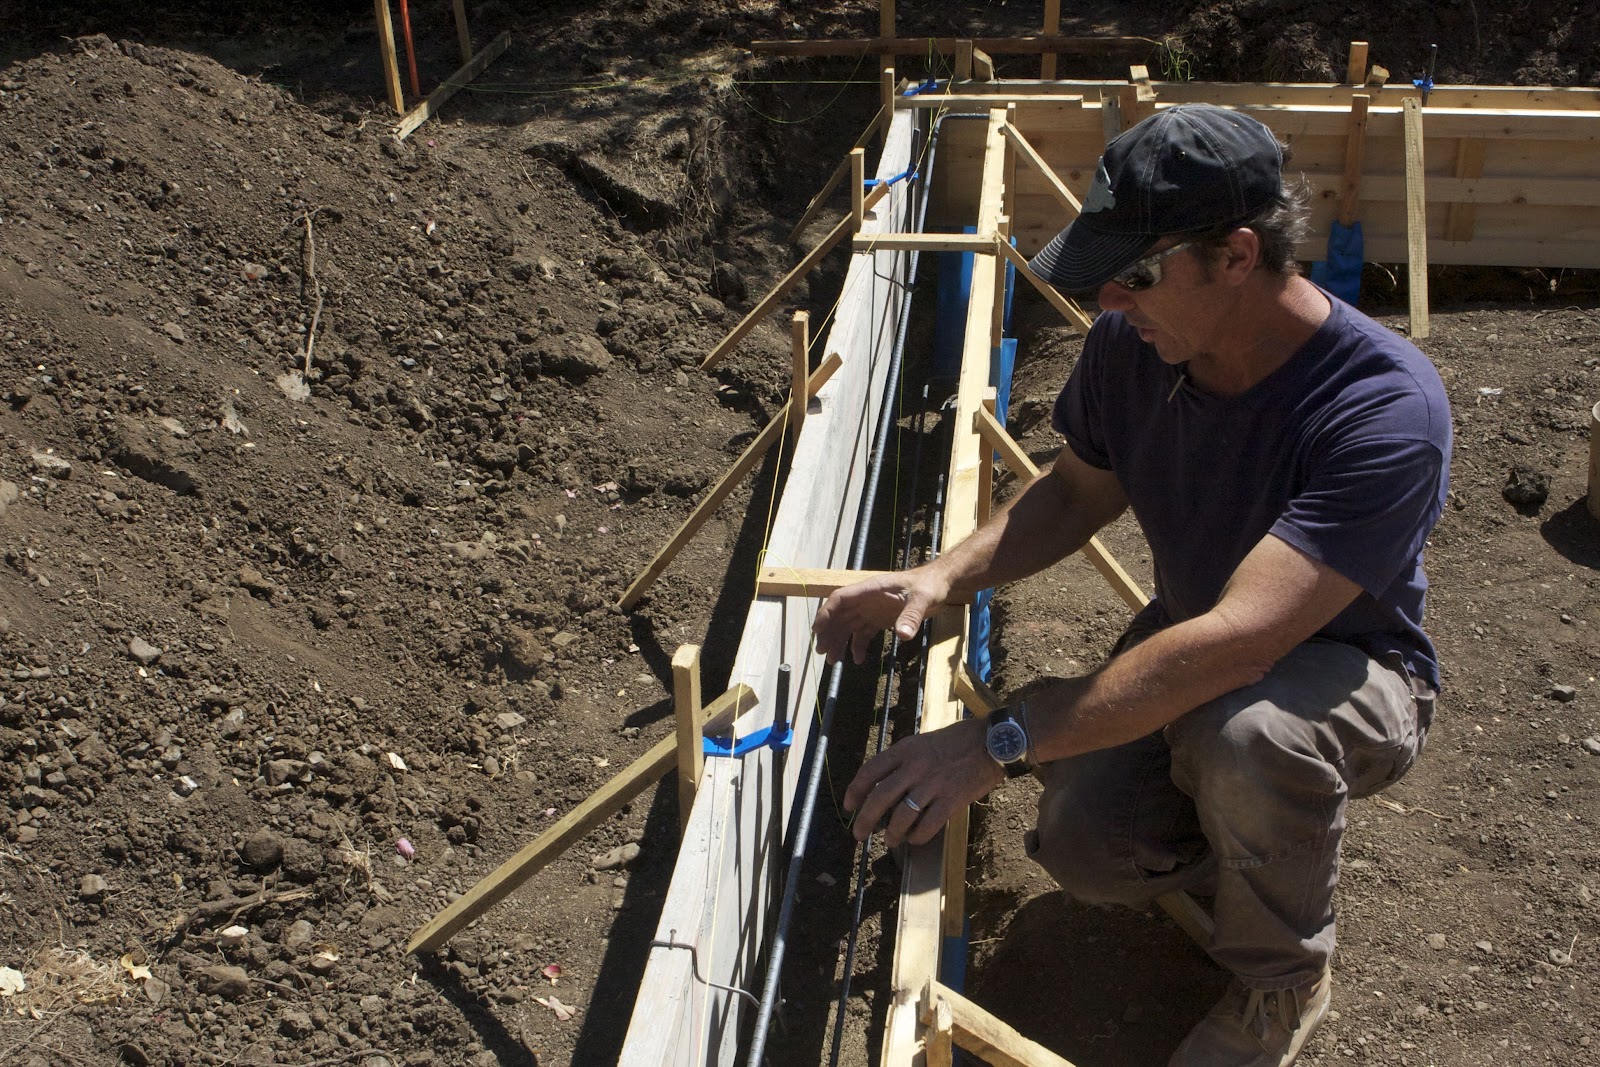 |
| Our general contractor, Jeff making sure the hold downs line up with where the windows will be placed. |
At this time our plumber came to can out the sewer, creating a place for the sewer line to run through the foundation. Our electricians set up electrical conduits, a piping system that routes through the footings and across the house. By doing so, they can later snake electrical wiring through the pipes instead of having to run wire on the outside of the house or drill holes through the wall frames. They also set up a required Ufer ground—two 20' long bars of steel that connect to the rebar in the foundation to ground the electrical system (this protects against surges like lightning strikes).
 |
| Our electricians James and Mark setting up conduits in the foundation. This will save time down the road. |
Before you can start pouring cement the city requires a foundation inspection. Here's a cheat sheet of must-haves to pass:
- Survey letter
- 20" minimum depth footing below ground, 8" above ground
- Ufer ground
- Plasti-Sleeves (*See the Blue Condom Fetish footnote below)
 |
| We all hold our breath while our inspector Robert checks out the footings and forms. |
Step 6: Pouring the cement
Woohoo! We passed our inspection so the cement trucks showed up the next day and the crew started pouring. Manufacturing cement takes a lot of energy and produces about 6% of the world's carbon dioxide emissions. To make cement more sustainable you can mix in a recycled product called slag cement. The city gives you one GreenPoint (like brownie points but better) for adding 20% recycled materials and two points for 30%. The slag cement also makes the concrete stronger.
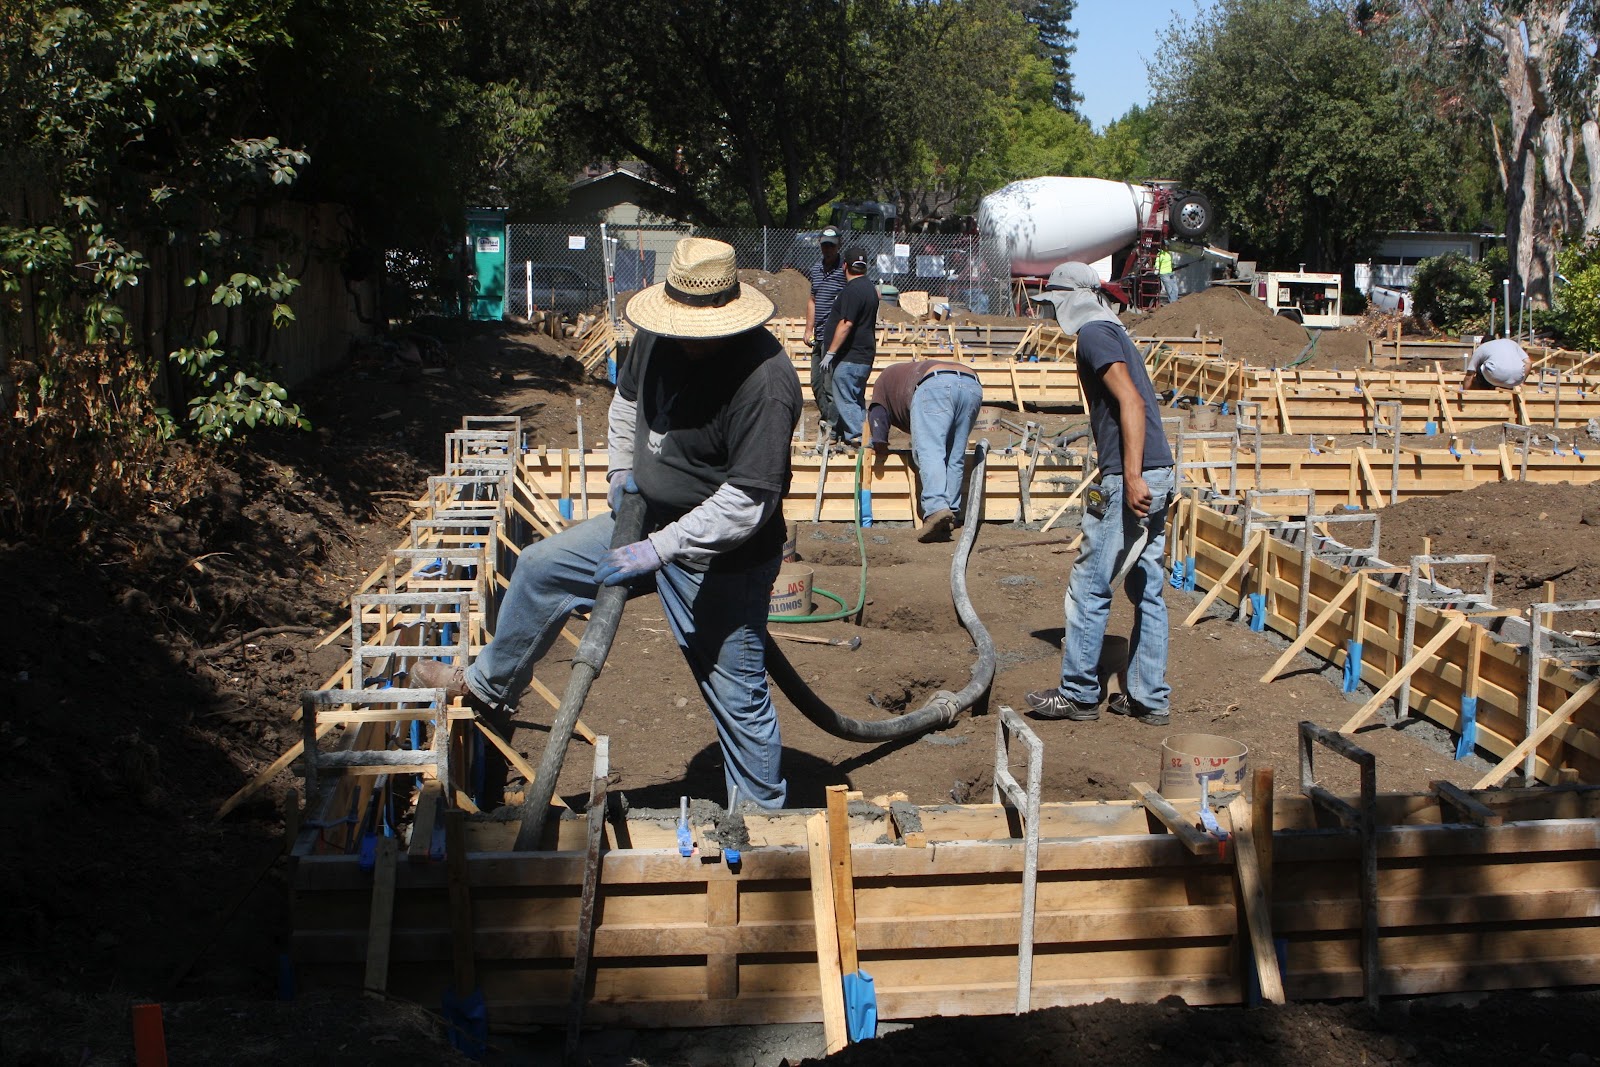 |
| Our little foundation ate 6 1/2 truck loads of cement. We added 30% slag cement to make it greener. |
The cement was poured on Friday and had the weekend to set. On Monday the crew stripped off the forms to reveal a firm, flat, level and square masterpiece. The foundation is done! Or is it? Stay tuned for the sequel...in the meantime if you'd like to learn more check out the foundations and floors chapter in Habitat for Humanity's How to Build a House.
 |
| Stripping the forms. Almost done! |
*Final Footnote: Palo Alto's Blue Condom Fetish
Experienced builders will tell you that every city has their unique quirks and hot buttons. In Palo Alto the head inspector is Bud Starmer. Bud was an exterminator in his previous life so he's vigilant about measures that can prevent an infestation. Personally, I like this about him because I am not a fan of bugs and rats and want all the help we can get on this front.
Page 35 of the Palo Alto code book (which Bud wrote) says the following:
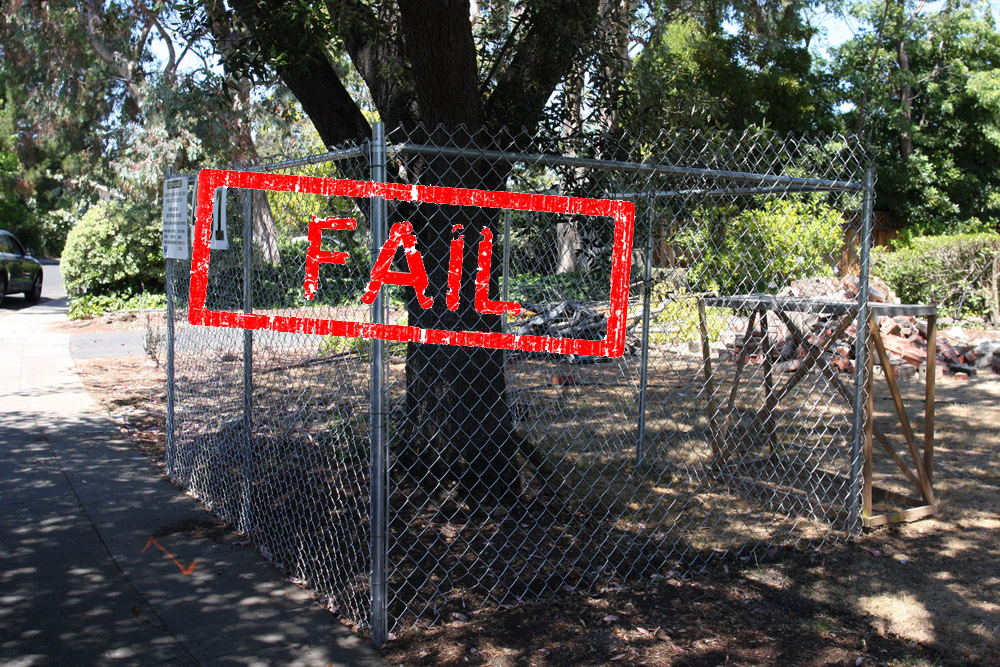
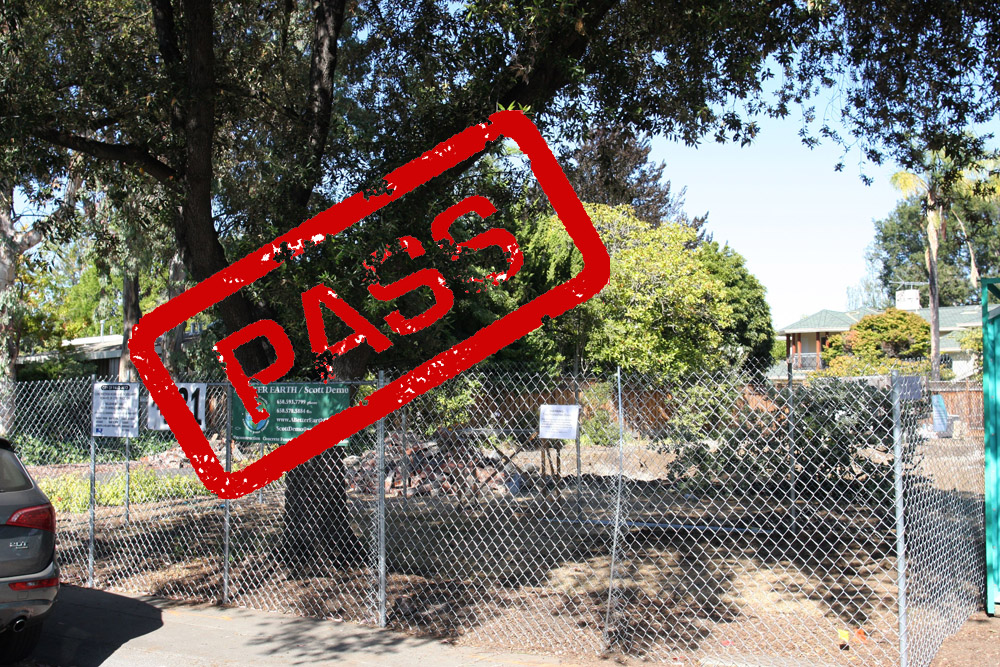
Measures shall be taken to allow all wood stakes and form lumber to be removed. We recommend using Plasti-Sleeve to slip over the wood stake, this product is available at Barron Park Plumbing Supply, 377 San Antonio Street, Mountain View, 650-948-7160. Note: Wood stakes/forms not removed shall be drilled and treated with copper green.For those of you who don't understand inspector English, "we recommend" is code for "do it or fail." If you want to please your inspector, use the Plasti-Sleeves (lovingly dubbed the "blue condoms" by builders in Palo Alto). The idea behind the condoms is that they help you slide the stakes cleanly out of the ground when you're ready to remove the forms. This is beneficial because any wood that is left exposed in or near the ground becomes a feeding ground for subterranean termites (endemic to the Bay Area).
We spent about $120 on the blue condoms and another ~$100 in extra labor to put the suckers on. Indeed it was clearly worth the expense when Bud paid us an unexpected pre-inspection visit and gave us the thumbs up when he saw them. However, efficacy was another matter. I was shocked and dismayed when not one, NOT A SINGLE ONE, of our condomed stakes would lift out of the cement. Instead we had to snap each stake, drill off as much as we could, and treat the remaining wood with Copper Green pesticide. Bah humbug. Next time we'll use lubricant or pull out sooner.
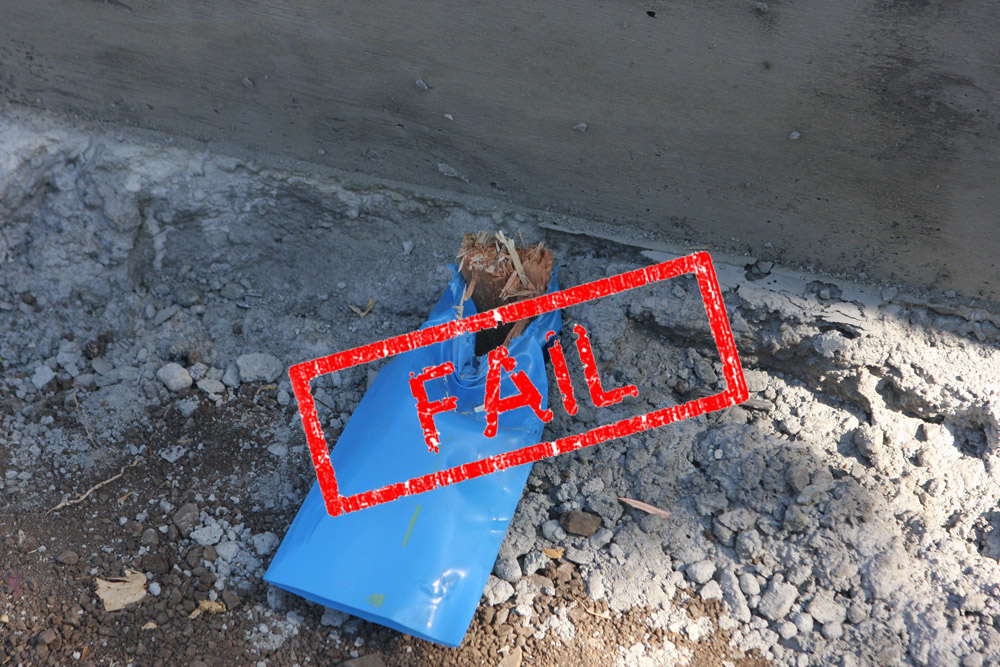 |
| The fact that the blue condoms help may be a fantasy but if it makes your inspector happy, it's worth it. |