Building pros will tell you there are two types of concrete...concrete that's cracked and concrete that's about to crack. It's a fact of life. Babies cry, concrete cracks. What can you do?
In search of the answer, we were lucky enough to borrow James Witt's crew just before the holidays. James is one of the top home builders in Palo Alto and his crew had some downtime so we snapped them up to put in our garage floor and porches. These guys have been building high-end homes for over 40 years, so if anyone knows how to keep you from crying over cracks in your concrete, it's these guys.

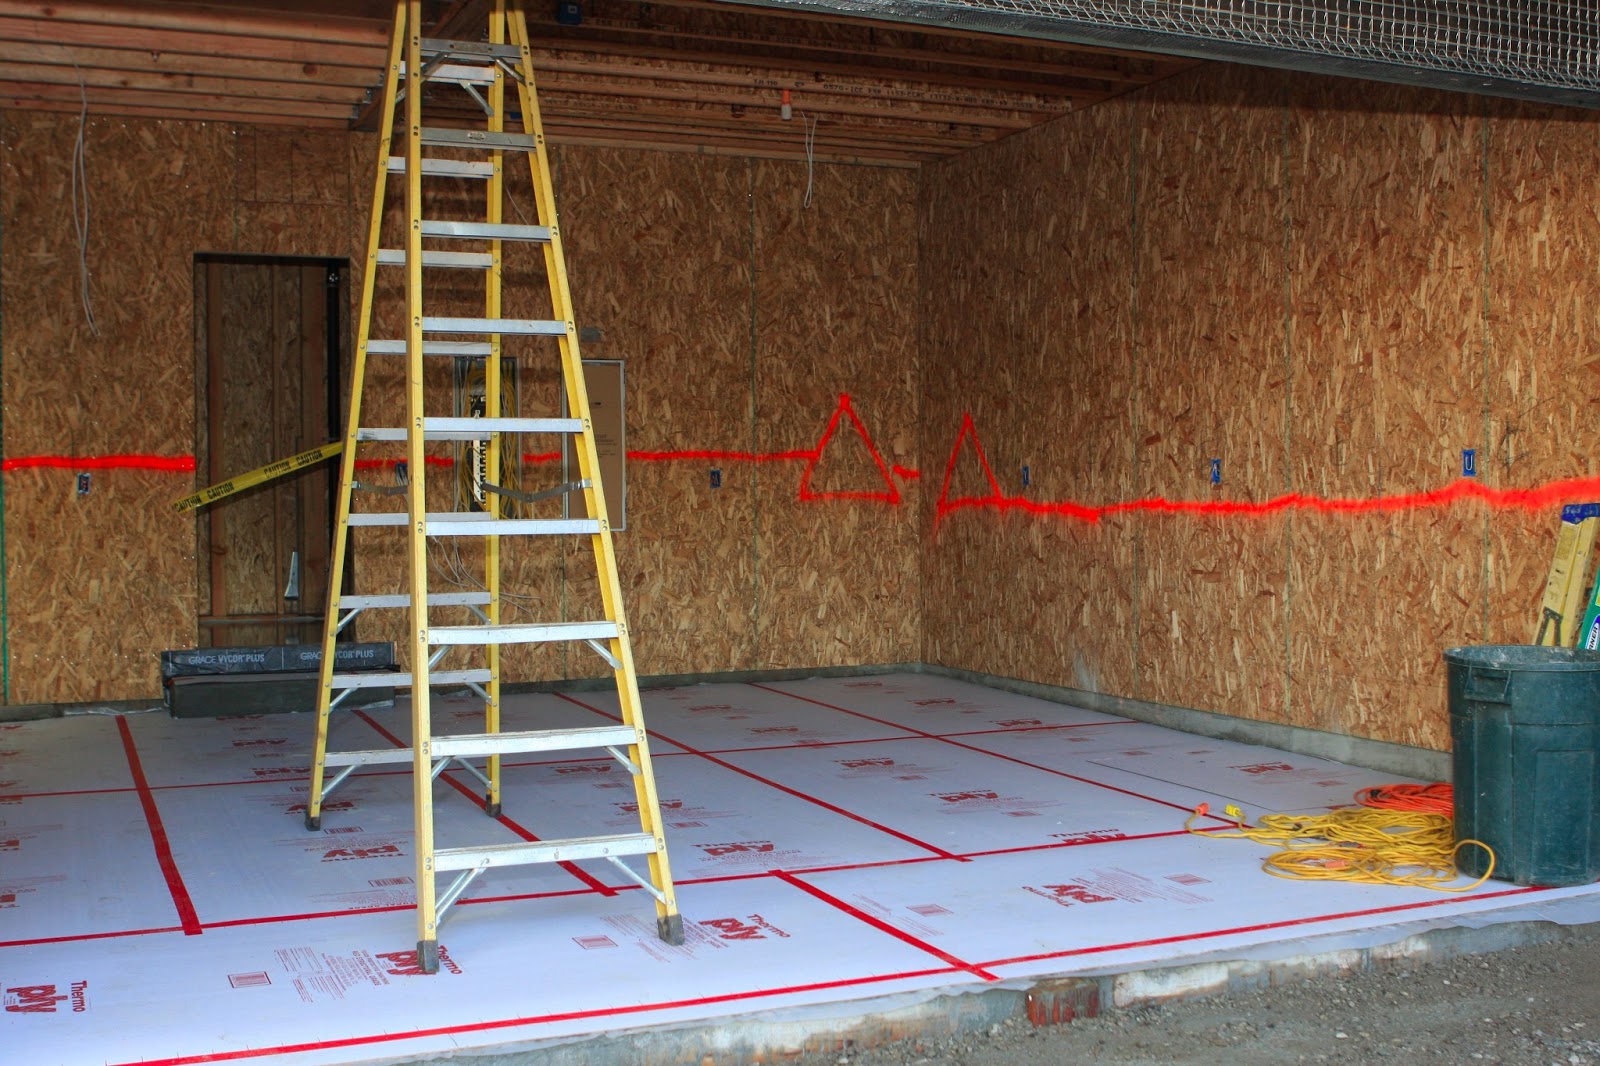
Step 1: Fill in a layer of base rock. This helps water drain away from the slab and keeps it from getting waterlogged. Compact the base rock so that it doesn't shift from settling.
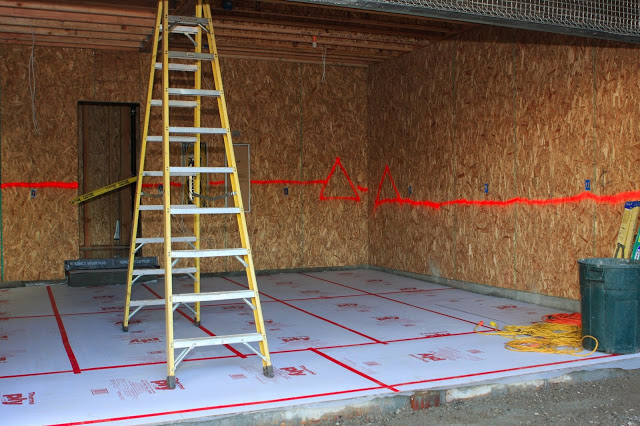
 Step 2: Cover with a layer of plastic to act as a vapor barrier. The city of Palo Alto doesn't require a vapor barrier for garages (only for living spaces) but it's a preventative step that doesn't cost much and helps keep ground water from moving up into the concrete.
Step 3: Cover with sand. This helps pull moisture away from the concrete as it's drying. Water is the enemy of concrete, so you want to do anything you can to move and keep water away from the slab.
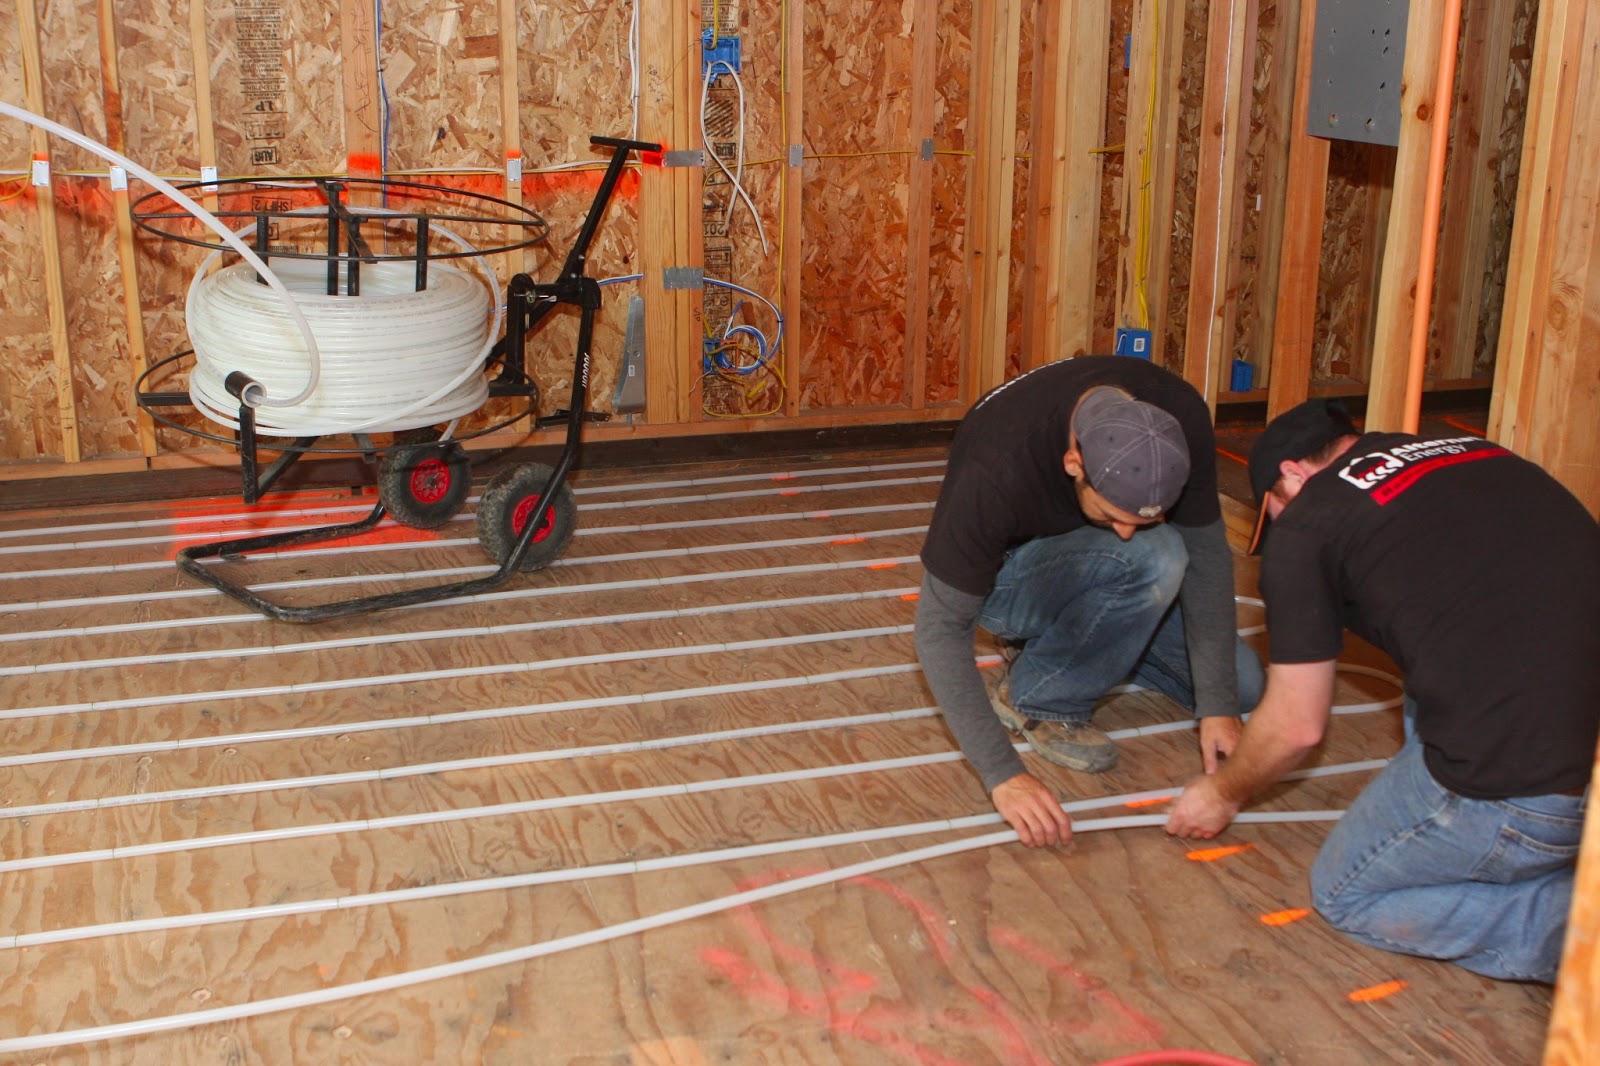
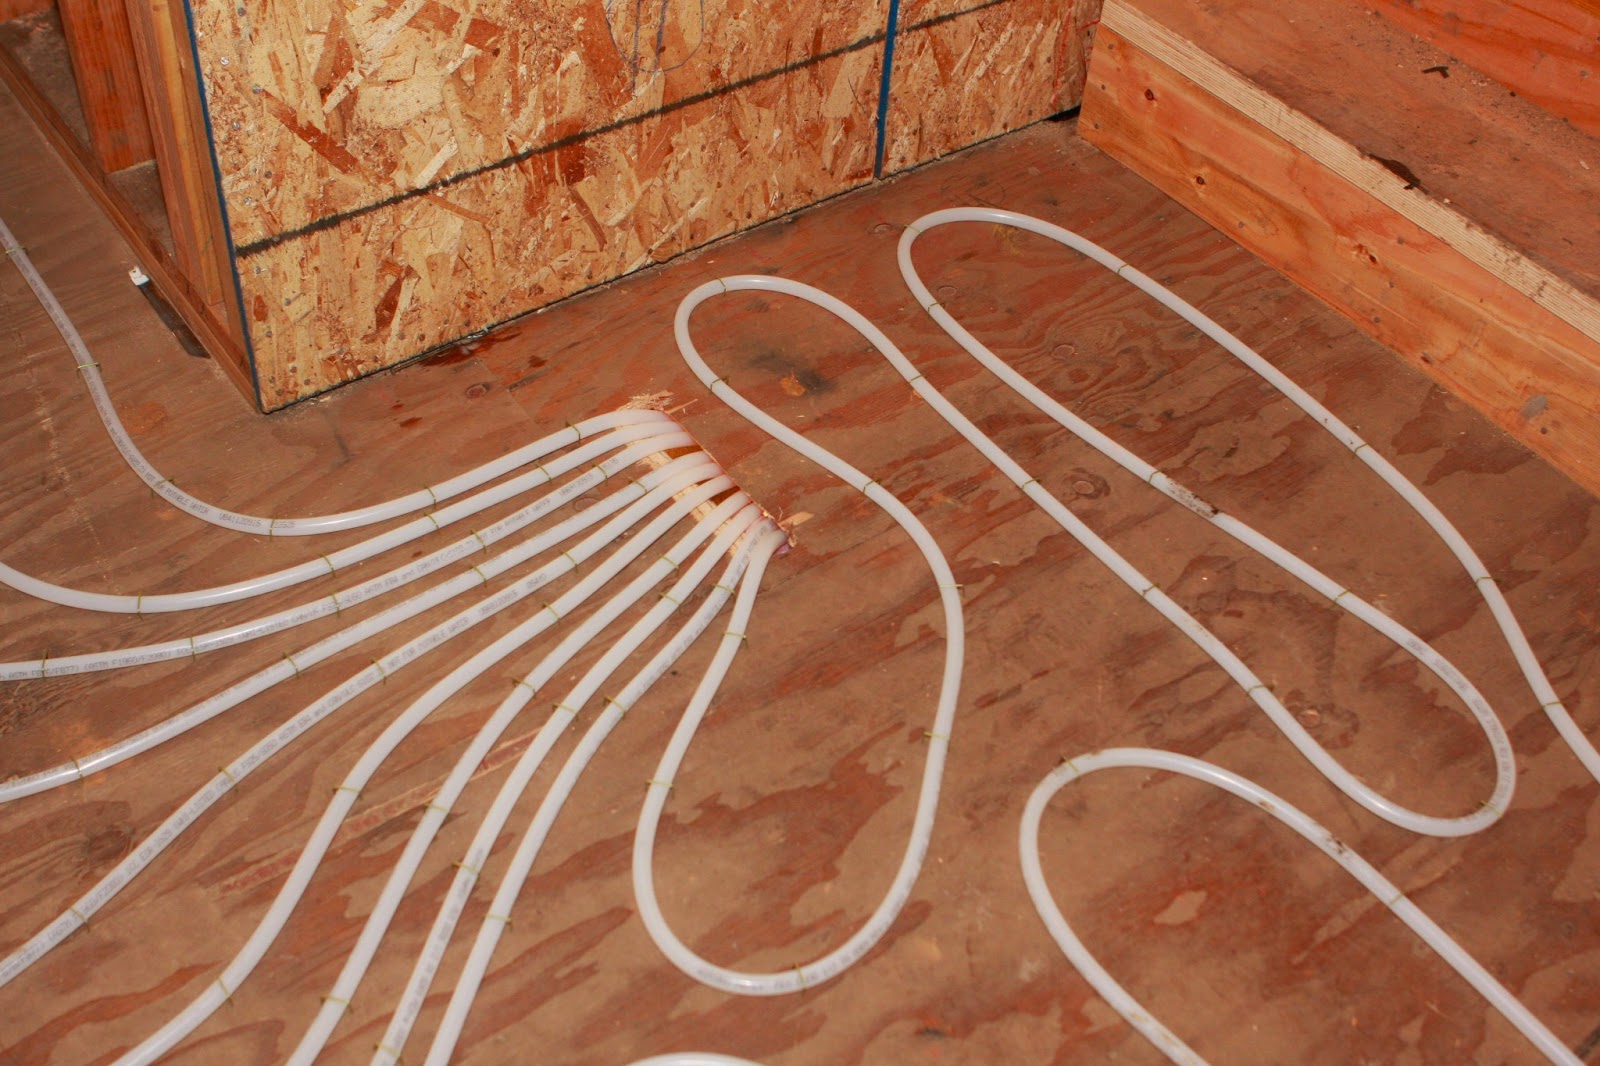
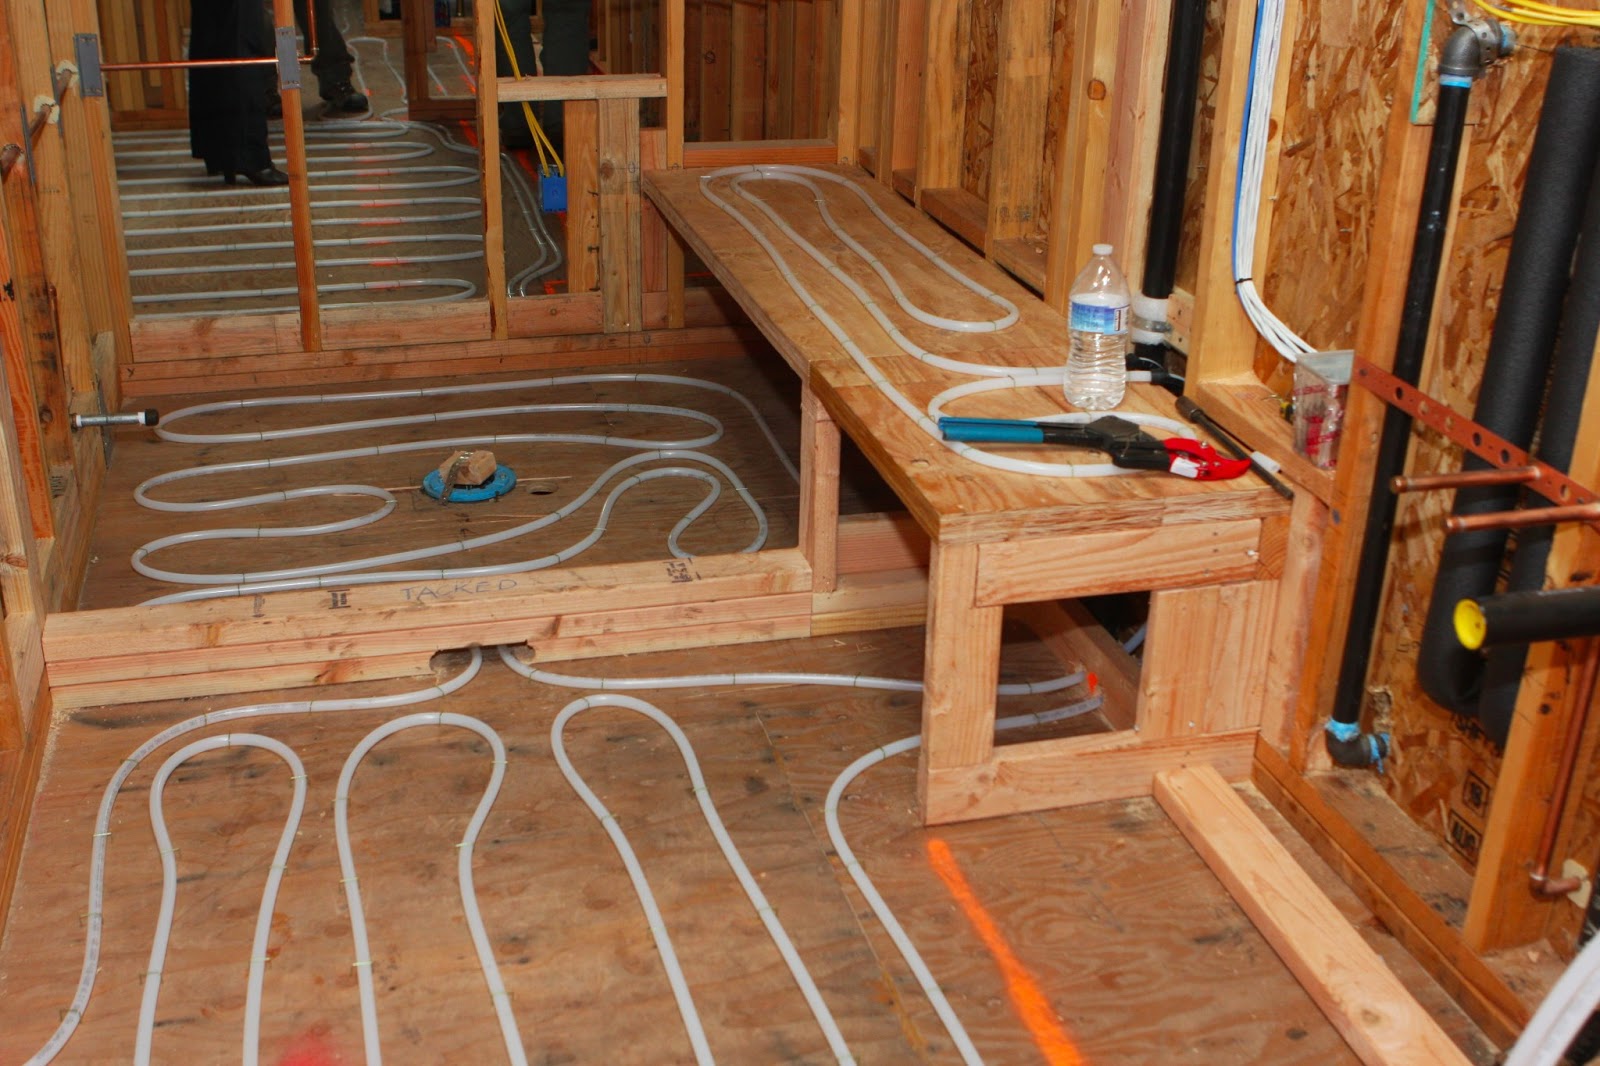
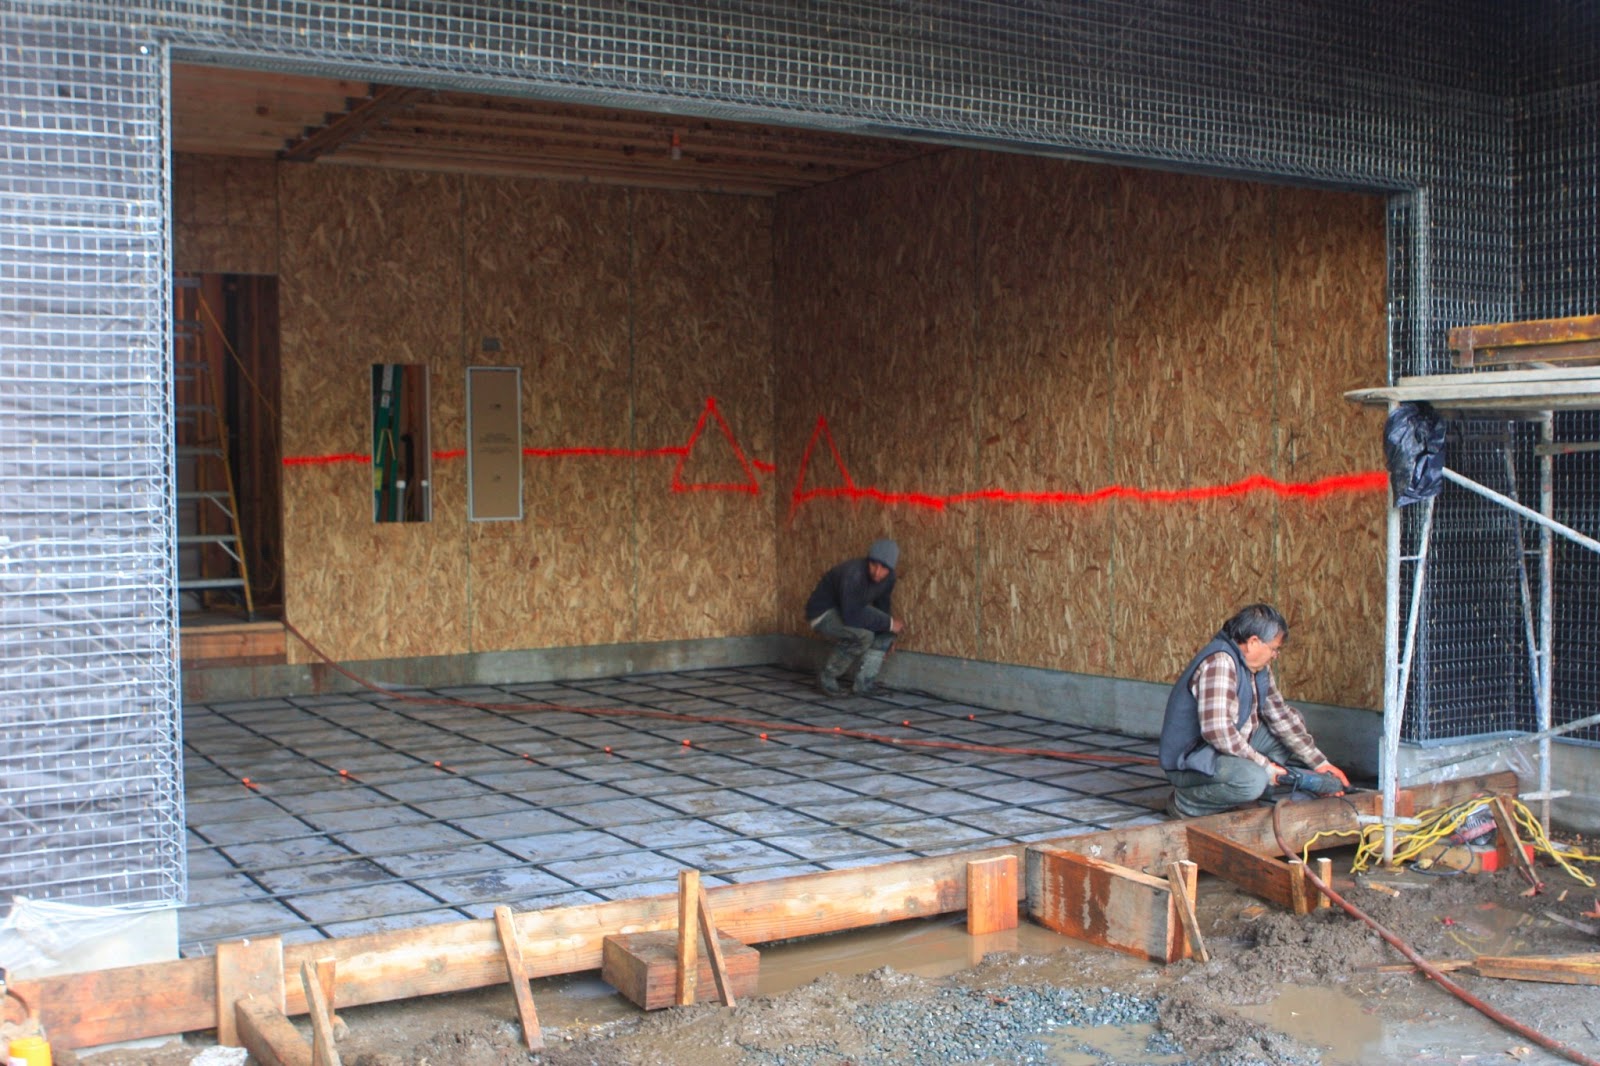
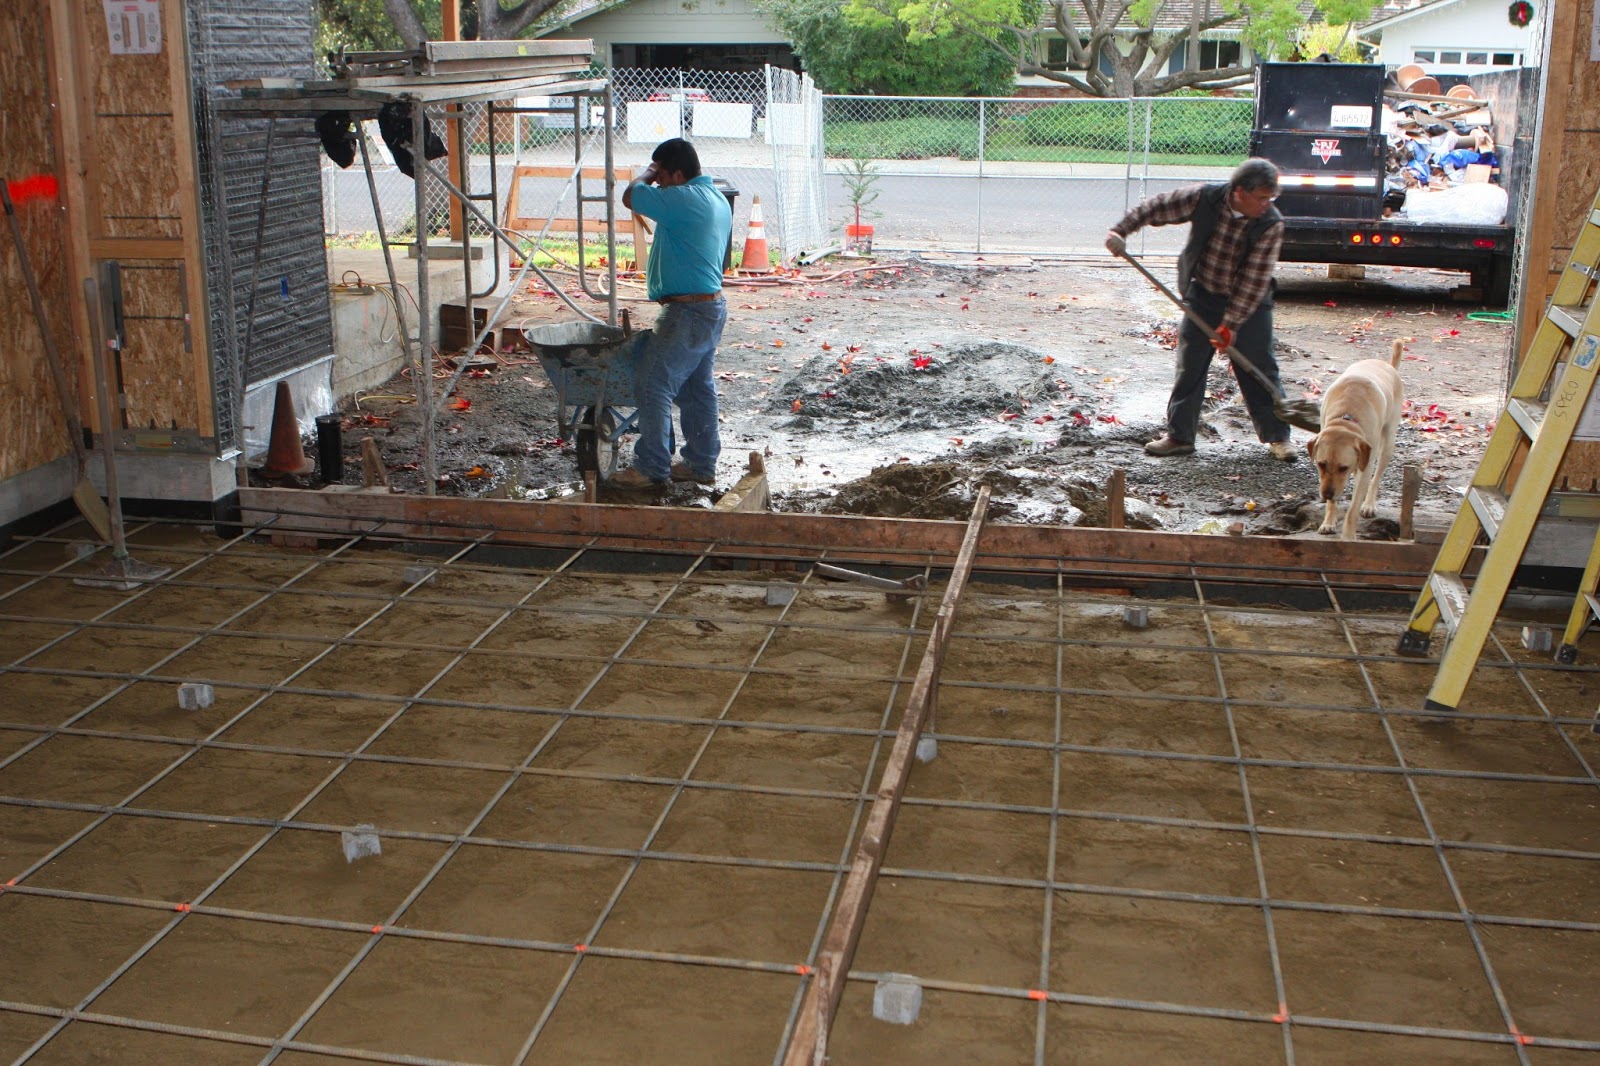
 Step 4: Build form and add reinforcement bars (rebar). We were waiting for the sand to arrive so the crew went ahead and put the rebar in first. The trick with the rebar is that in order to work, it needs to rest in the middle of the slab, not at the bottom, so you want to anchor it off the ground in a way where it'll stay put when the concrete is poured. The rebar keeps the concrete from shifting and cracking. The form should have a slight slope (a couple of inches per 20 ft) so that water runs away from the area instead of pooling on your garage floor. The slope should be steeper if you have a sink or water heater in the garage.

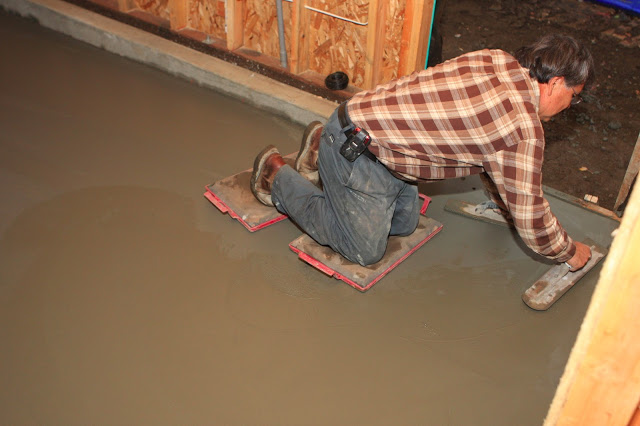 Step 6: As the concrete hardens apply a smooth finish. Note: If you want to imprint your hand/paw print in the concrete, you'll need to show up before this stage.
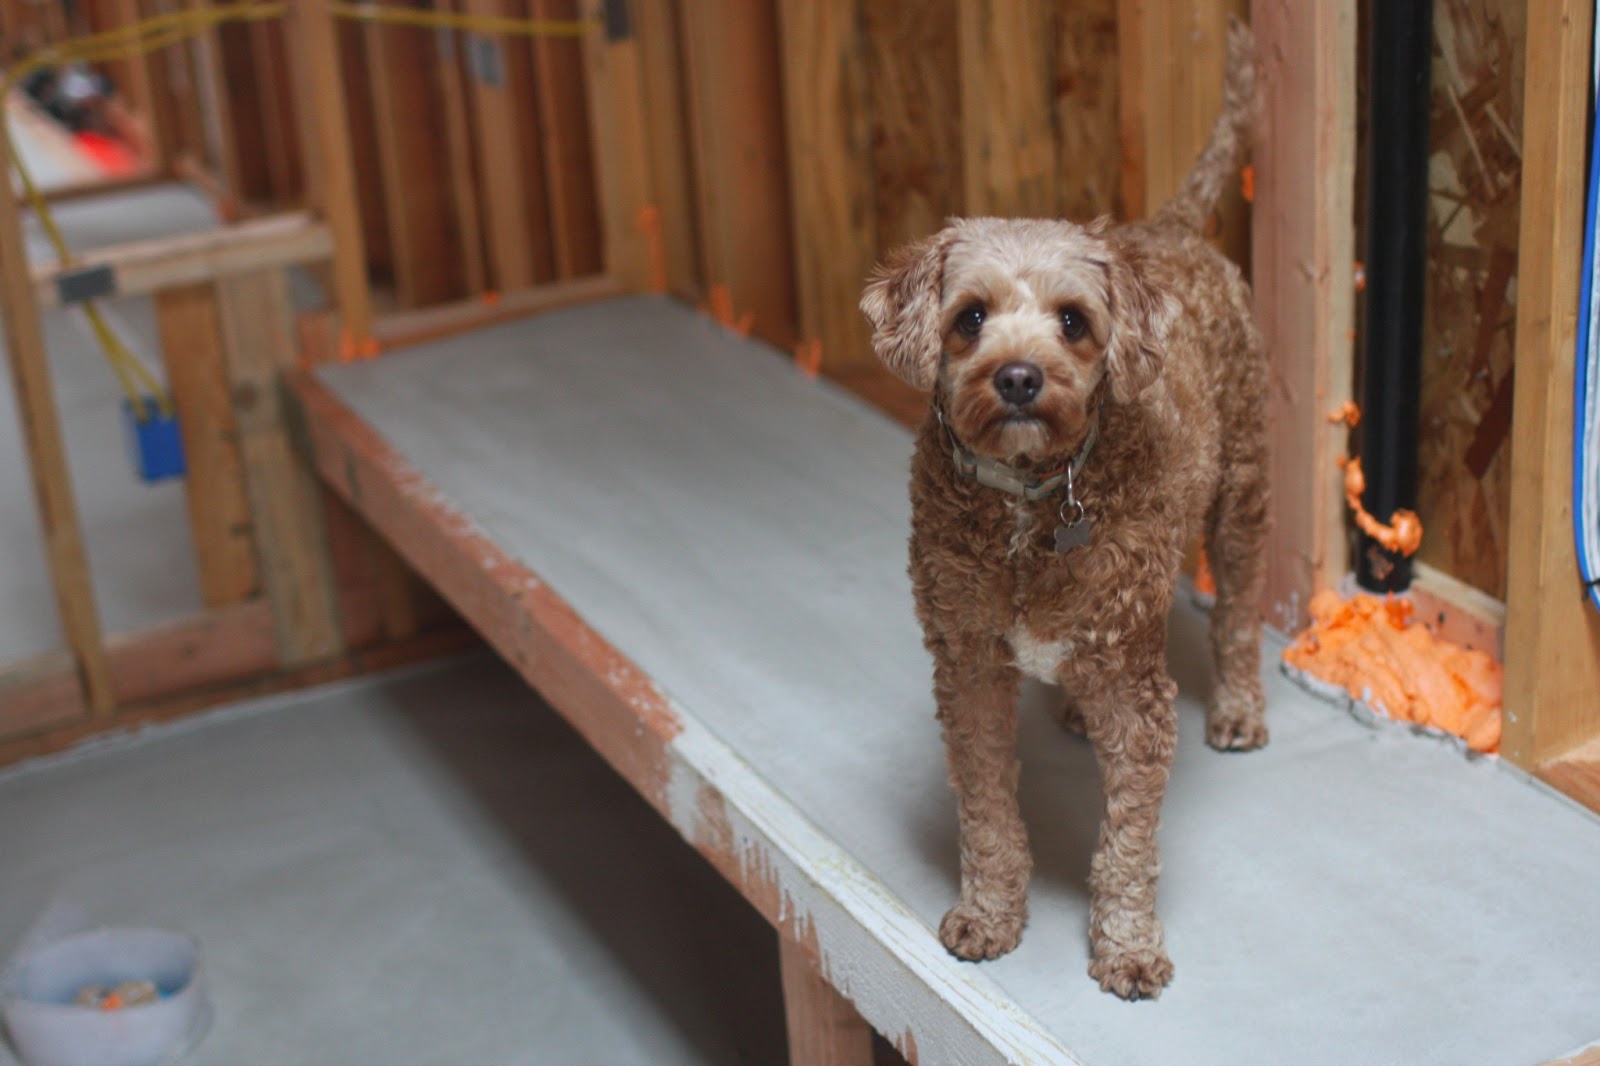
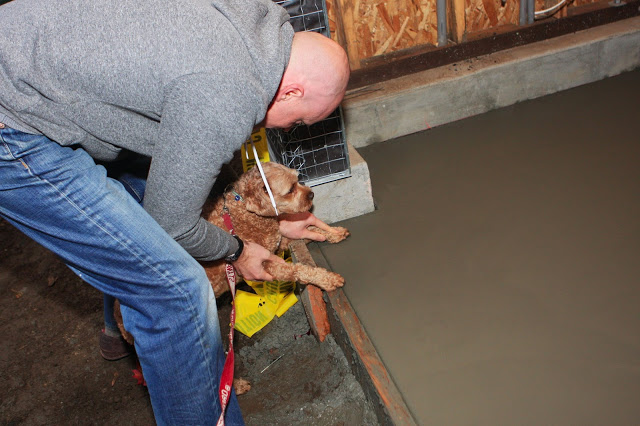 Thomas and Astro make another futile attempt to leave their mark on our house (Cisco and I put our prints on the rat slab).
 Step 7: The next day (before the concrete completely hardens), spray down water while cutting in thin grooves every 6.5 feet. These are called expansion joints and provide crack resistance. Concrete shrinks as it dries, so these joints absorb the stress caused by this movement and any subsequent expansion. Since concrete inherently wants to crack, by cutting in these small grooves you encourage it to crack at these points.
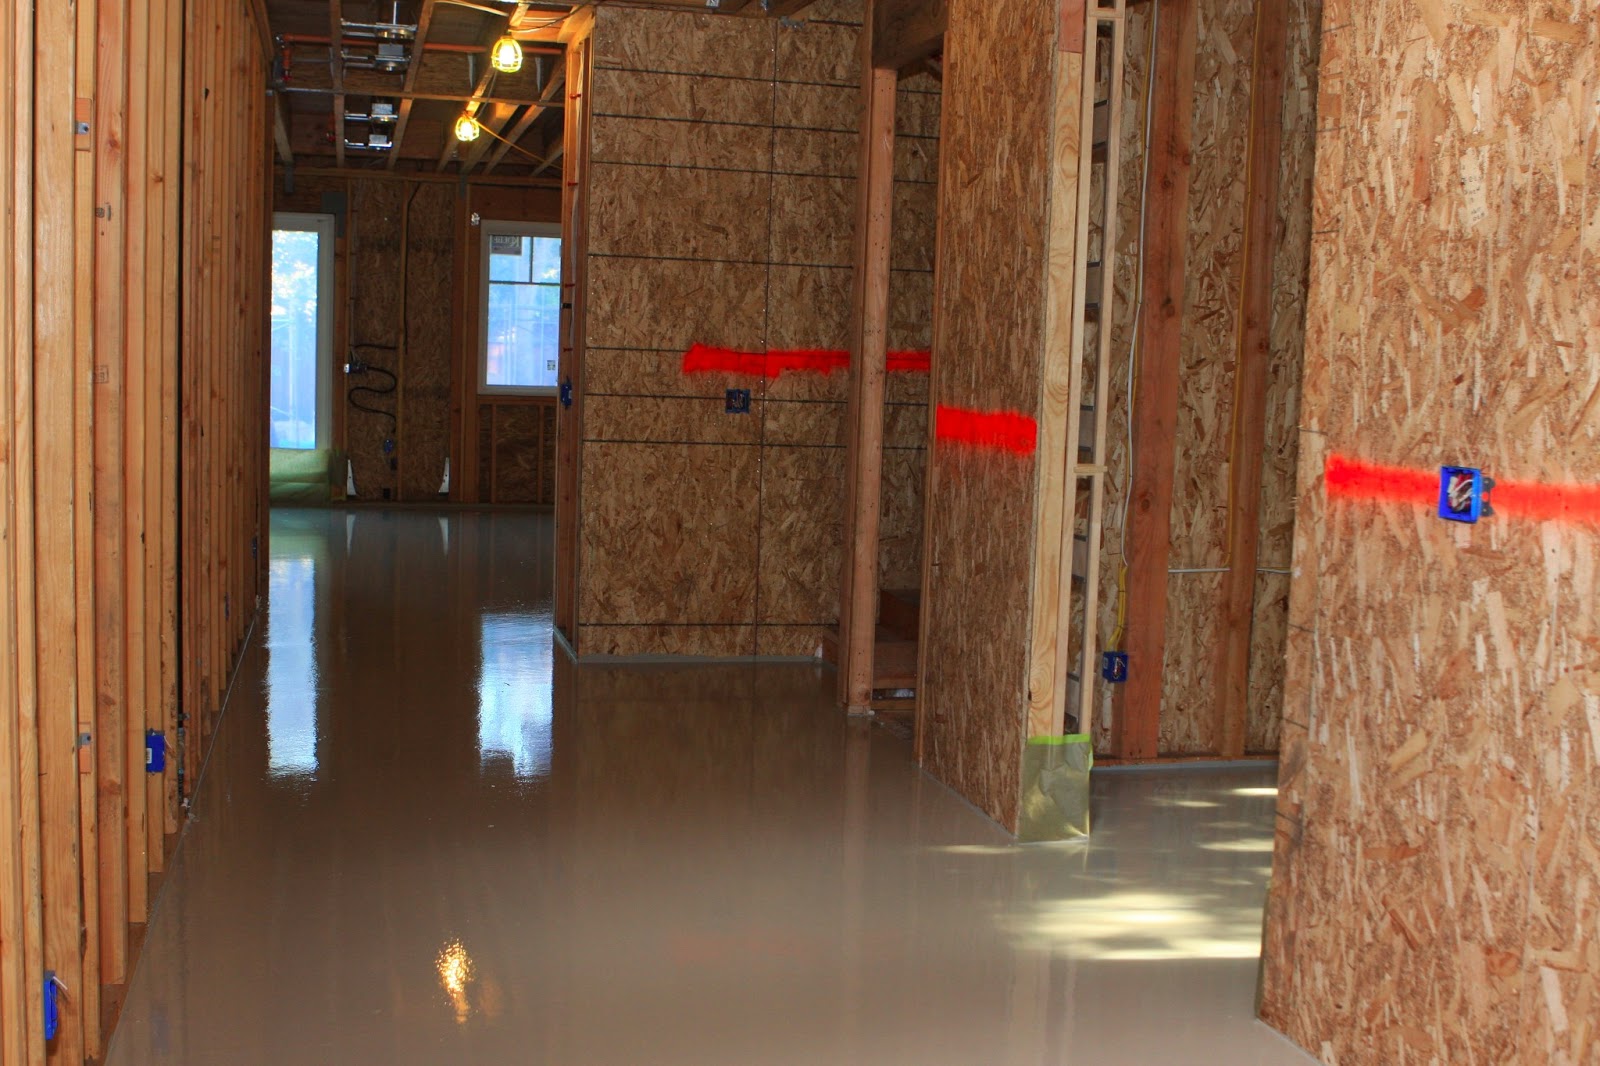
 Step 8: Leave the new slab alone and let it dry. Then cover and protect it during through the rest of the construction.
That's all folks! They make it look easy, don't they? Special thanks go out to Daniel and the rest of the expert crew for our fabulous garage floor!
In search of the answer, we were lucky enough to borrow James Witt's crew just before the holidays. James is one of the top home builders in Palo Alto and his crew had some downtime so we snapped them up to put in our garage floor and porches. These guys have been building high-end homes for over 40 years, so if anyone knows how to keep you from crying over cracks in your concrete, it's these guys.

Step 1: Fill in a layer of base rock. This helps water drain away from the slab and keeps it from getting waterlogged. Compact the base rock so that it doesn't shift from settling.

Step 3: Cover with sand. This helps pull moisture away from the concrete as it's drying. Water is the enemy of concrete, so you want to do anything you can to move and keep water away from the slab.
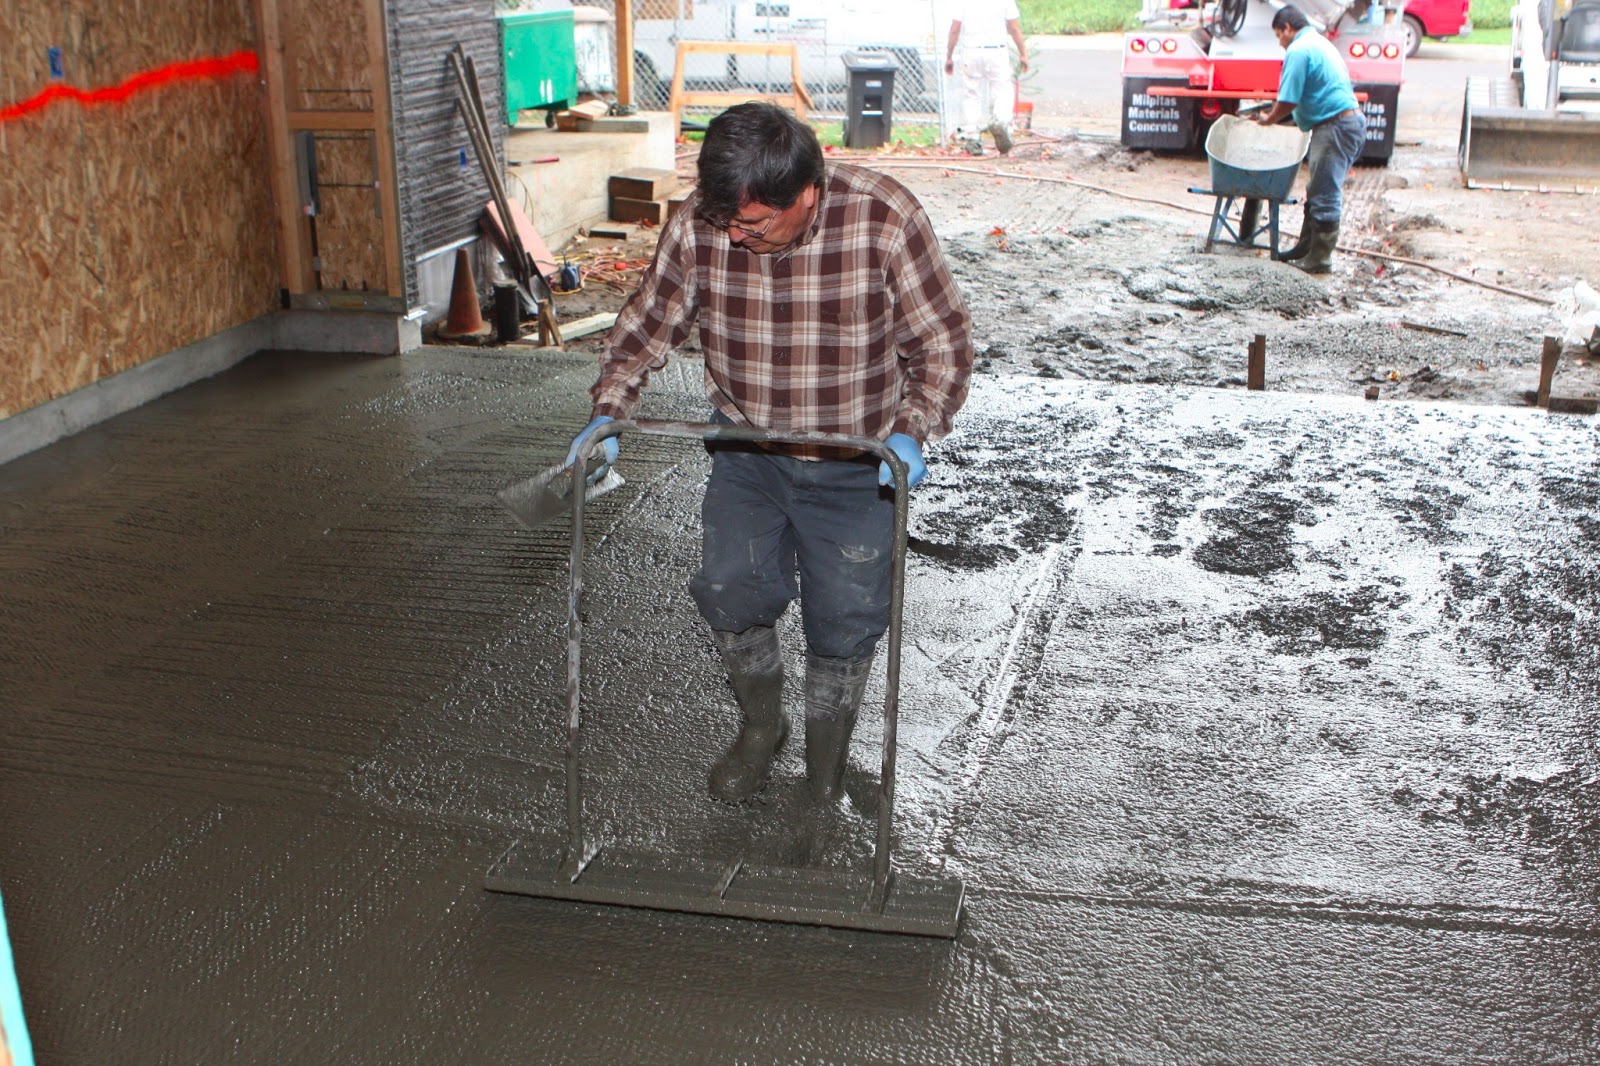
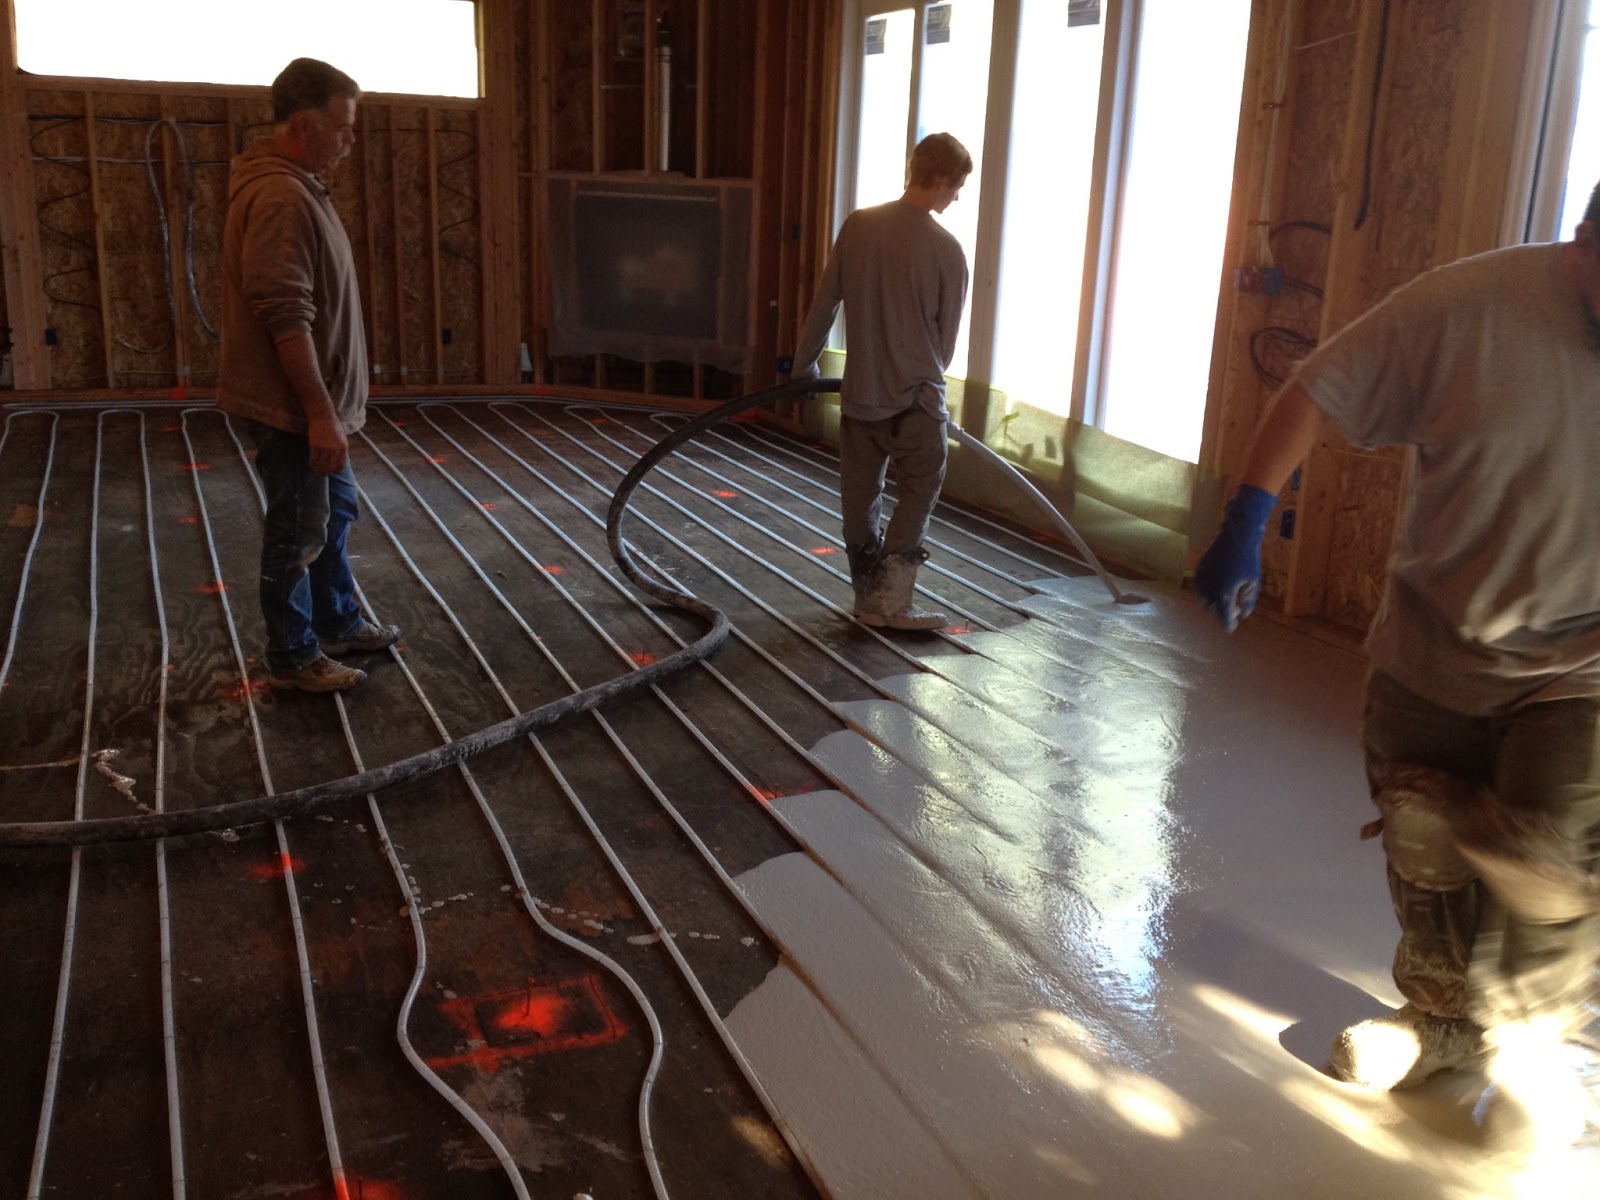
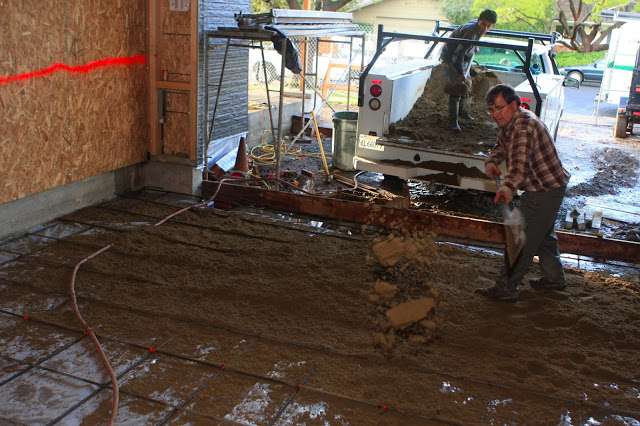
Step 5: Pour and level the concrete. A standard garage floor is typically 4 inches thick. James's crew always makes their garage floors 6 inches thick in order to handle more load--this is one of those invisible upgrades that the best builders do in order to improve the quality of the house. They also allow the floor to float instead of drilling it into the foundation (the porches, on the other hand are attached to the foundation). Floating the slab allows more movement...just like wood, concrete shrinks and expands as it dries and as the temperature and humidity change.


That's all folks! They make it look easy, don't they? Special thanks go out to Daniel and the rest of the expert crew for our fabulous garage floor!