Building a new house in Palo Alto

Building a new house in Palo Alto

Sunday, September 23, 2012

Subfloor construction & tricks to avoid a haunted house

Ruh roh, spooky house!
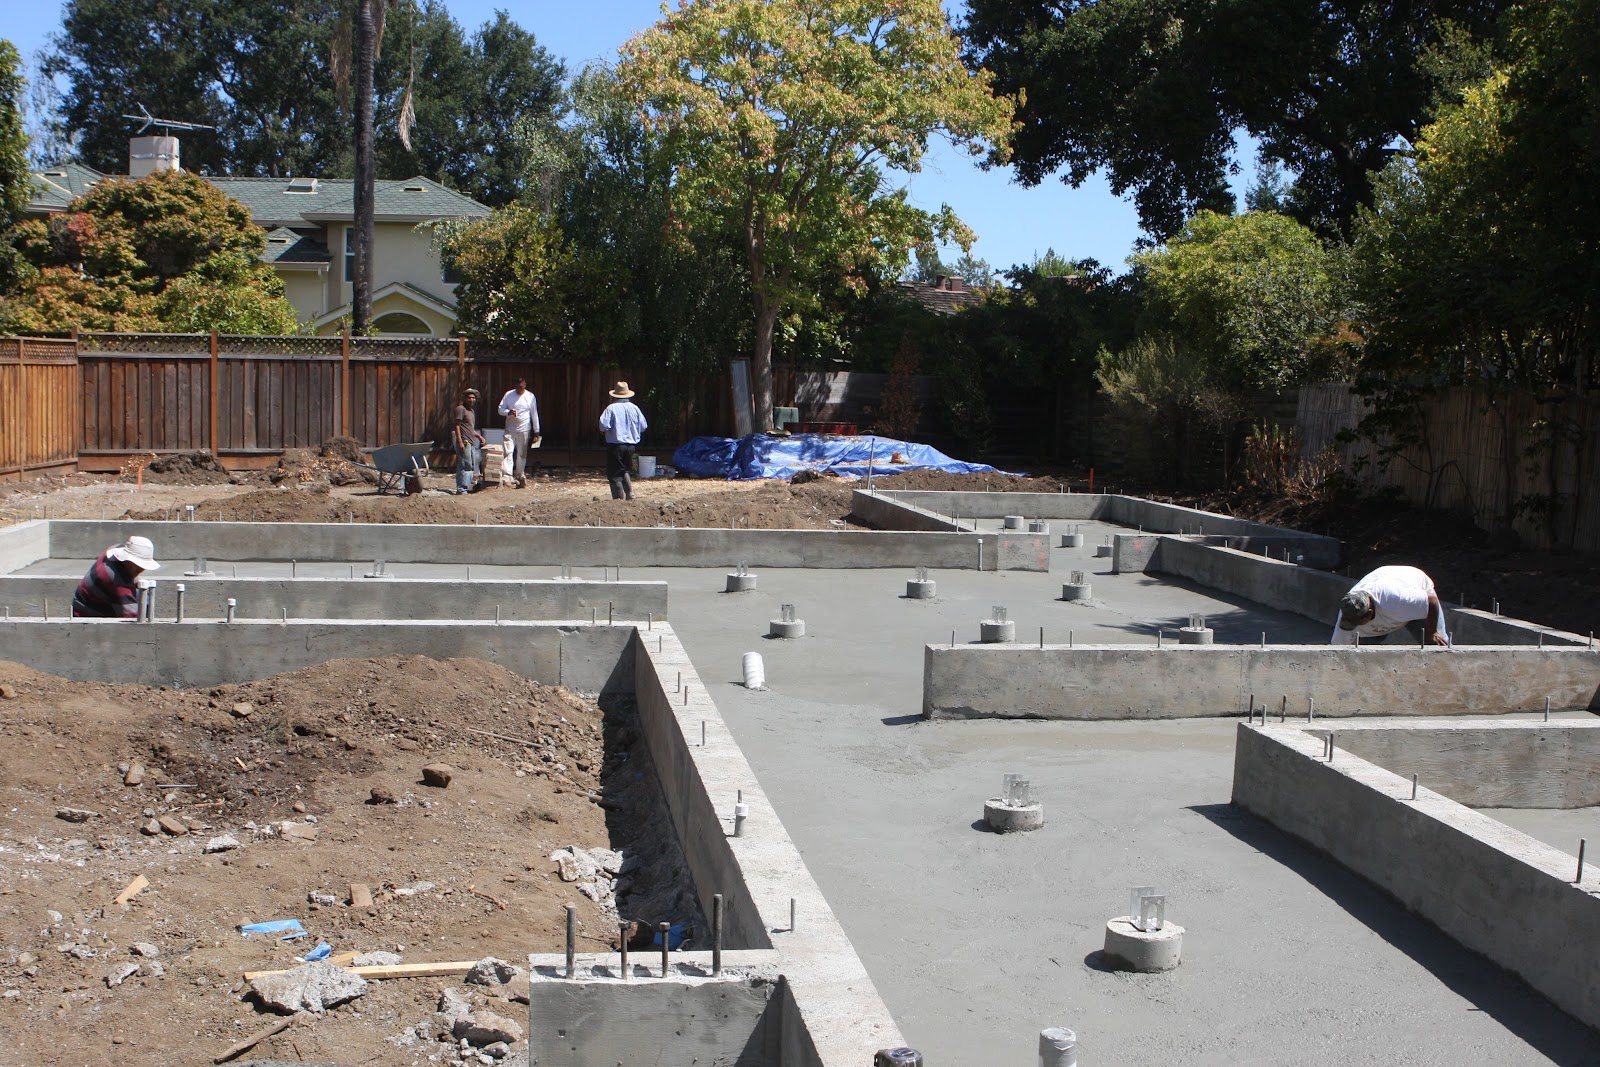
It's that time of year...the days are getting shorter, the supermarkets are stock piling Halloween candy and Fall is creeping up on us. Our construction is in full force and we're aiming to have the walls and roof in place before the rains come. The highlights of this next stage are some simple tricks our general contractor Jeff uses to avoid creaky floors and the horrors of poor plumbing. It's tempting to shave costs in the areas of the house you don't see, but cutting corners in the subfloor will come back to haunt you.
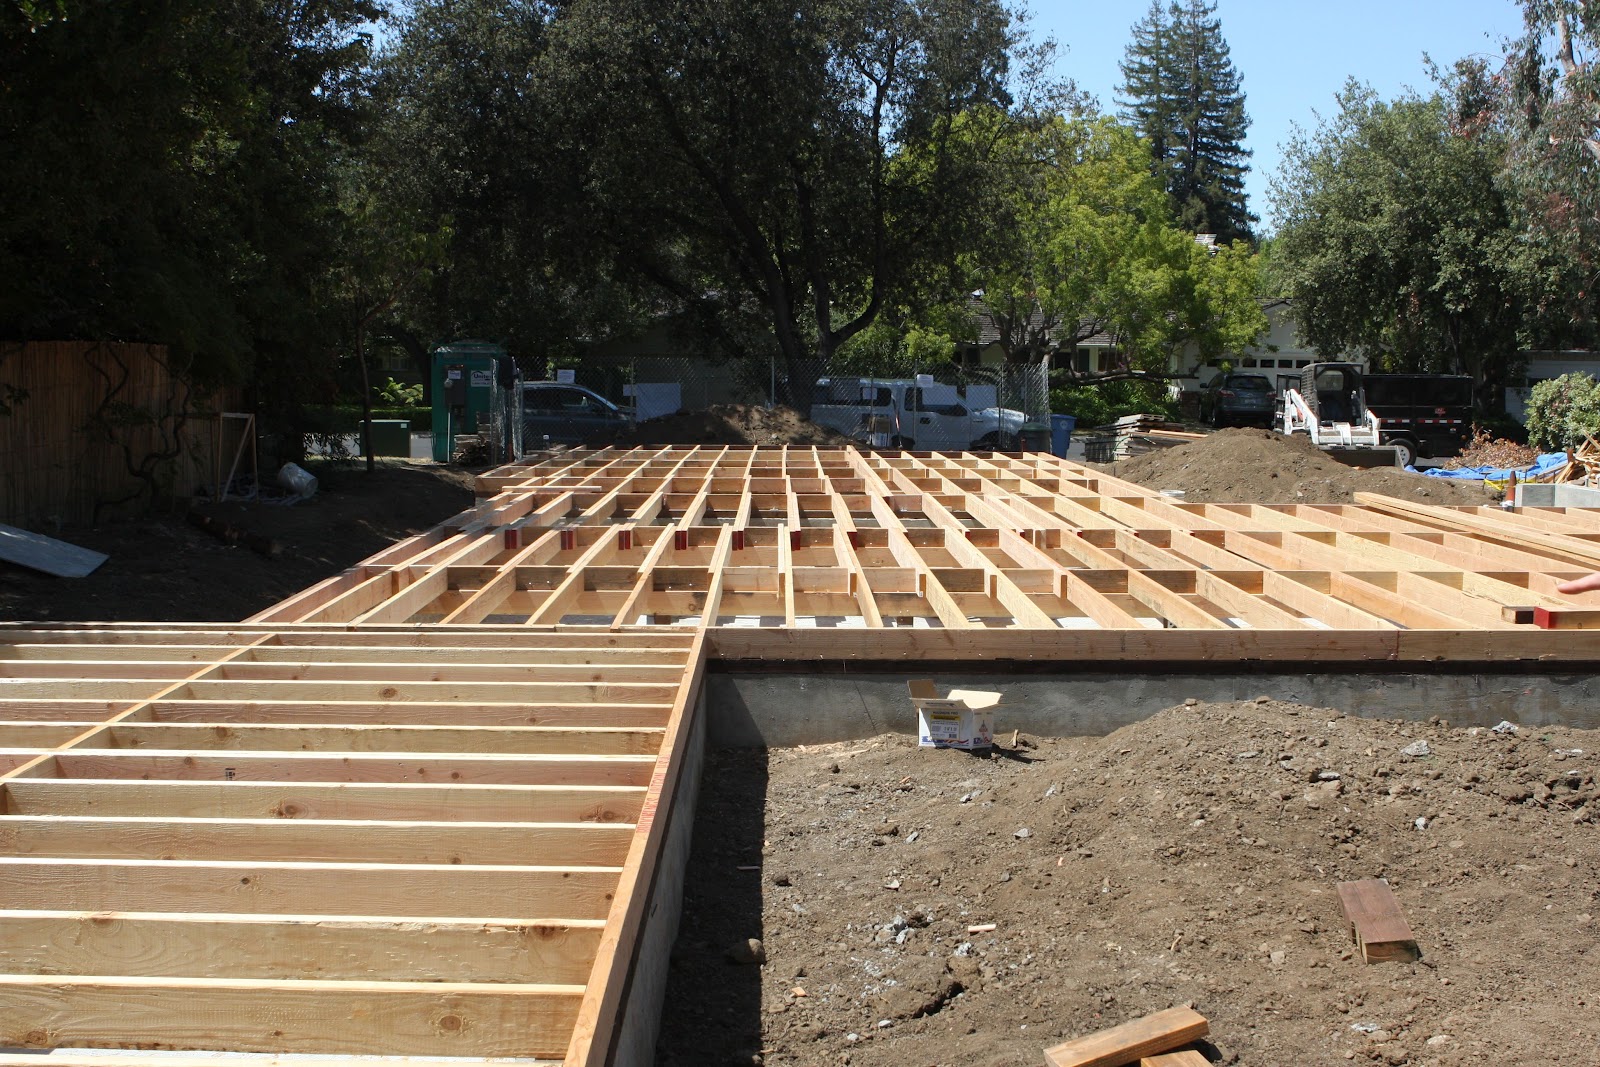
The Mudsill: When wood comes in contact with concrete it must be pressure treated to prevent rotting.
After the foundation comes the subfloor construction. The subfloor is the base for framing the walls and roof. It begins with the mudsill, which is treated lumber that is bolted down to the foundation.  Pressure treated posts get mounted vertically in the concrete piers and horizontal beams which extend across the length of the foundation are placed on top of them. Next, 2x6" floor joists get framed in creating a structure that looks like a platform bed.
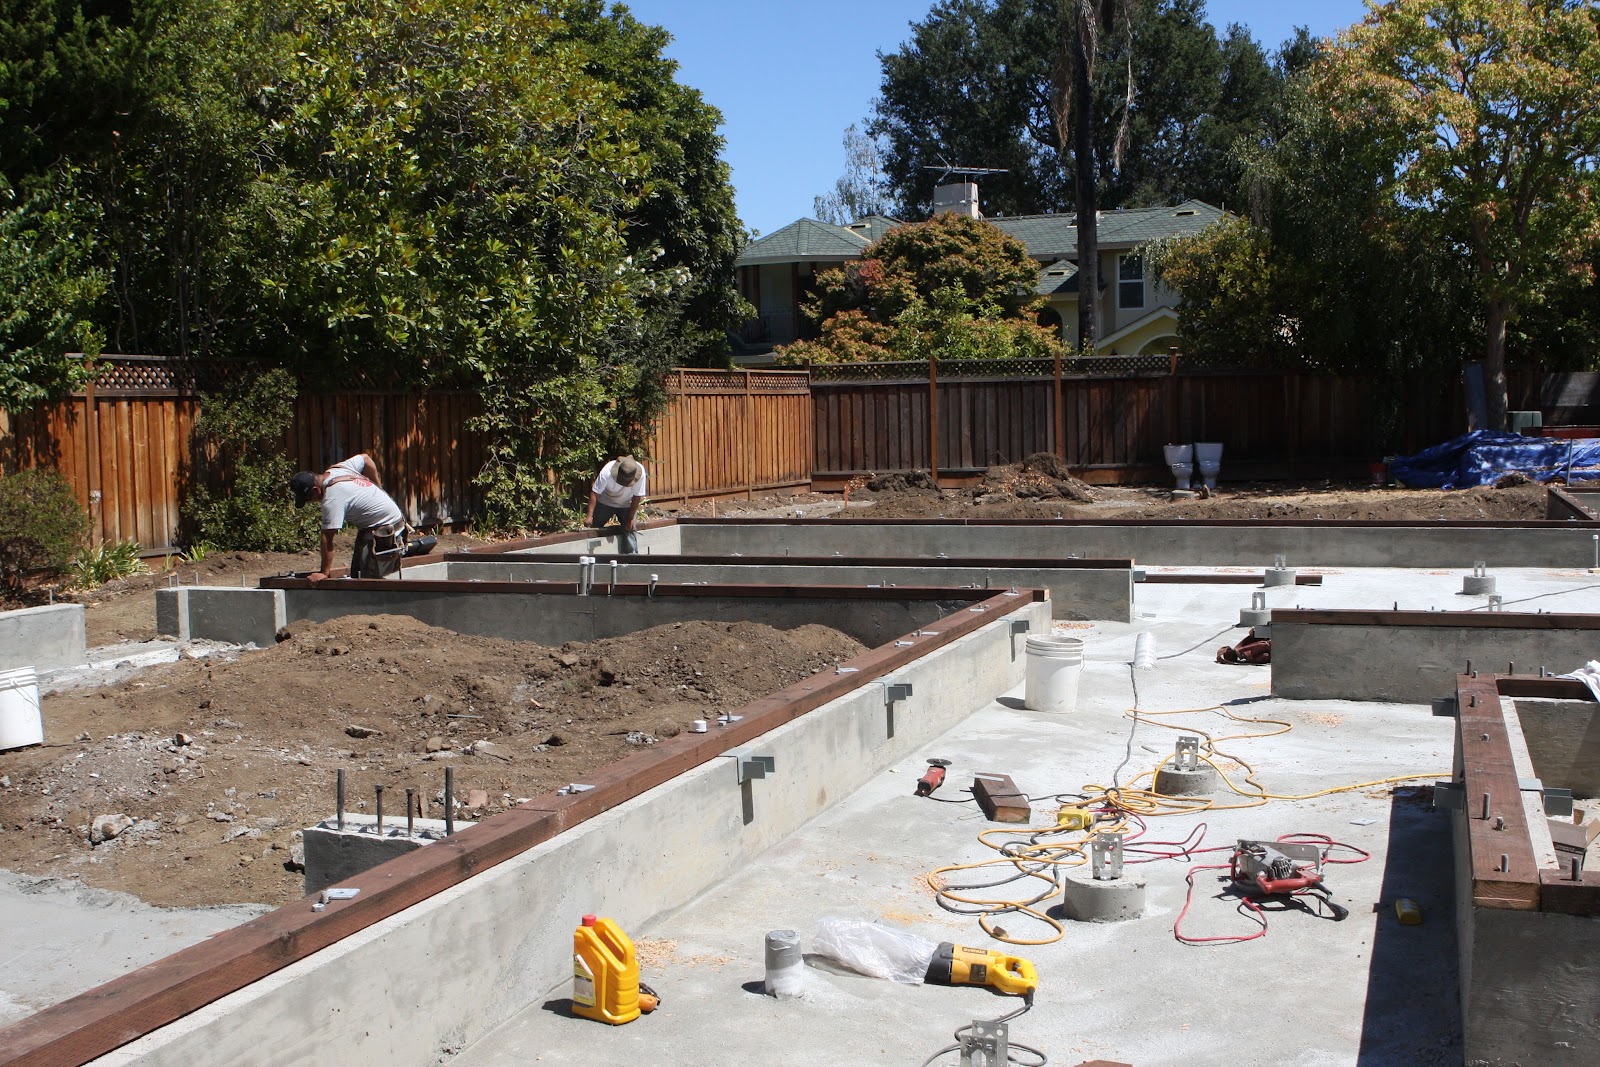
Astro supervising the layout of floor joists.
Tip #1: Avoiding a bouncy floor
One trick to creating a more sturdy floor is to double the floor joists in high traffic areas and rooms that will bear a lot of weight. This prevents the feeling of bouncy or shaky floors when people are moving around. Because we plan to have a large island and super sized appliances, we doubled up on the floor joists in the kitchen. Since people tend to congregate in the kitchen, this makes a lot of sense for most homes.

See if you can spot our kitchen (hint, it's the area with double floor joists)
Once the floor joists are in, the plumber sets up all the underfloor plumbing lines. Our plumber Antonio installed a combination of copper, cast iron and black PVC pipes--copper for the water supply, cast iron for the vertical drops and black PVC pipes everywhere else. One side note, some cities (like San Francisco) require all cast iron pipes by code.

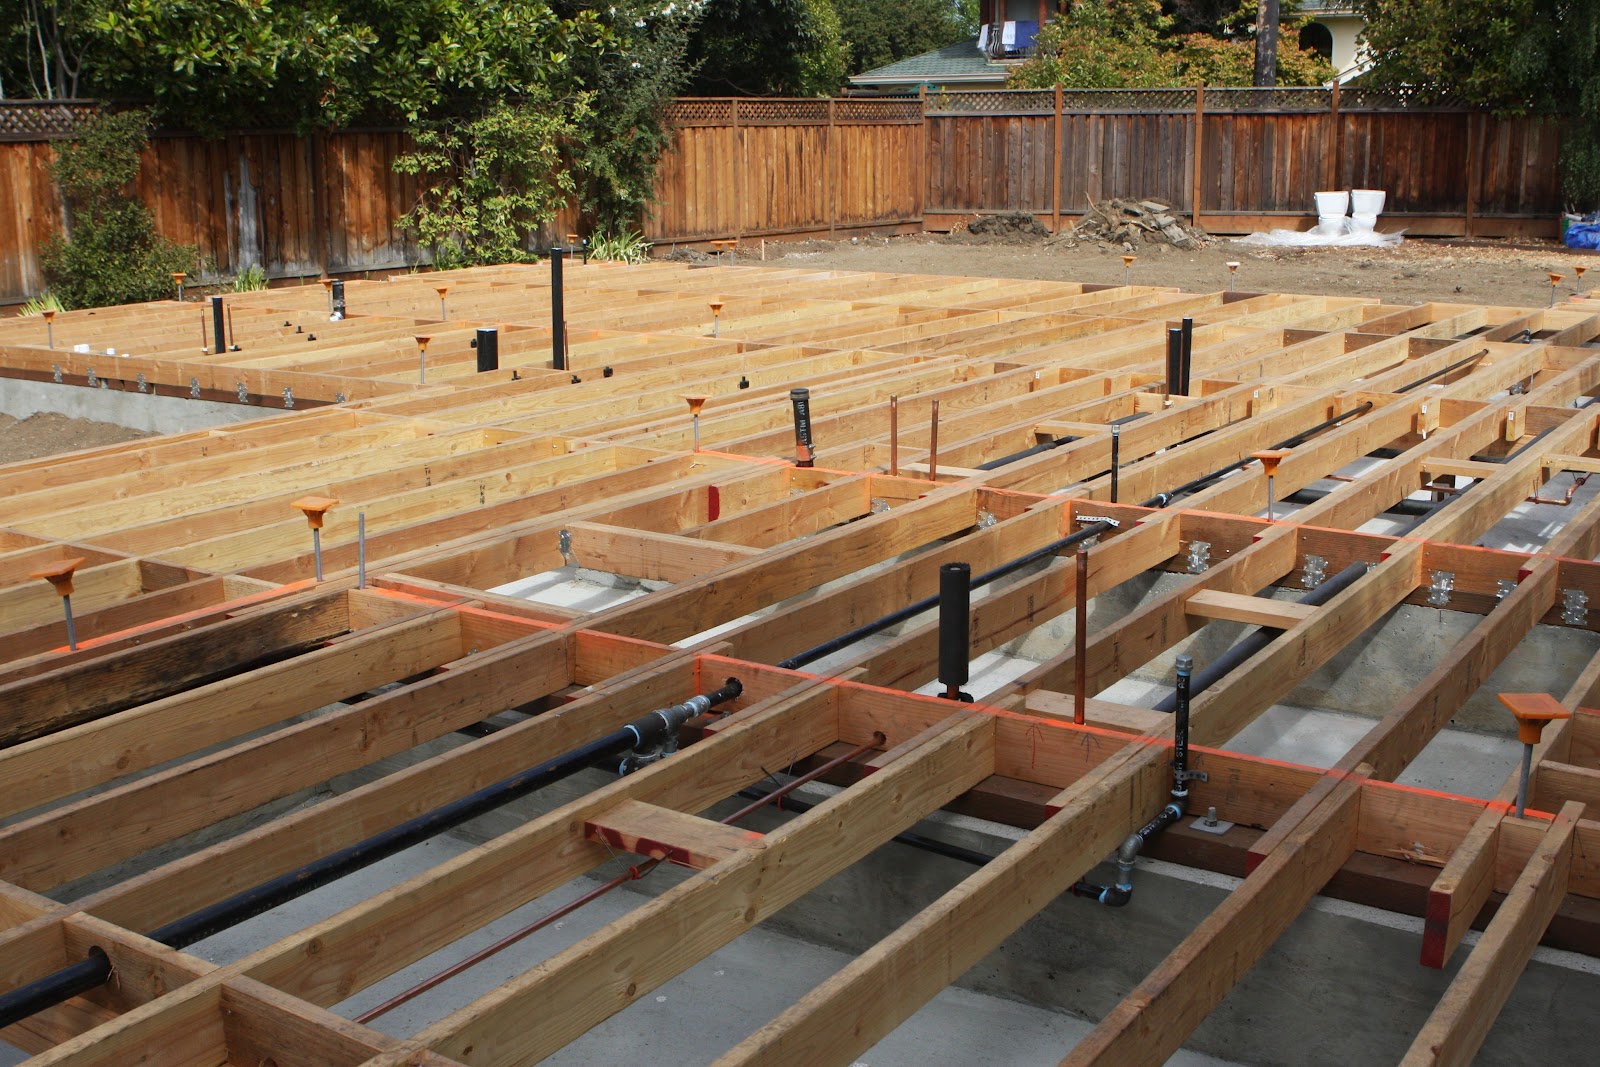
Don't be haunted by poor plumbing. 
Tip #2: Quiet your plumbing
While cast iron pipes are significantly more expensive and harder to install, they are quieter and better for sound control. Jeff has our plumber using cast iron pipes for the all the drops and pipes that run through our walls.

Tip #3: Beware of the PEX (aka rat bait) shortcut 
This tip is courtesy of my builder pal, James Witt.  PEX tubing is a popular way to save money. It's a flexible waterline that is increasingly used to replace copper pipes. Unless embedded in a slab, James says PEX is a shortcut you don't want to take because rats treat it like a chew toy.  PVC should also not be used for water supply pipes because they can leach chemicals. James says  if you have exposed piping, copper is well worth paying for in order to avoid pesky leaks and ensure safe drinking water.

Once the plumbing is set up, insulation goes in and we are now finally ready to cover it all up with the plywood subfloor.

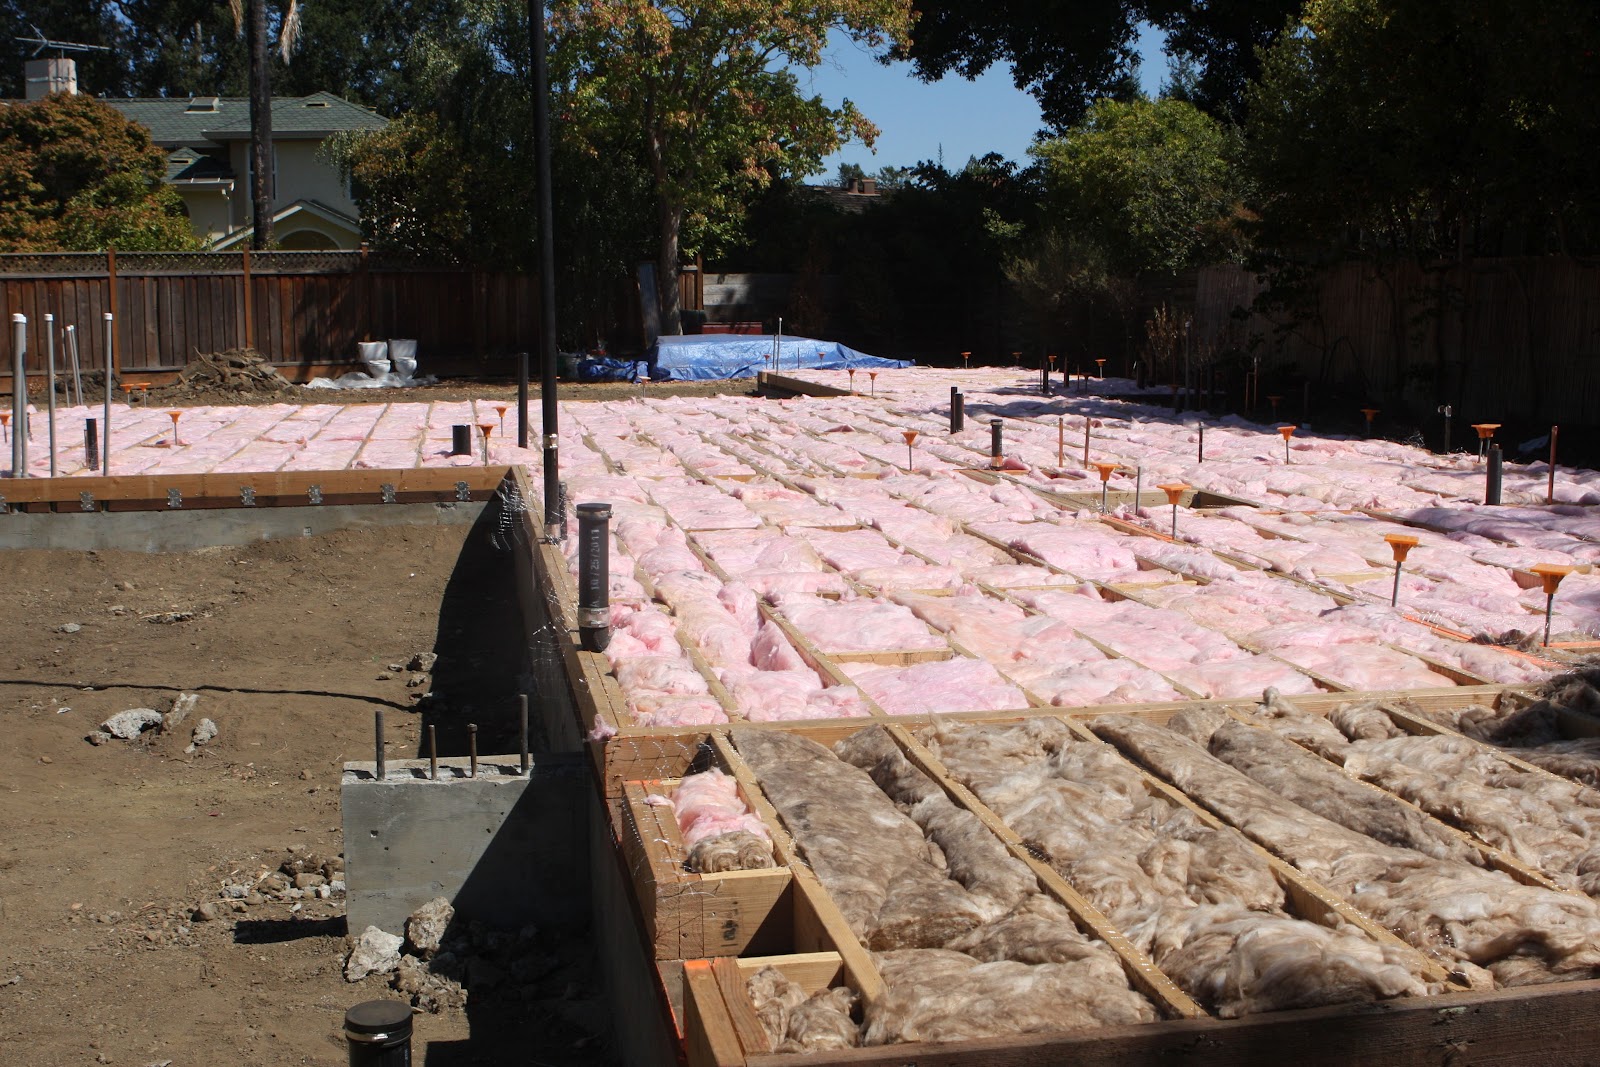
Subfloor insulation keeps the winter chills out.
Tip #4: Avoiding creaky floors
Creaky floors are often caused by a loose connection between the floor joist and the subfloor. To combat this, Jeff made two small upgrades to ensure that our subfloor stays put for the long haul. First off, he opted for a premium grade glue to be applied between the subfloor and floor joists and secondly he used screw nails which are threaded and have more holding power than standard nails.

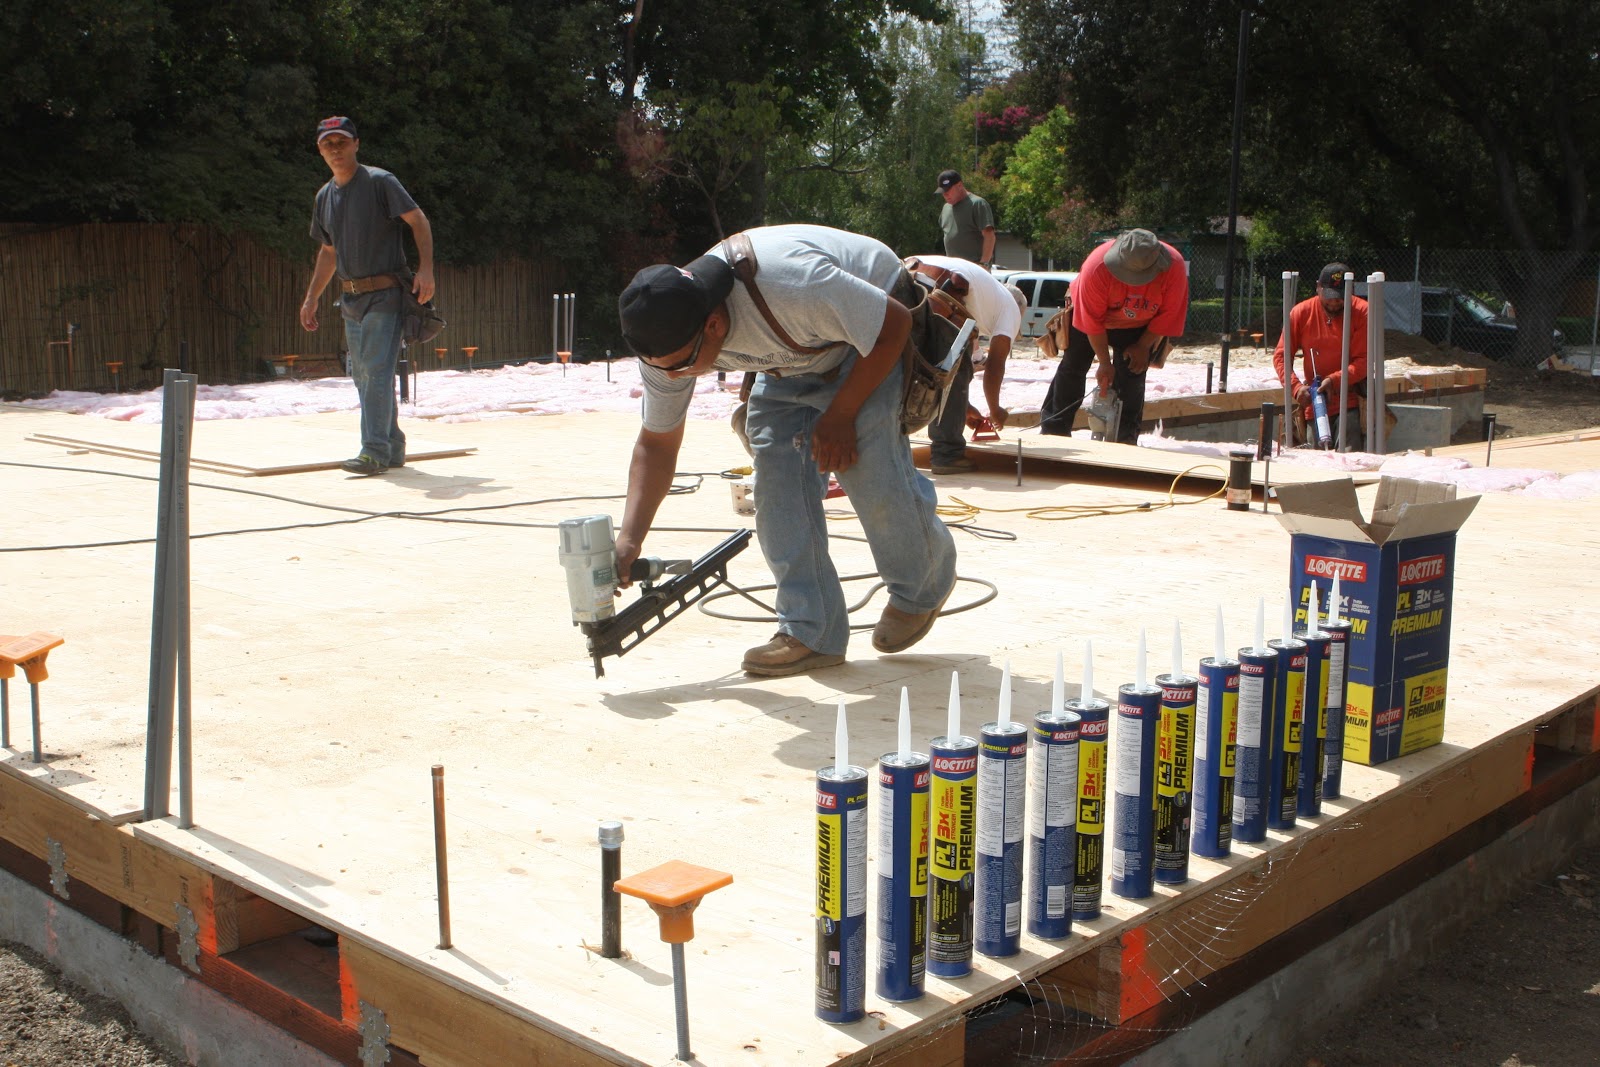
Premium glue and screw nails will keep this puppy down.
And voil?! The subfloor is finis!
Scooby approved subfloor. No spooky creaks, squeaks or leaks.

Monday, September 17, 2012

Building a Rat Slab

As you may recall, we left off my last post, How to build a foundation & please your inspector looking like this:

Step #1: Shovel dirt out of the middle of the house & lightly slope ground towards a designated drainage area.
What you may not have noticed was the gargantuan dust bunny flying in the middle of the shot. (I suppose you were all too busy admiring the blue condoms.) Well, the flying dirt was being shoveled out of the middle of our house as part of the process of building a rat slab. A what? Yes, a R-A-T slab. That was exactly my response when my builder friend, James Witt said that it's a sign of a well-built home. I'm sorry, but whoever coined the name flunked Marketing 101 because I have definitely never ever seen a "rat slab" featured in those glossy brochures they hand out at open houses.  

Despite its ugly name, a rat slab is an upgrade worth considering when building a house on a perimeter foundation. It's one of those inside baseball upgrades that builders put into their own home but maybe not yours. So if you're buying a new home, ask whether the house has one...it's a telltale sign that the builder cared about more than just the bottom line. A rat slab is basically a thin layer of concrete that is poured over a vapor barrier in the crawlspace of your house. The floor is sloped towards a hole that contains a sump pump and automatically drains water out. A rat slab is not required by Palo Alto code but here are some of the benefits:
  • Helps keep pesky ground critters from getting into the house (rodents & subterranean termites) 
  • Keeps water from percolating up from the soil which prevents mold & water damage under the house (better indoor air quality)
  • Creates a cleaner underfloor environment & makes crawling under the house easier (your contractors will thank you)
We have about 1900 square feet of living space on our ground floor and the quote our general contractor received for building a rat slab was $4600 for labor and materials. As someone who has never in my life ventured into a crawlspace, I was a bit skeptical about spending the extra money to make it nice. I also spoke to a neighbor who confirmed that she's never had problems with moisture under her house. There are some areas in town where the water table is high and a rat slab is a no brainer, but Green Acres doesn't seem to be one of them. Nevertheless, when your building idol (who's been in the biz for 40+ years) tells you to just do it, you just do it.

Here's a photo documentary of the making of the rat slab. It took one afternoon to dig out the extra dirt and slope the floor, then another day to lay the ground cover and cement. Yours truly even put down her camera and helped with the digging. (She is still sore from the effort but has a nice tan to show for it.)

*Builder's tip from James Witt:  Have your concrete provider add fibers to the cement. When concrete is poured thin it has a tendency to crack, the fibers will make it stronger.

Step 2: Cover the entire ground area with Visqueen plastic sheeting to act as a vapor barrier.
Step 3: Pour and spread the cement about 2 inches high.
Step 4: Quick! Smooth the cement before it dries.
Step 5: Admire your new roller rink.
Step 6: Put your paw prints at the entry way.
Thomas & Astro showed up at the end of the day. Rats, the slab is already dry!