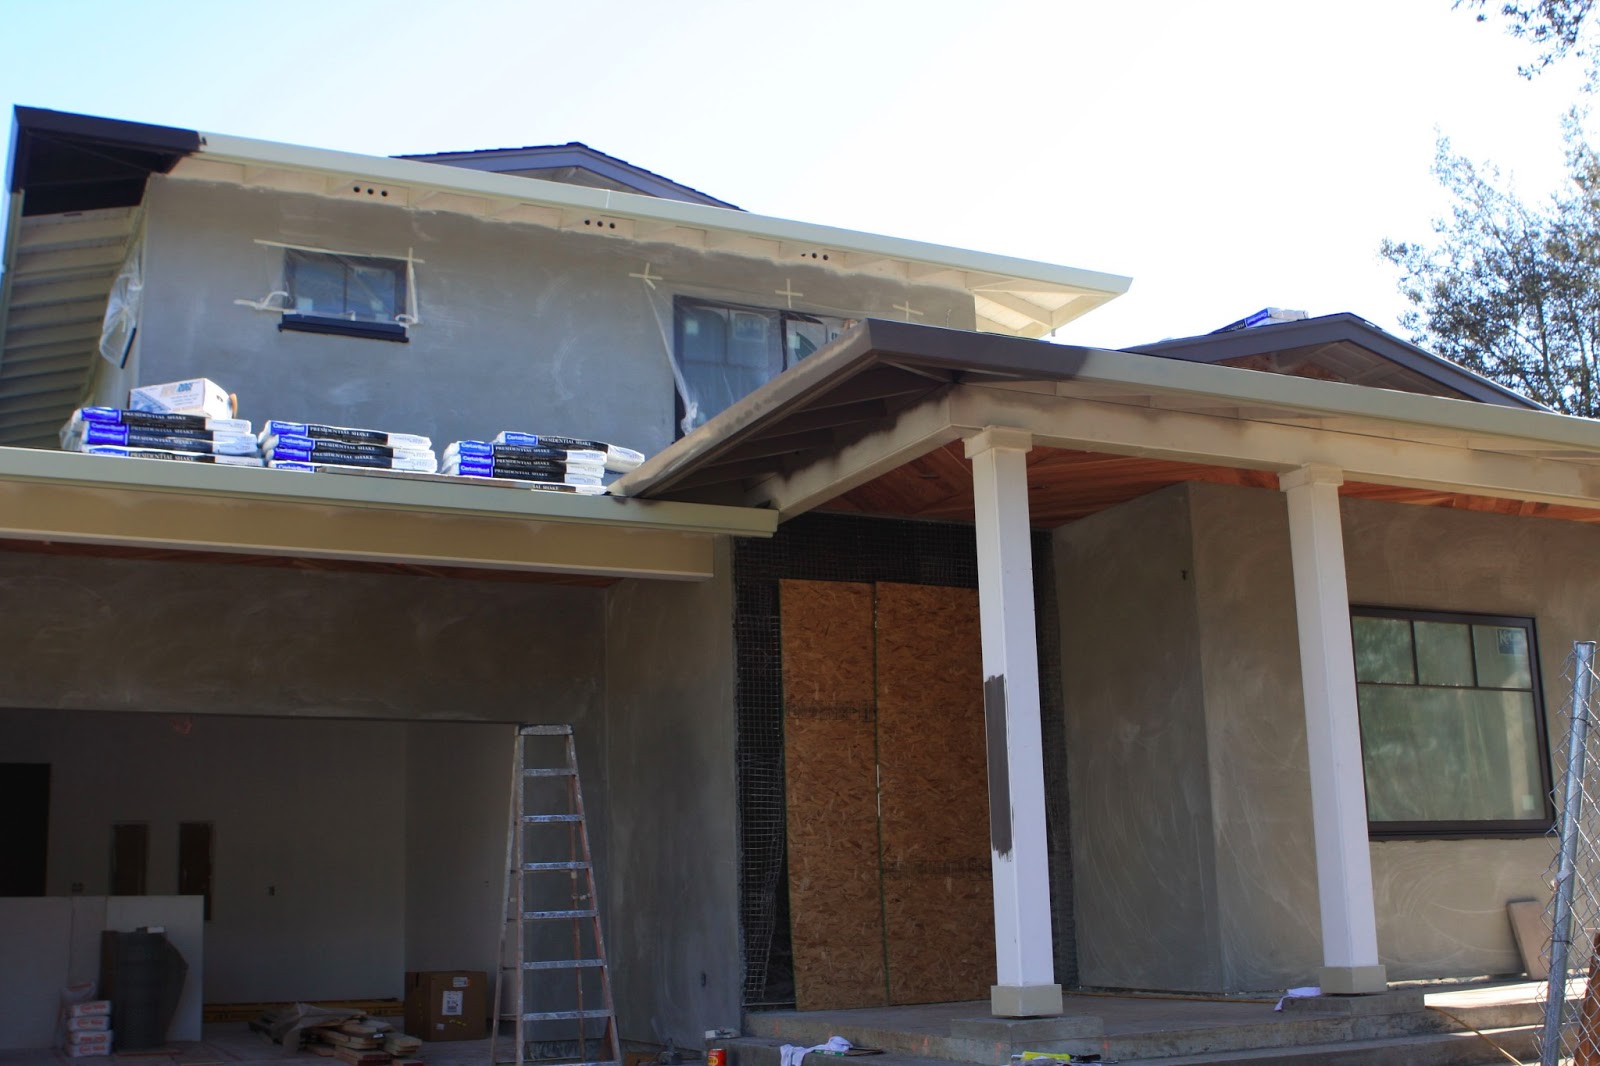
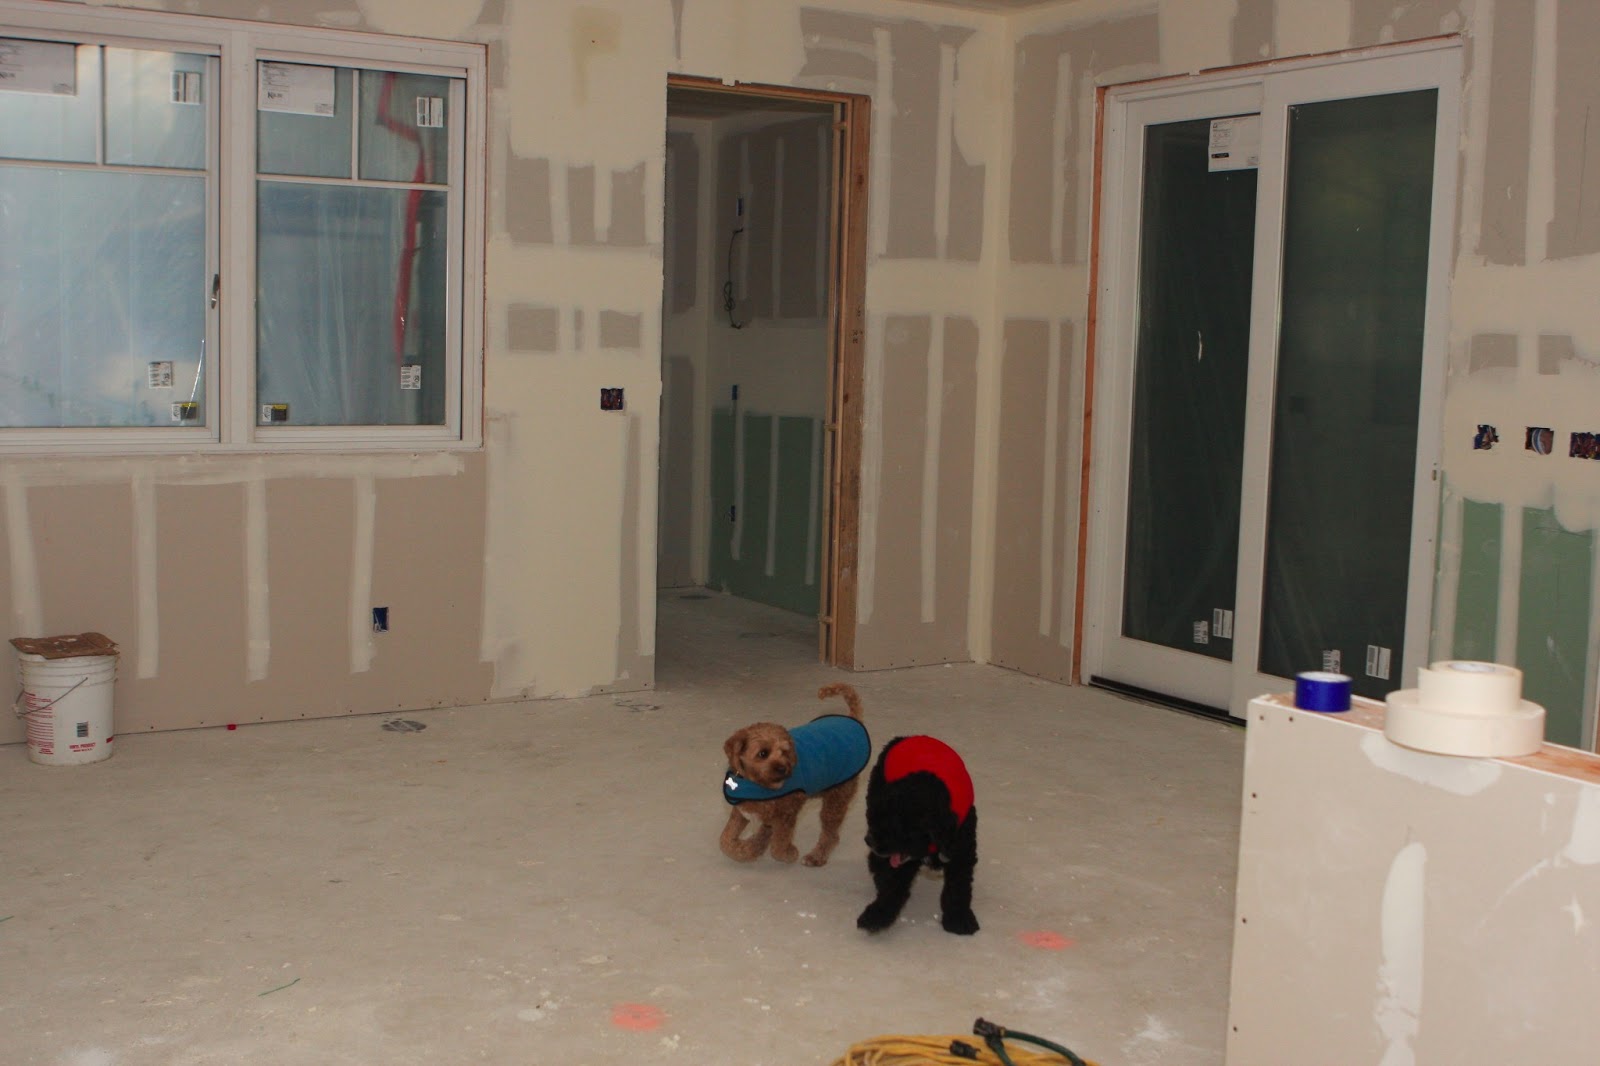
Somewhere along the line we got the crazy idea that we wanted our house to be the color of a Weimaraner dog. Weimaraner's have a shimmery silver-gray coat with soft brown undertones that change color with the light. Needless to say, it was a tall order but in the end our plaster master, Aparicio took home best in show honors for his beautiful Weimaraner stucco:
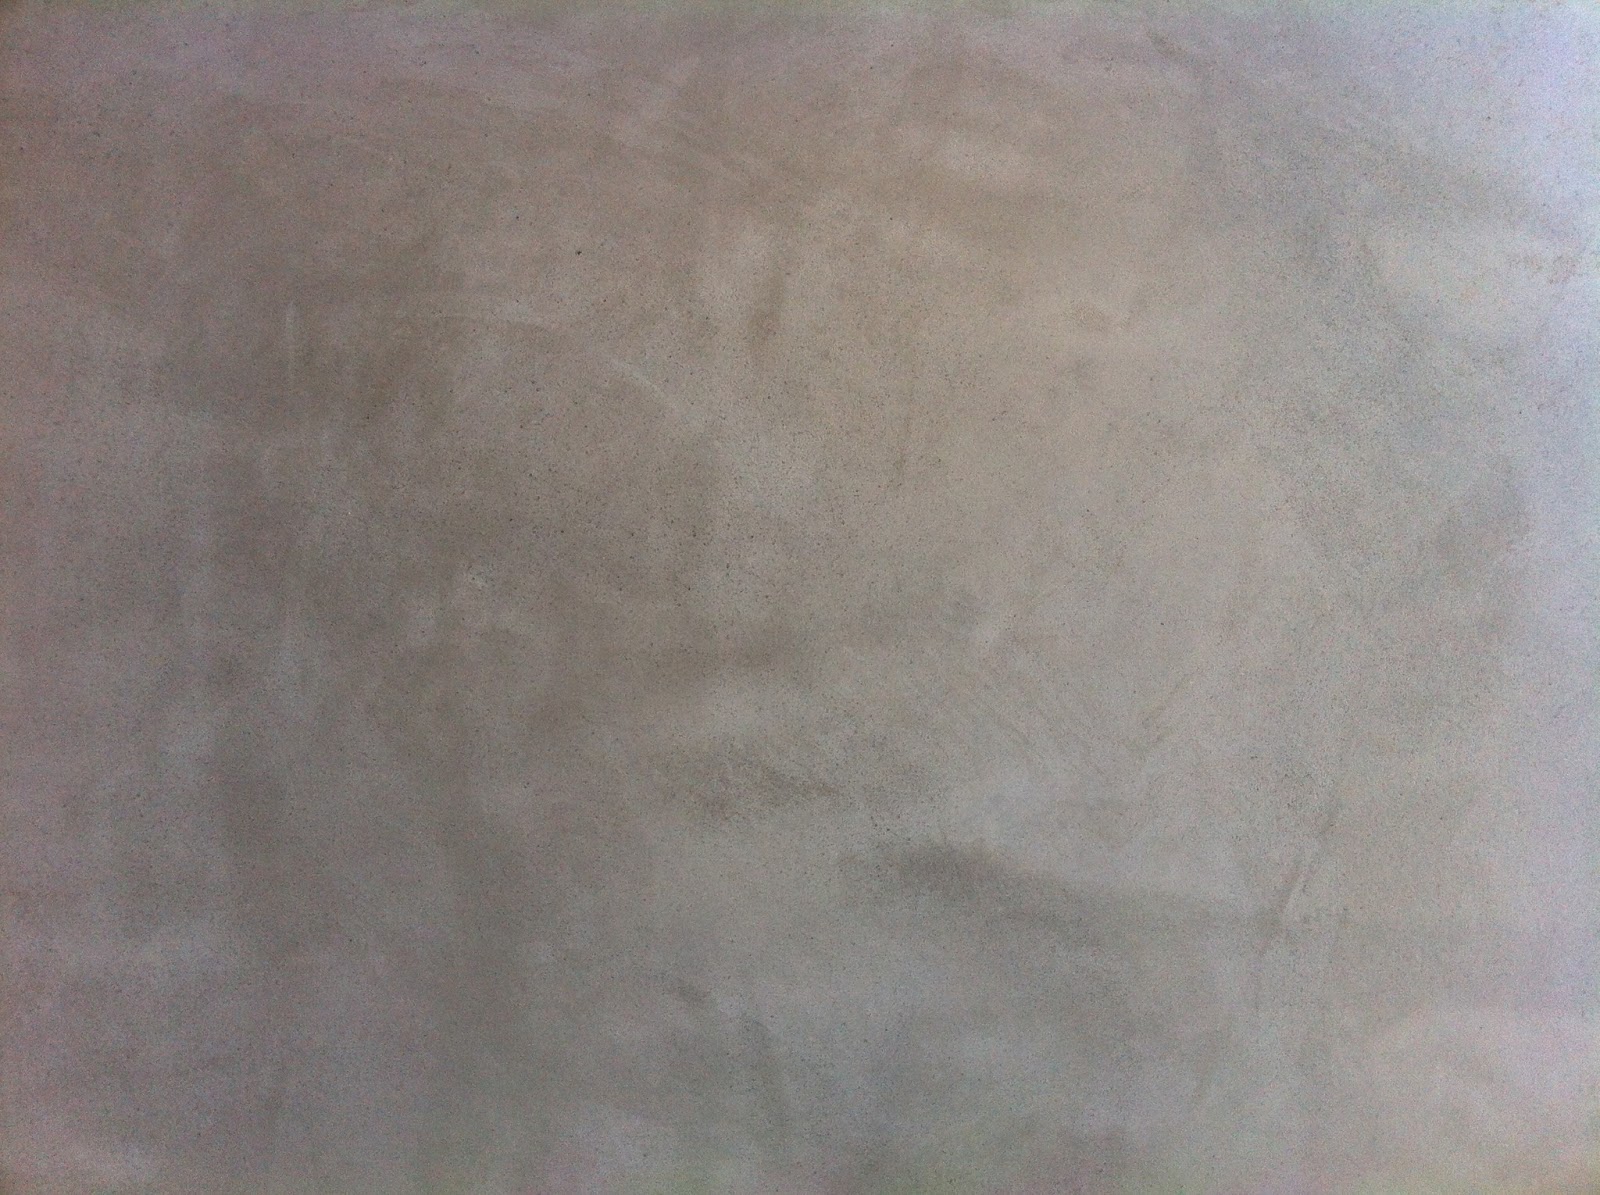 |
| Close-up of our new "Weimaraner" stucco coat. Can you spot the silver-gray and soft brown undertones? |
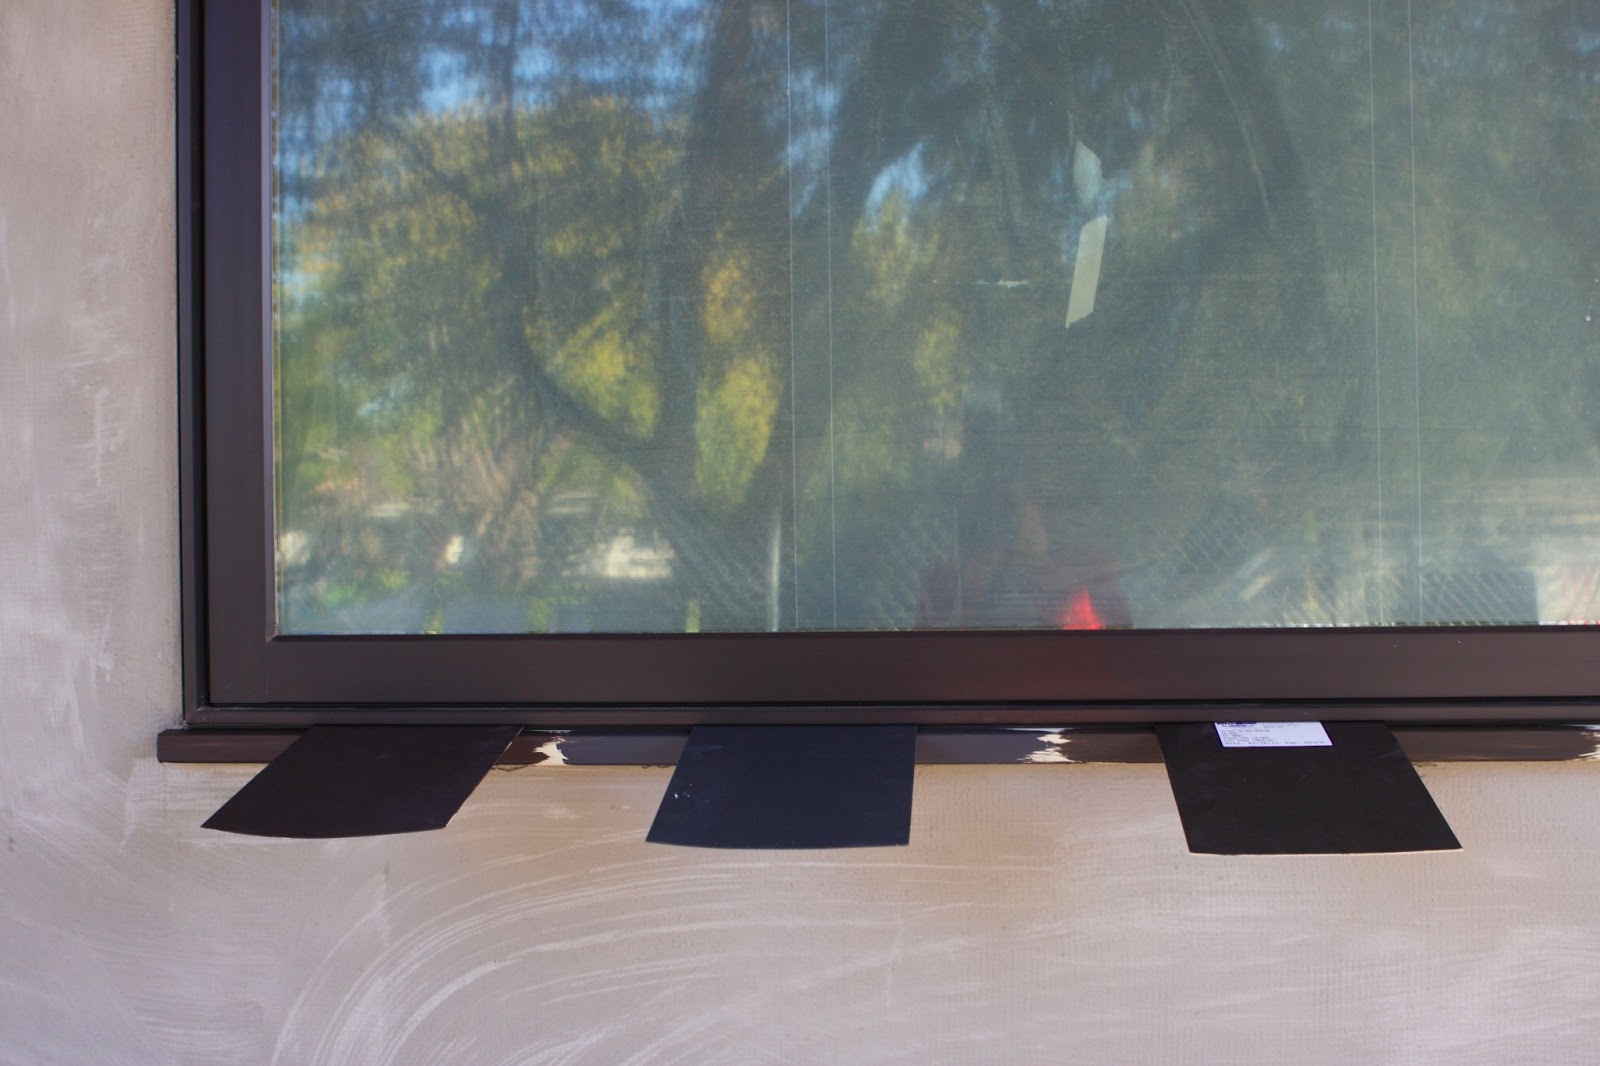
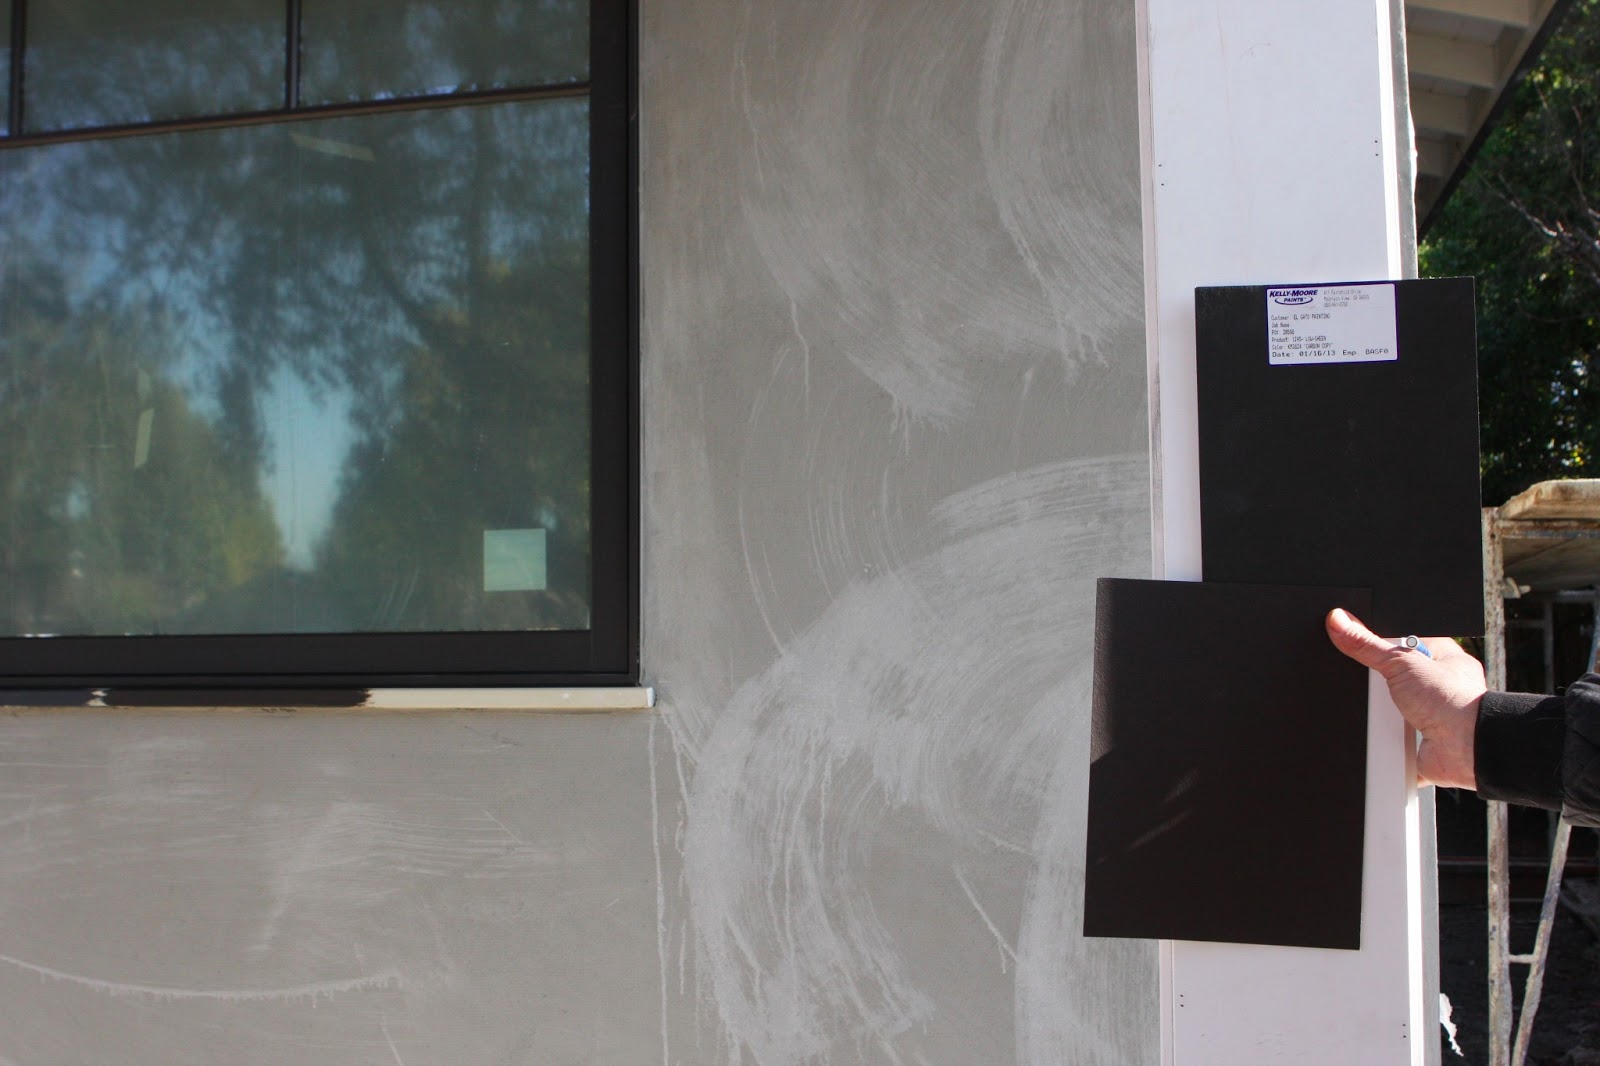
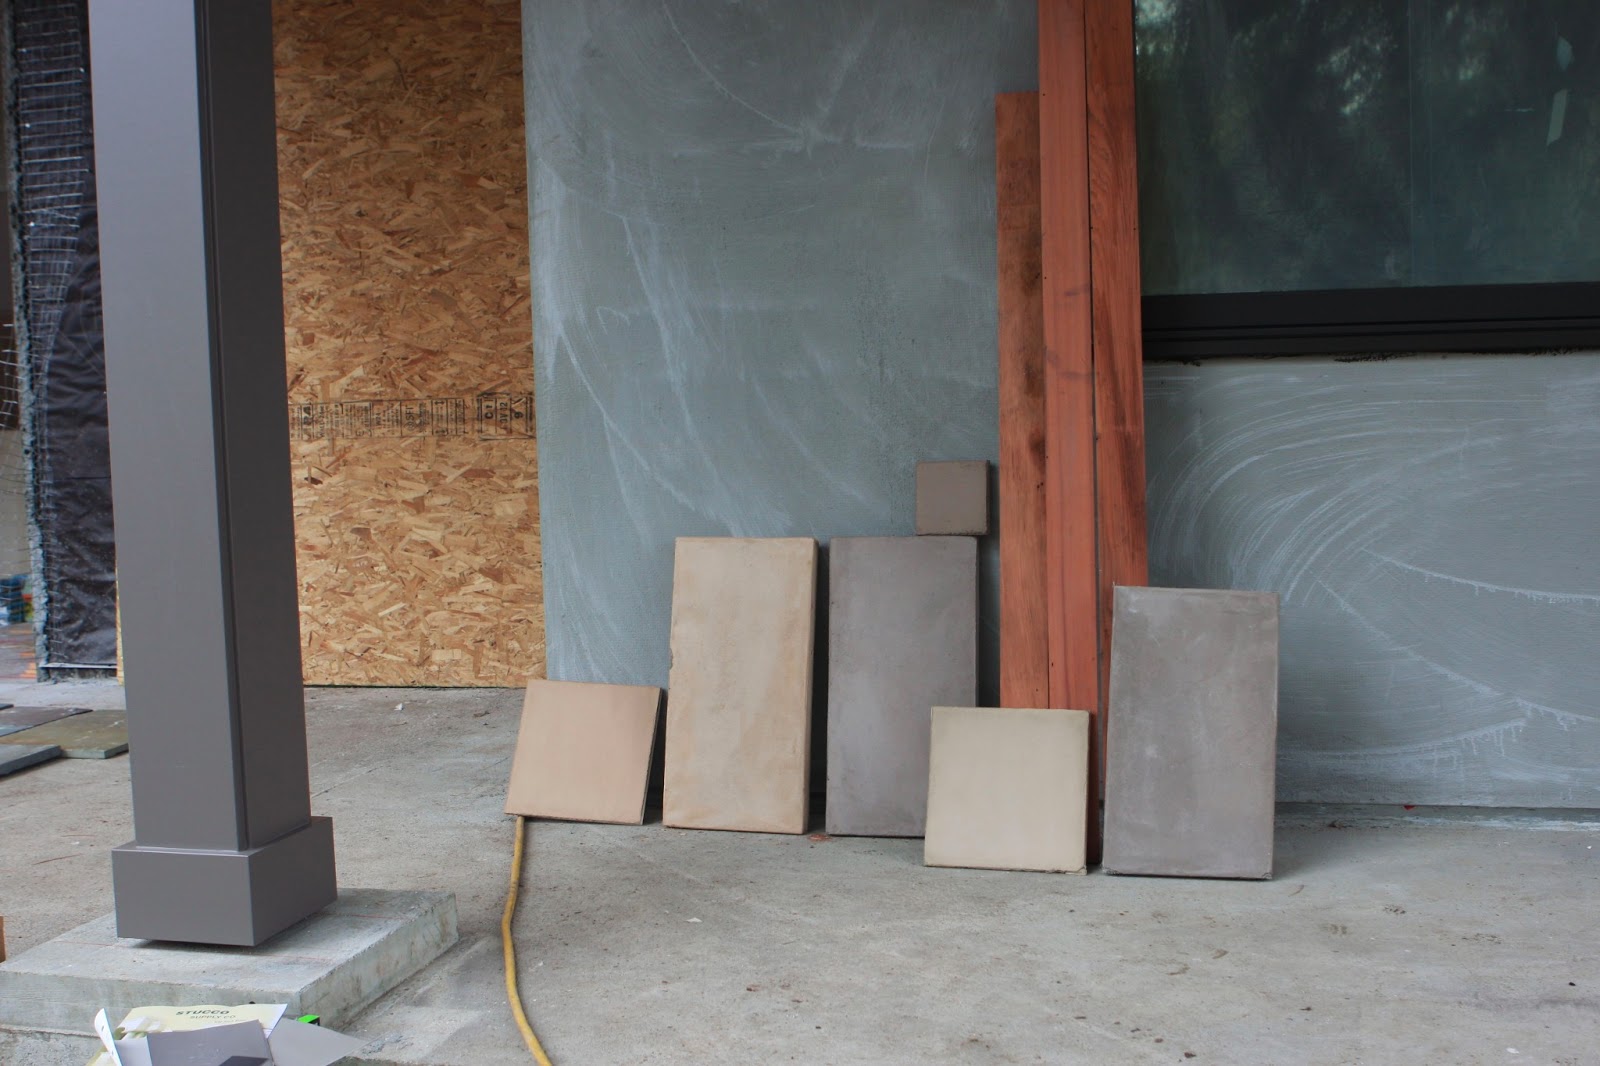
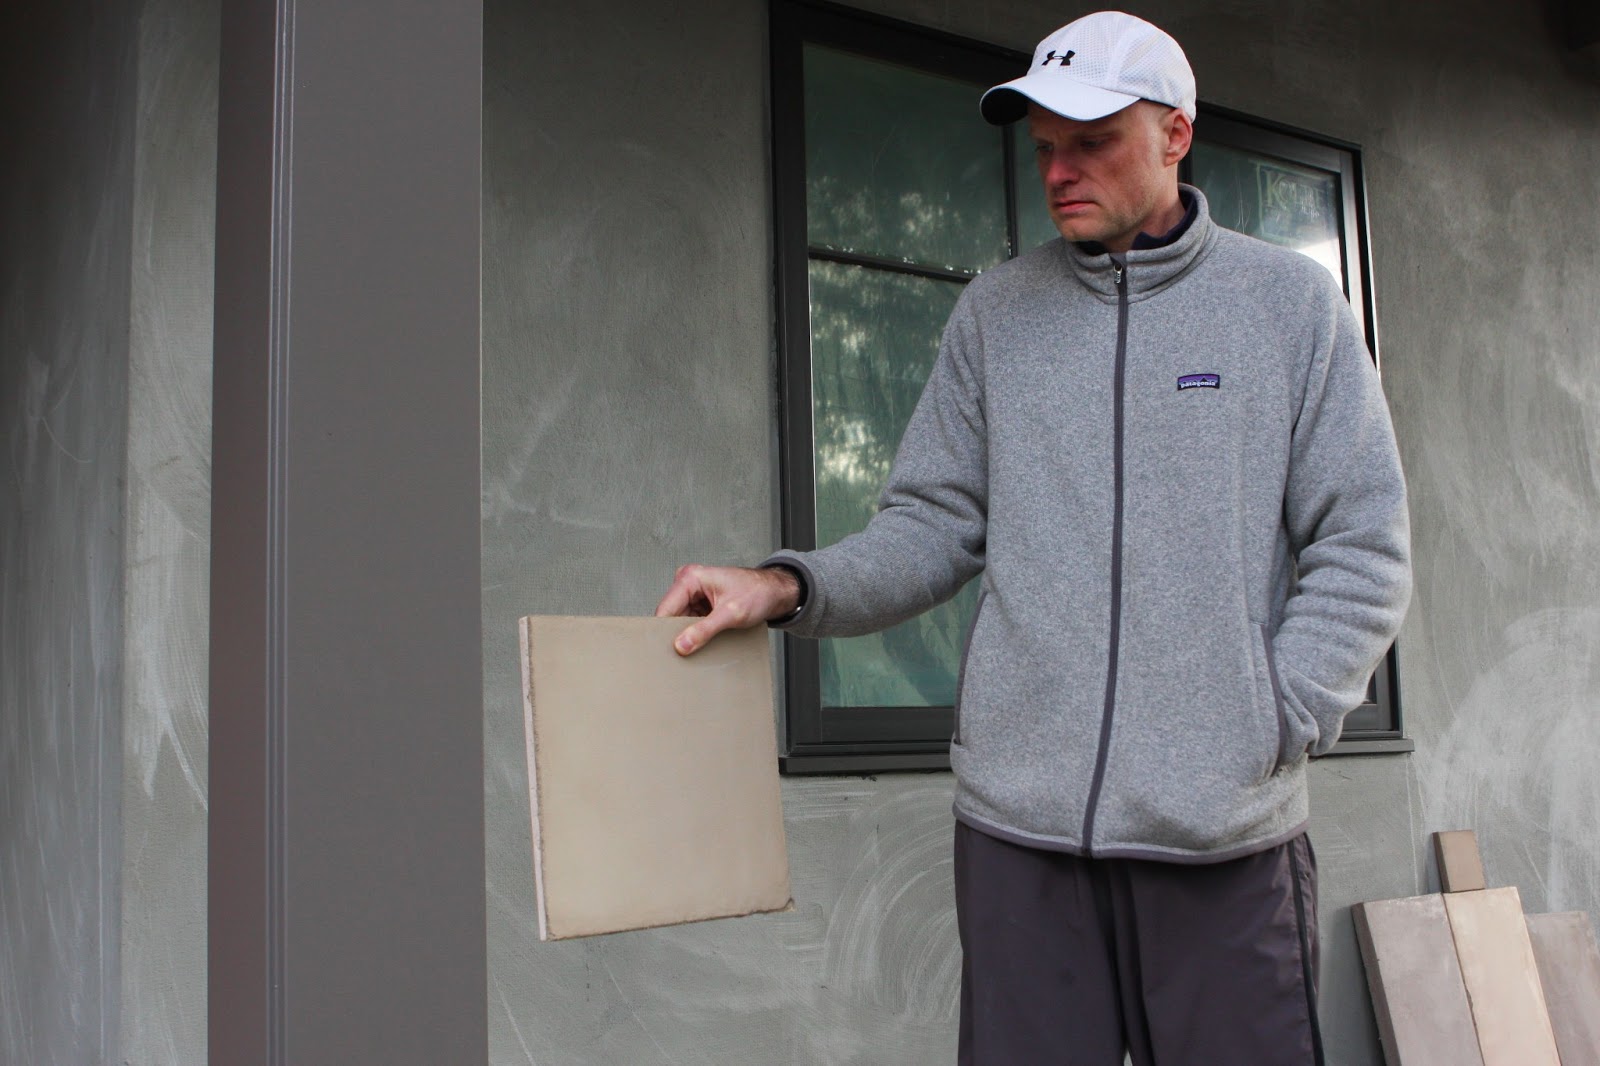
The process of creating the custom color took several weeks mainly due to our waffling indecision. Aparicio actually produced the winning color on his first attempt but we had to see six more samples before we were convinced it was the one (a true testament to the man's patience and customer service).
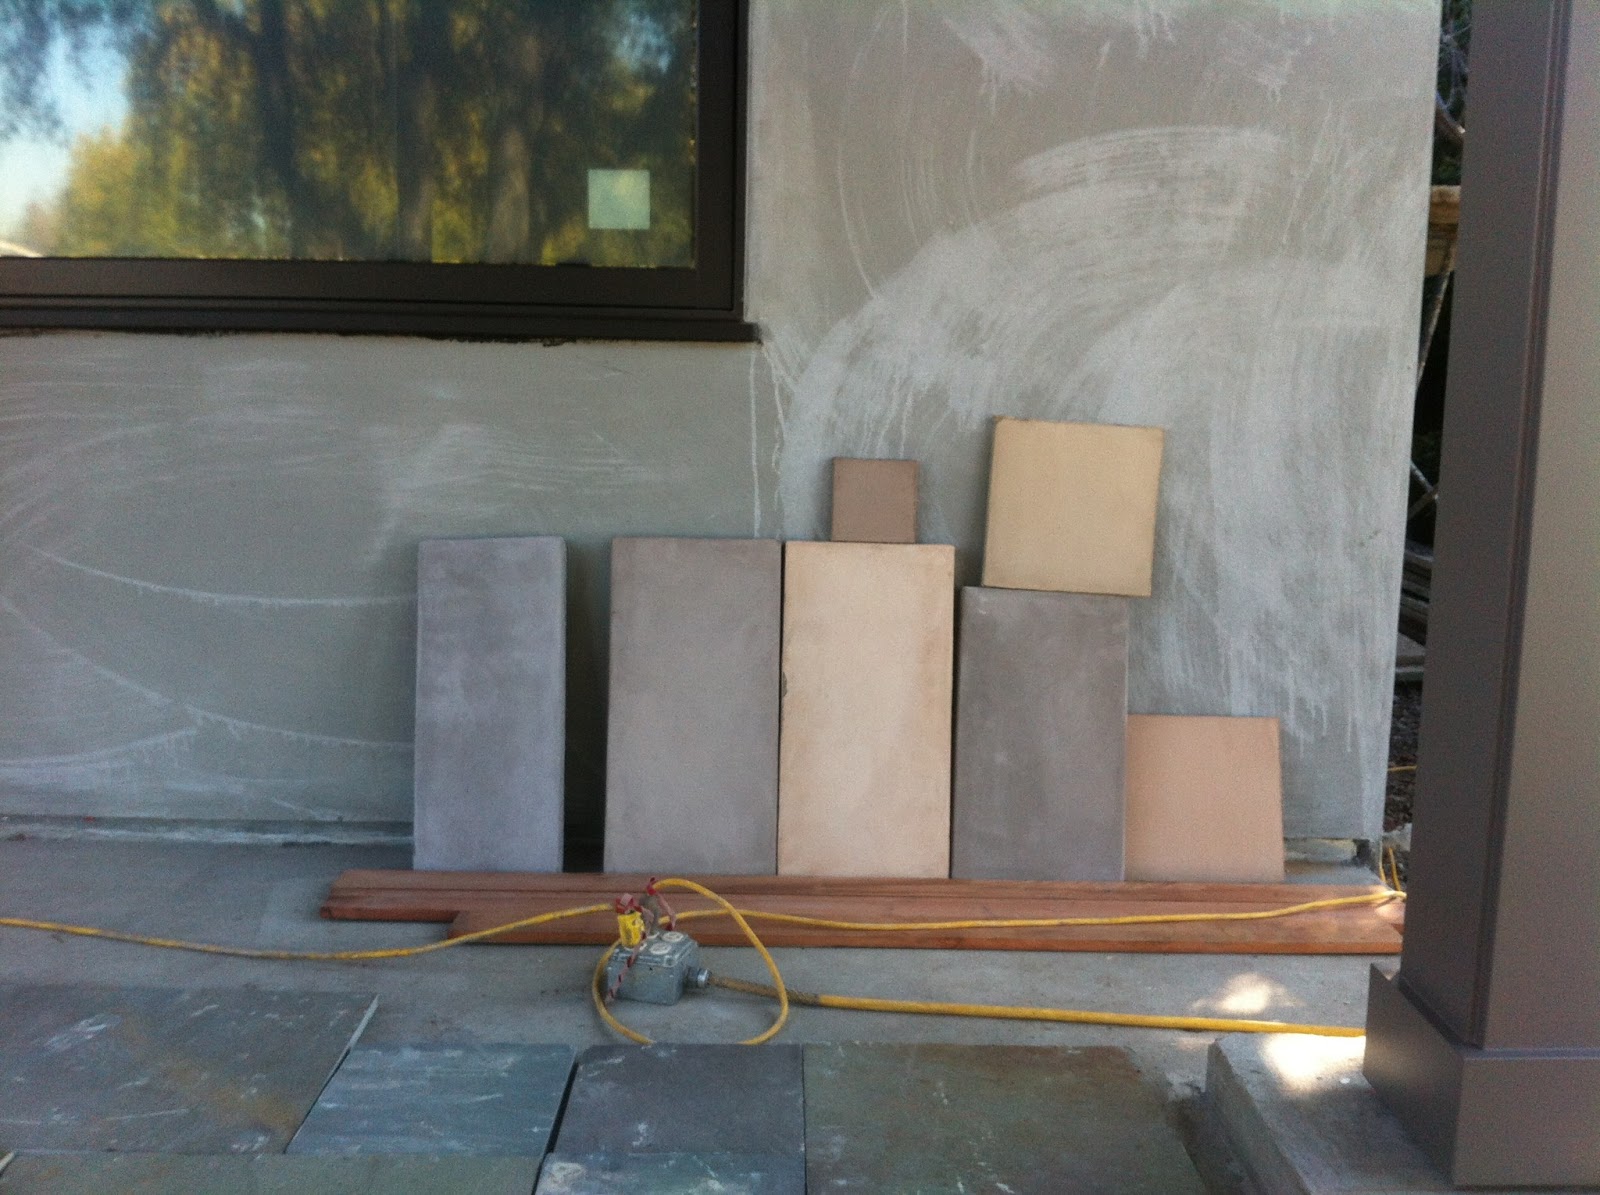 |
| The contestants line up for judging. Midway through the process we started considering other breeds. |
We temporarily considered going in another direction, (how about an Astro-colored house?) but in the end we stuck with our original plan.
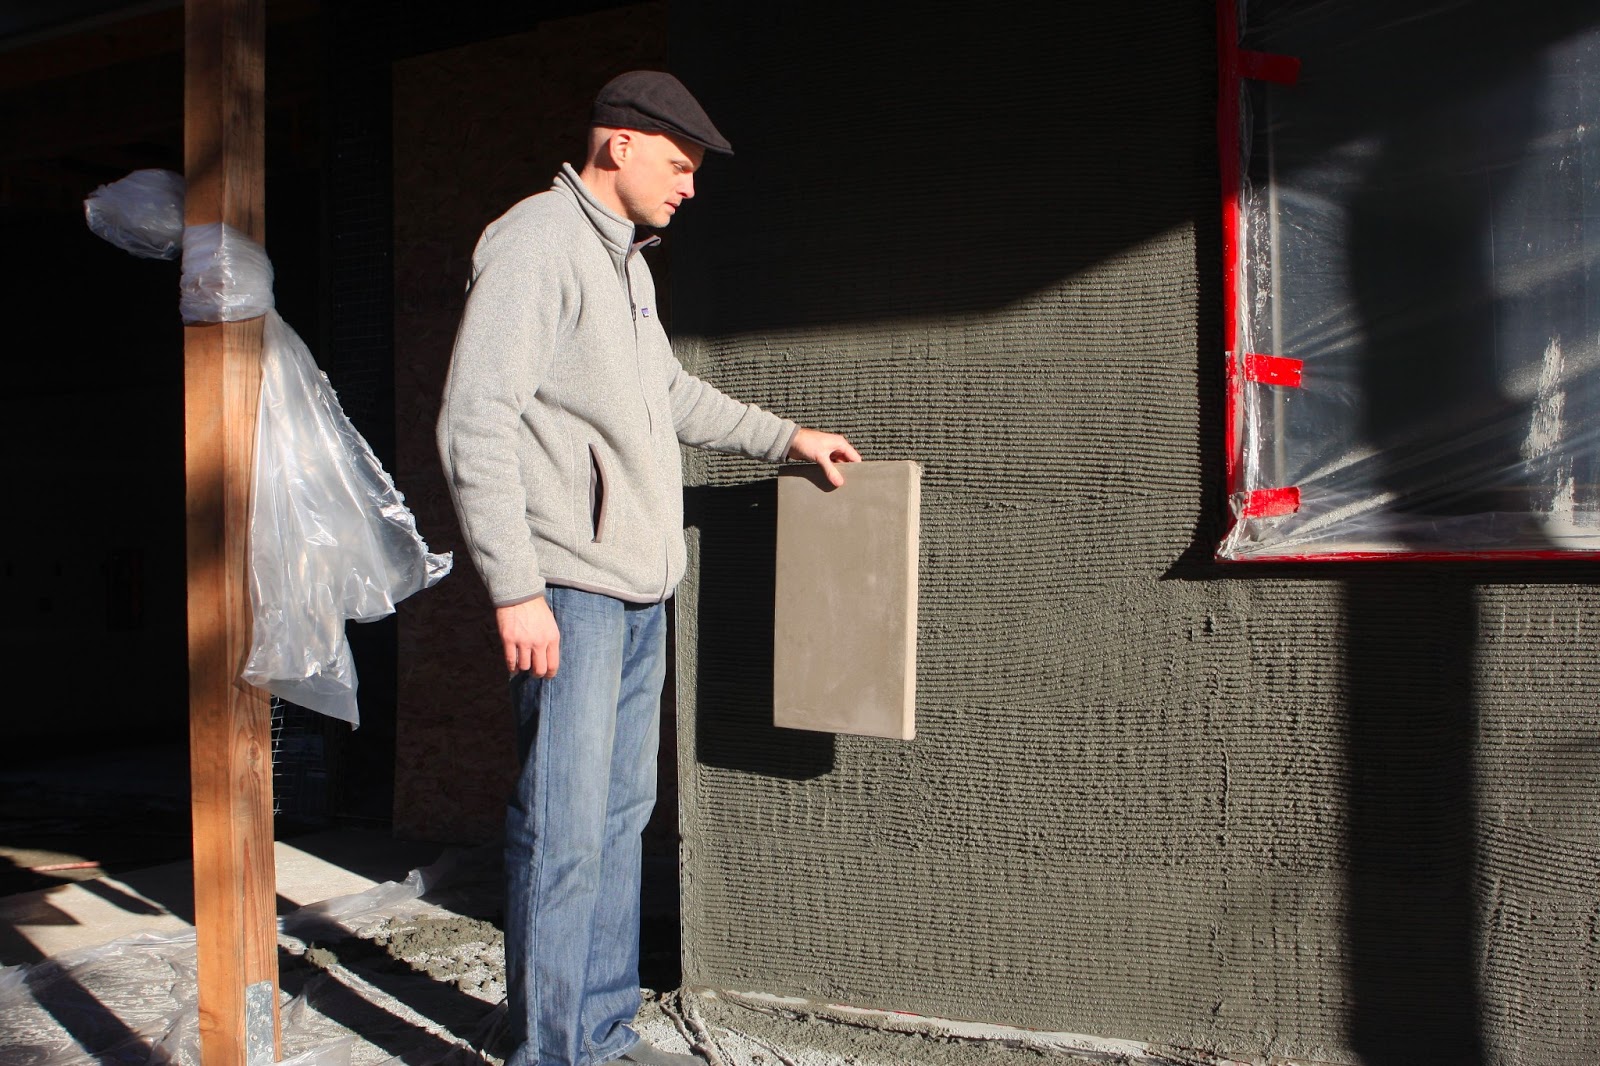 |
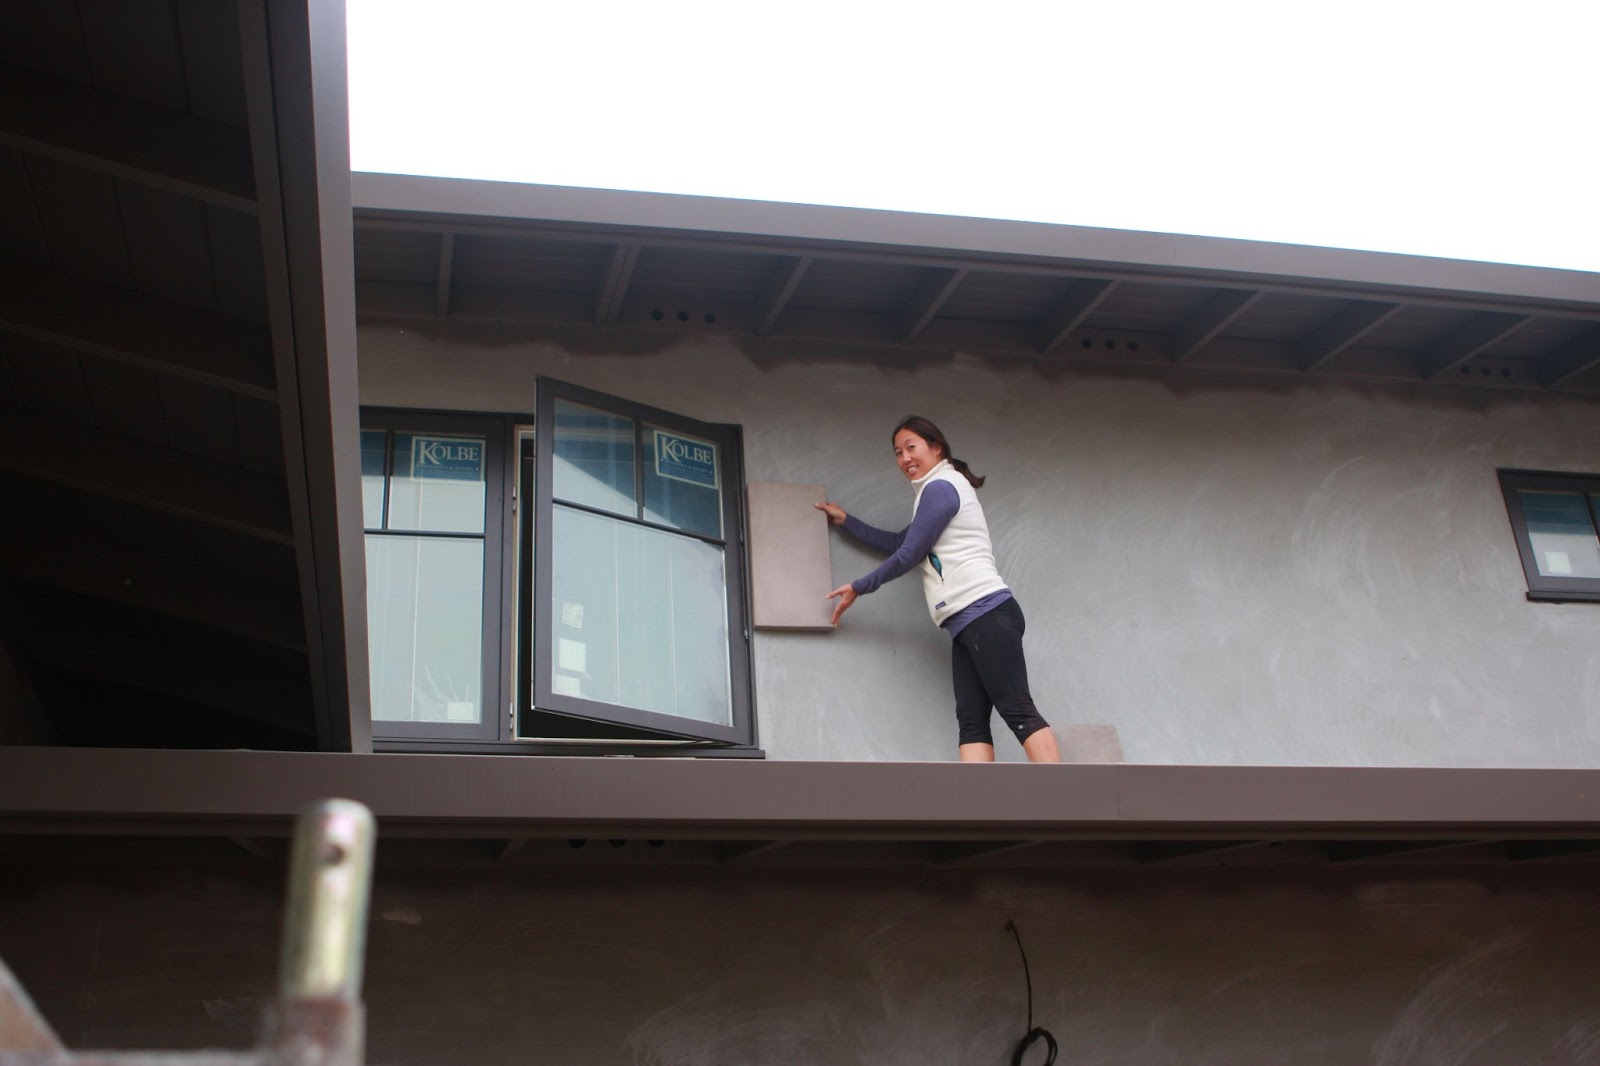
| We had trouble imaging the small sample of color plastered onto the entire house. |
We proceeded nervously, praying to the stucco gods that the color would turn out okay...
 |
| Three stages of of stucco dryness. |
The wet stucco looked frighteningly like dog crap but much to our relief it lightened up nicely as it dried. It's fun to look at the house at different times of day and from various angles to see what I call the "fifty shades of Weimaraner."
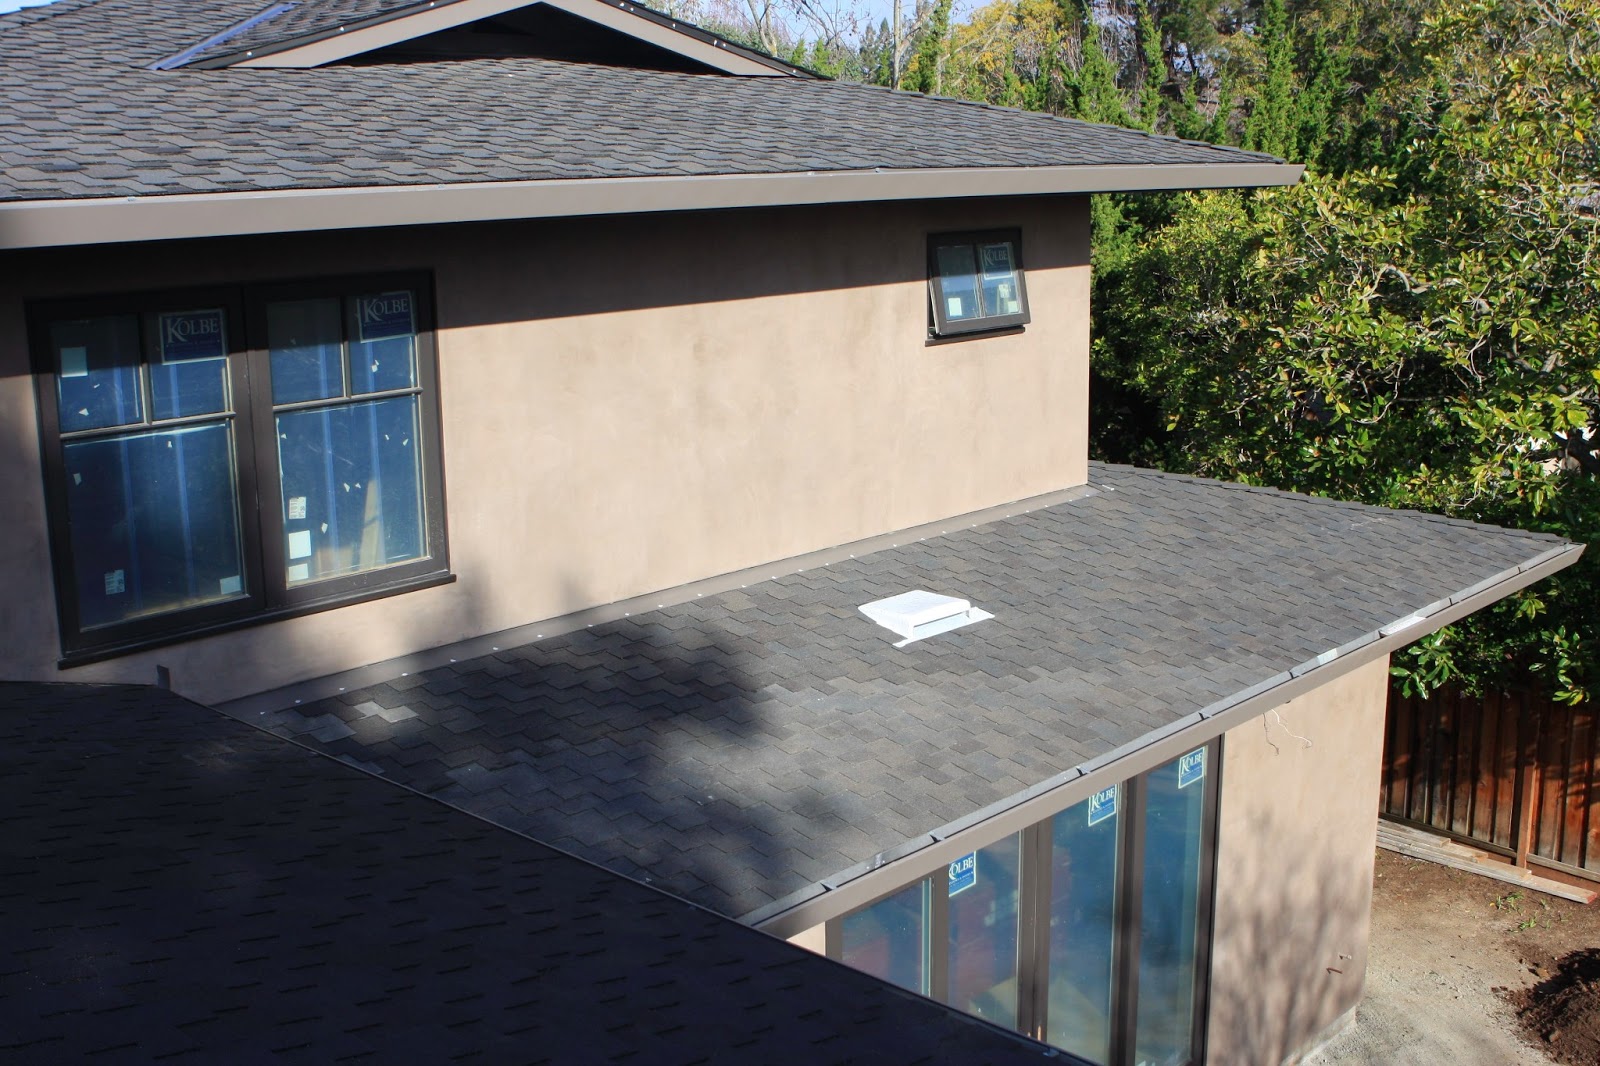 |
| In the afternoon sun. |
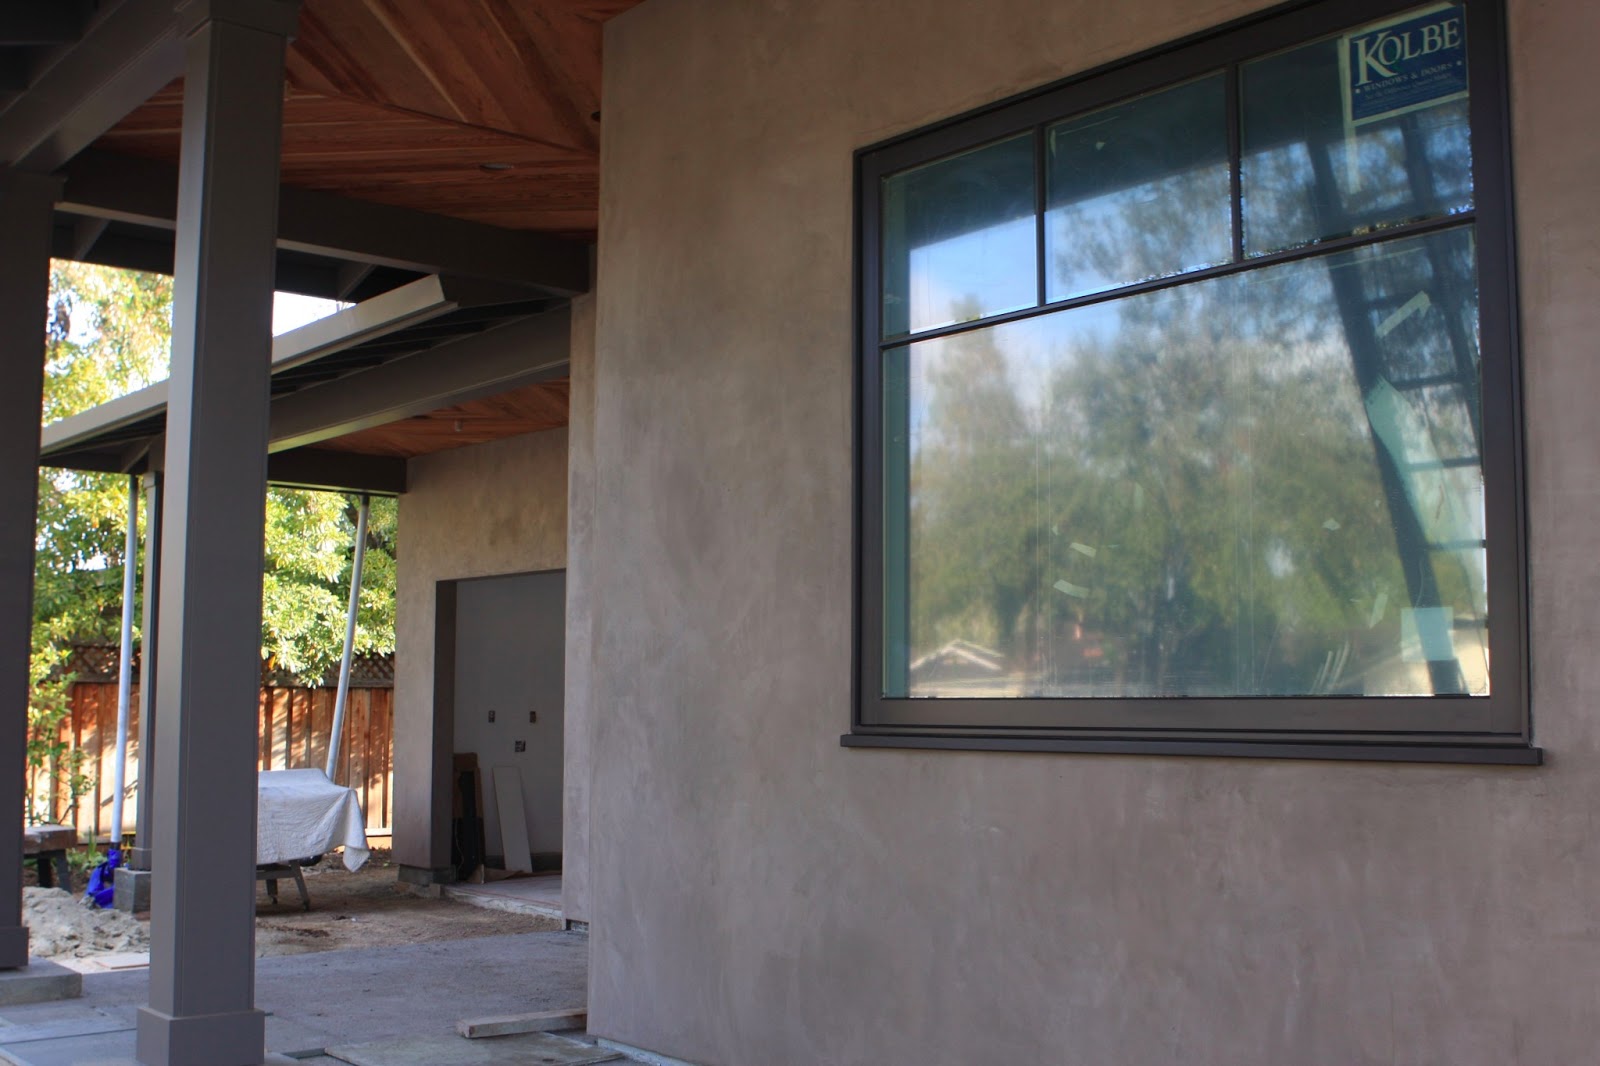 |
| Up close and in the shade. |
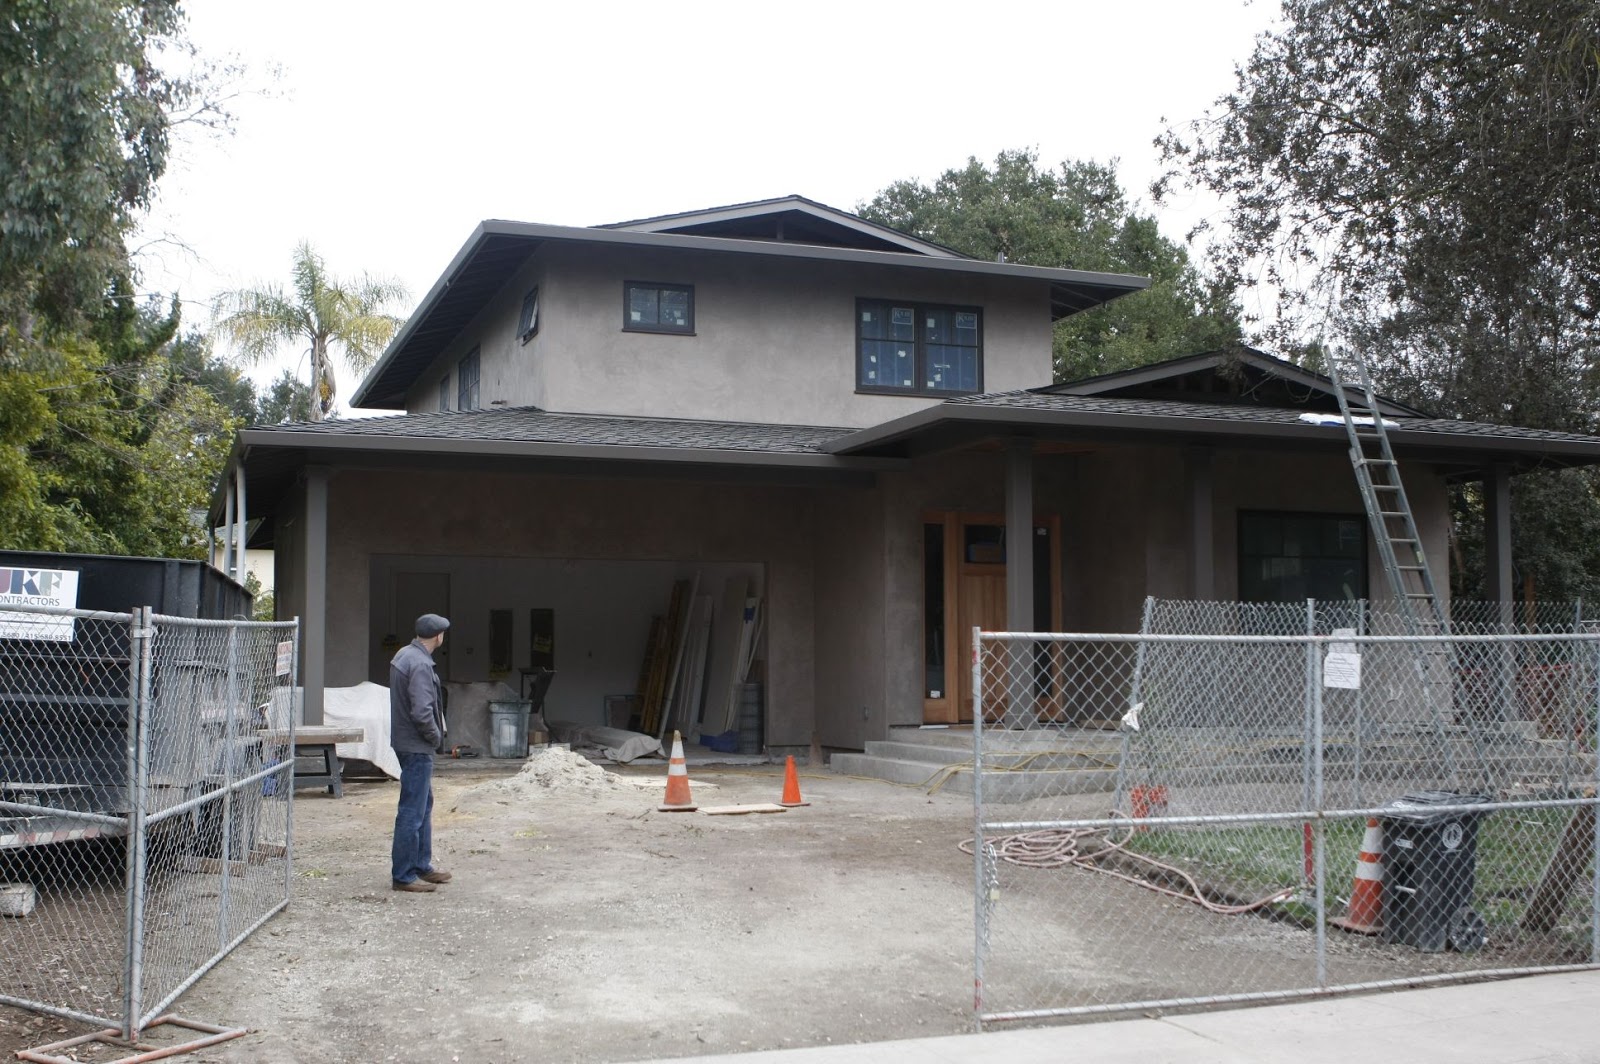 |
| From across the street on an overcast day. |
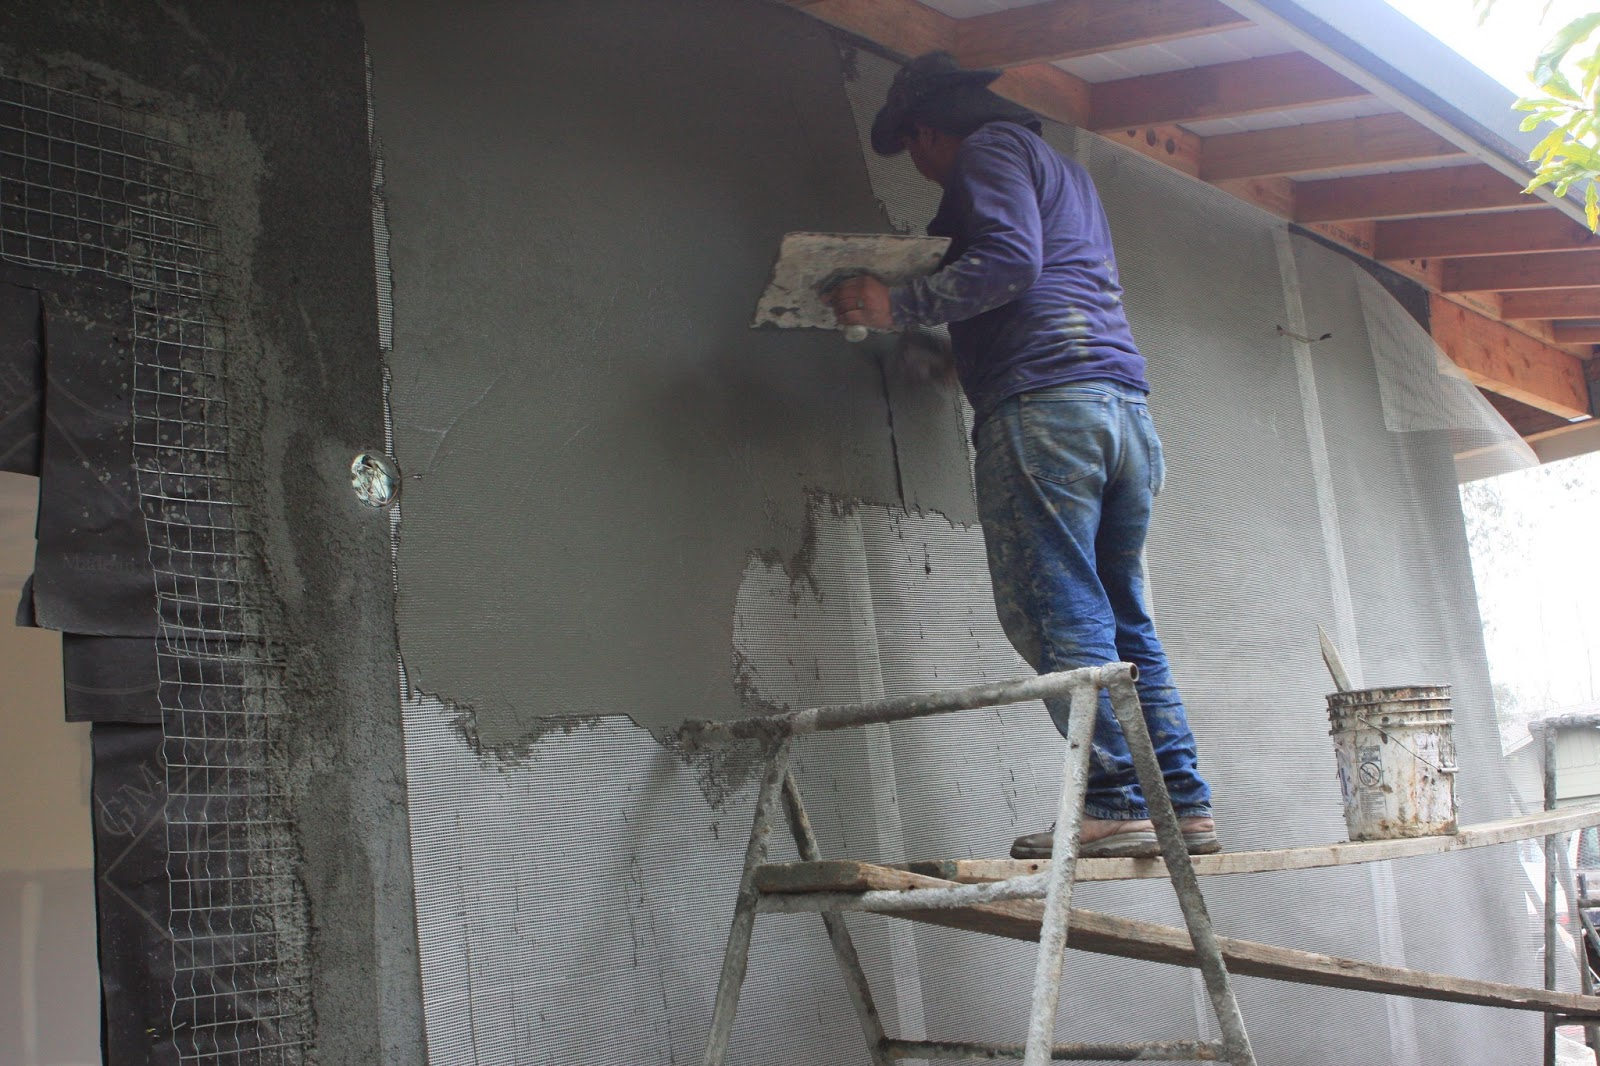 |
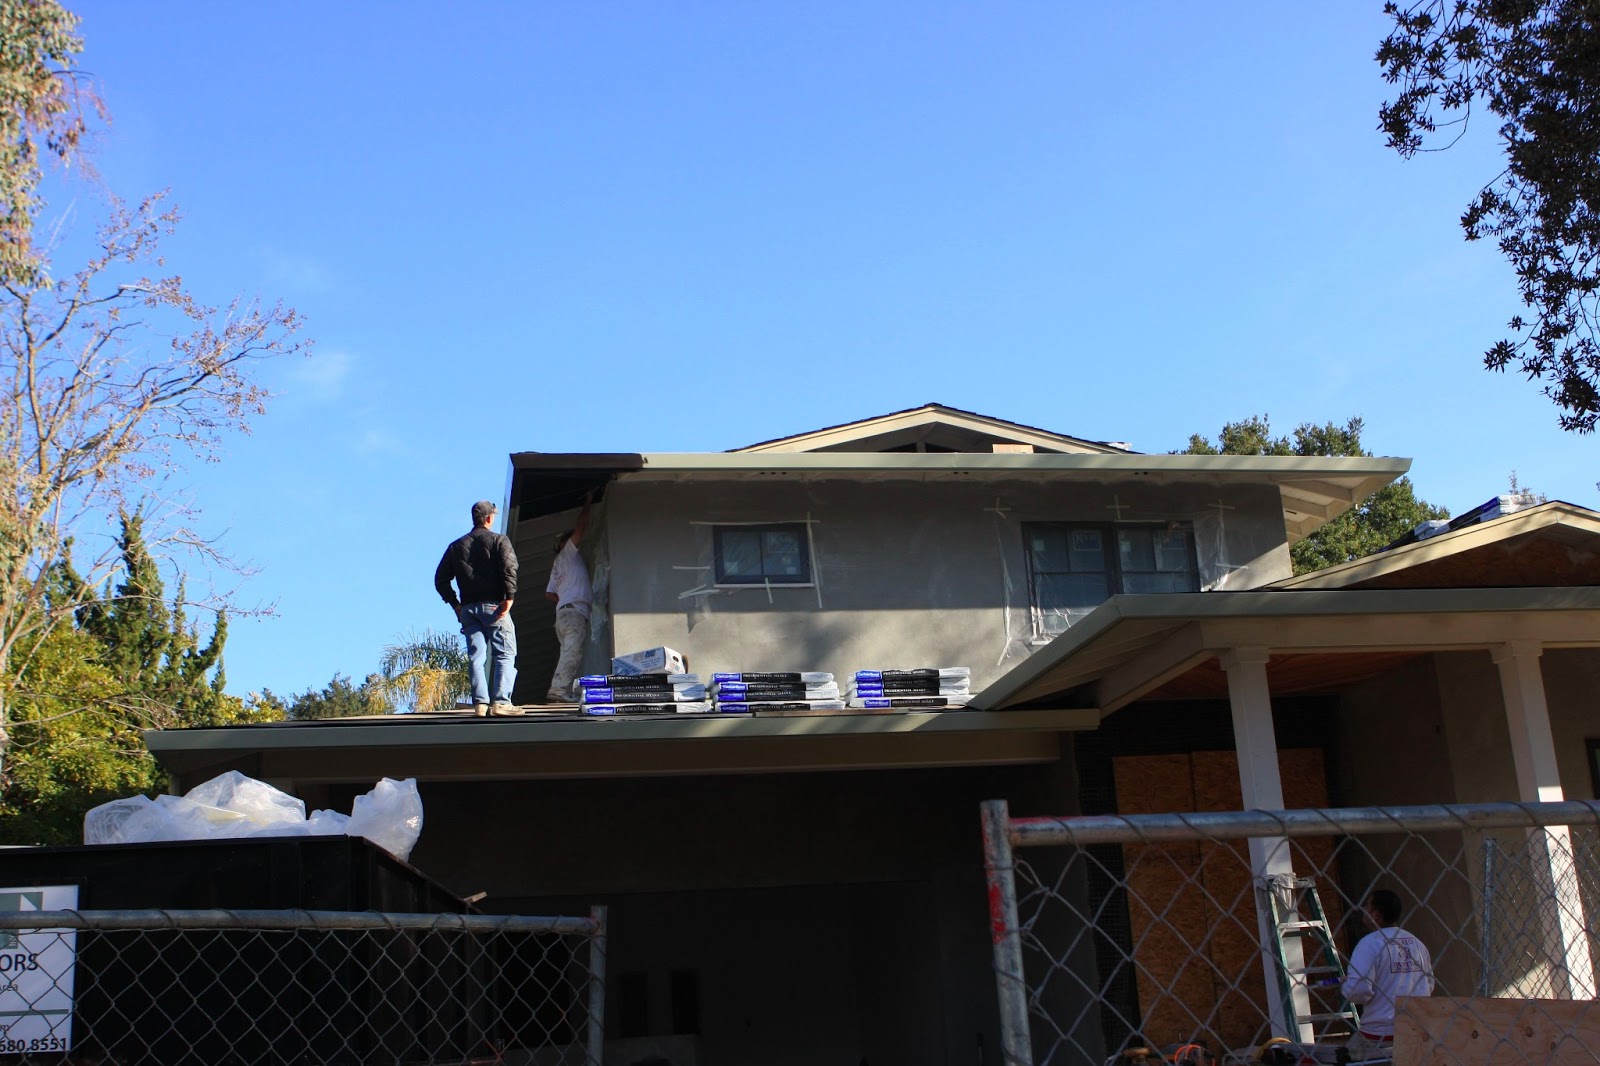
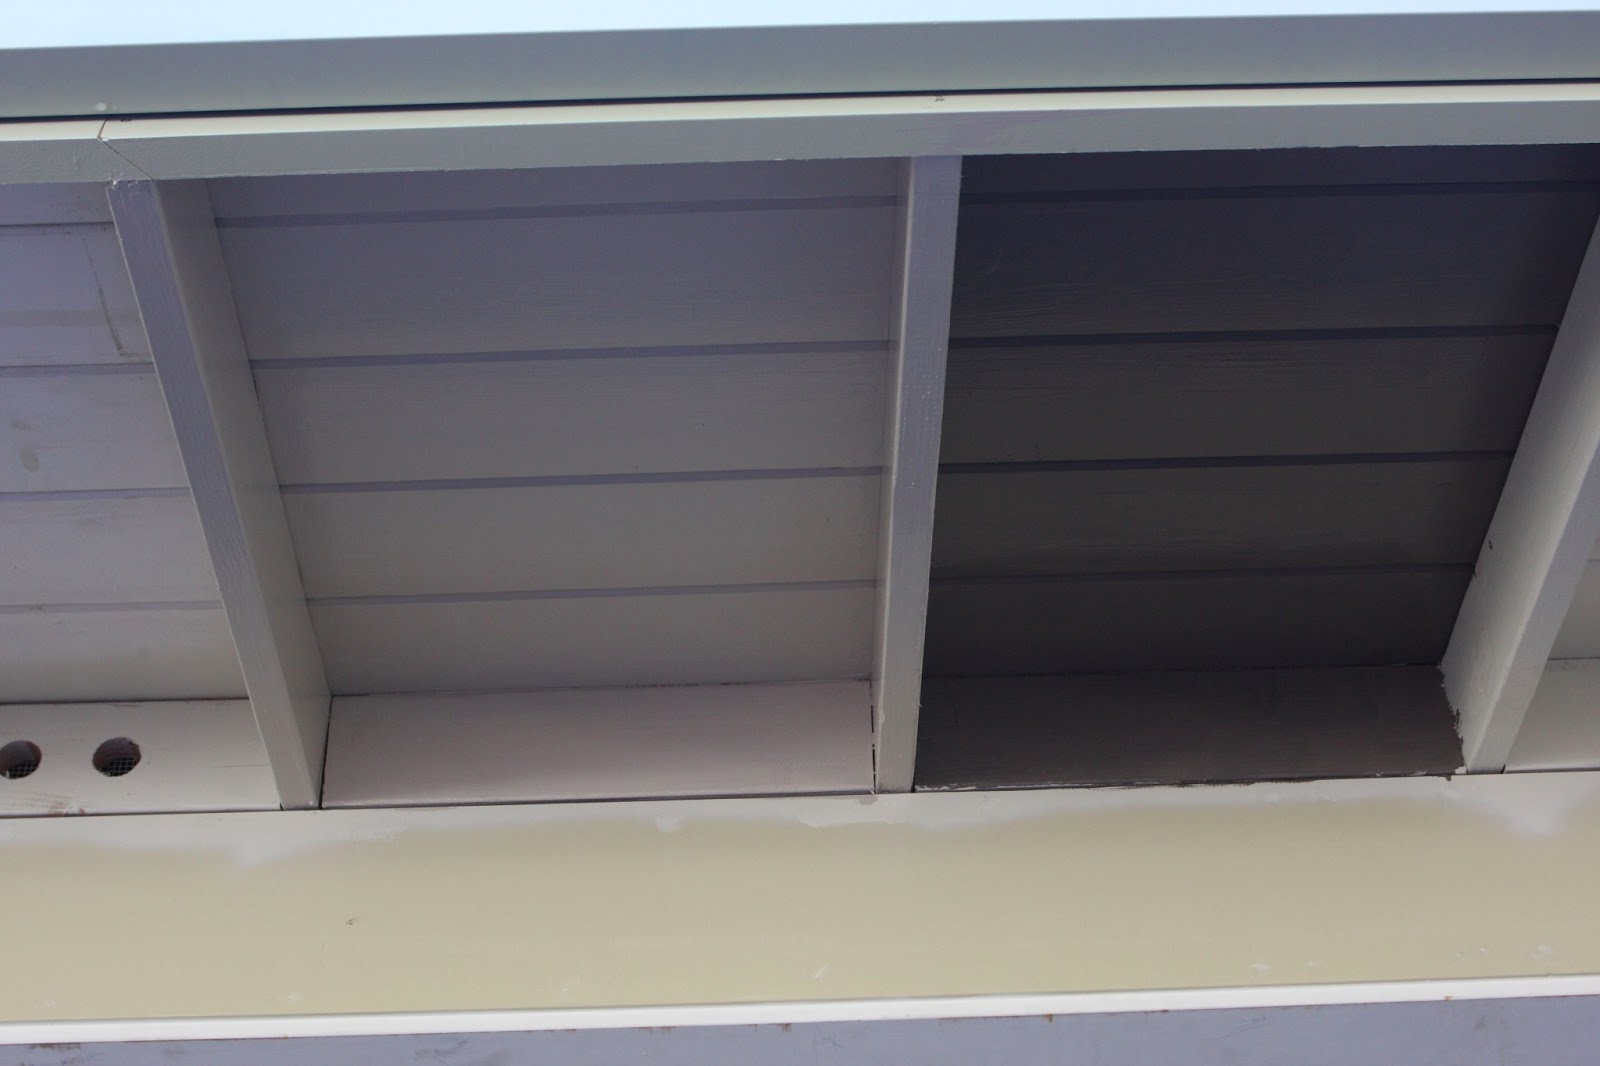
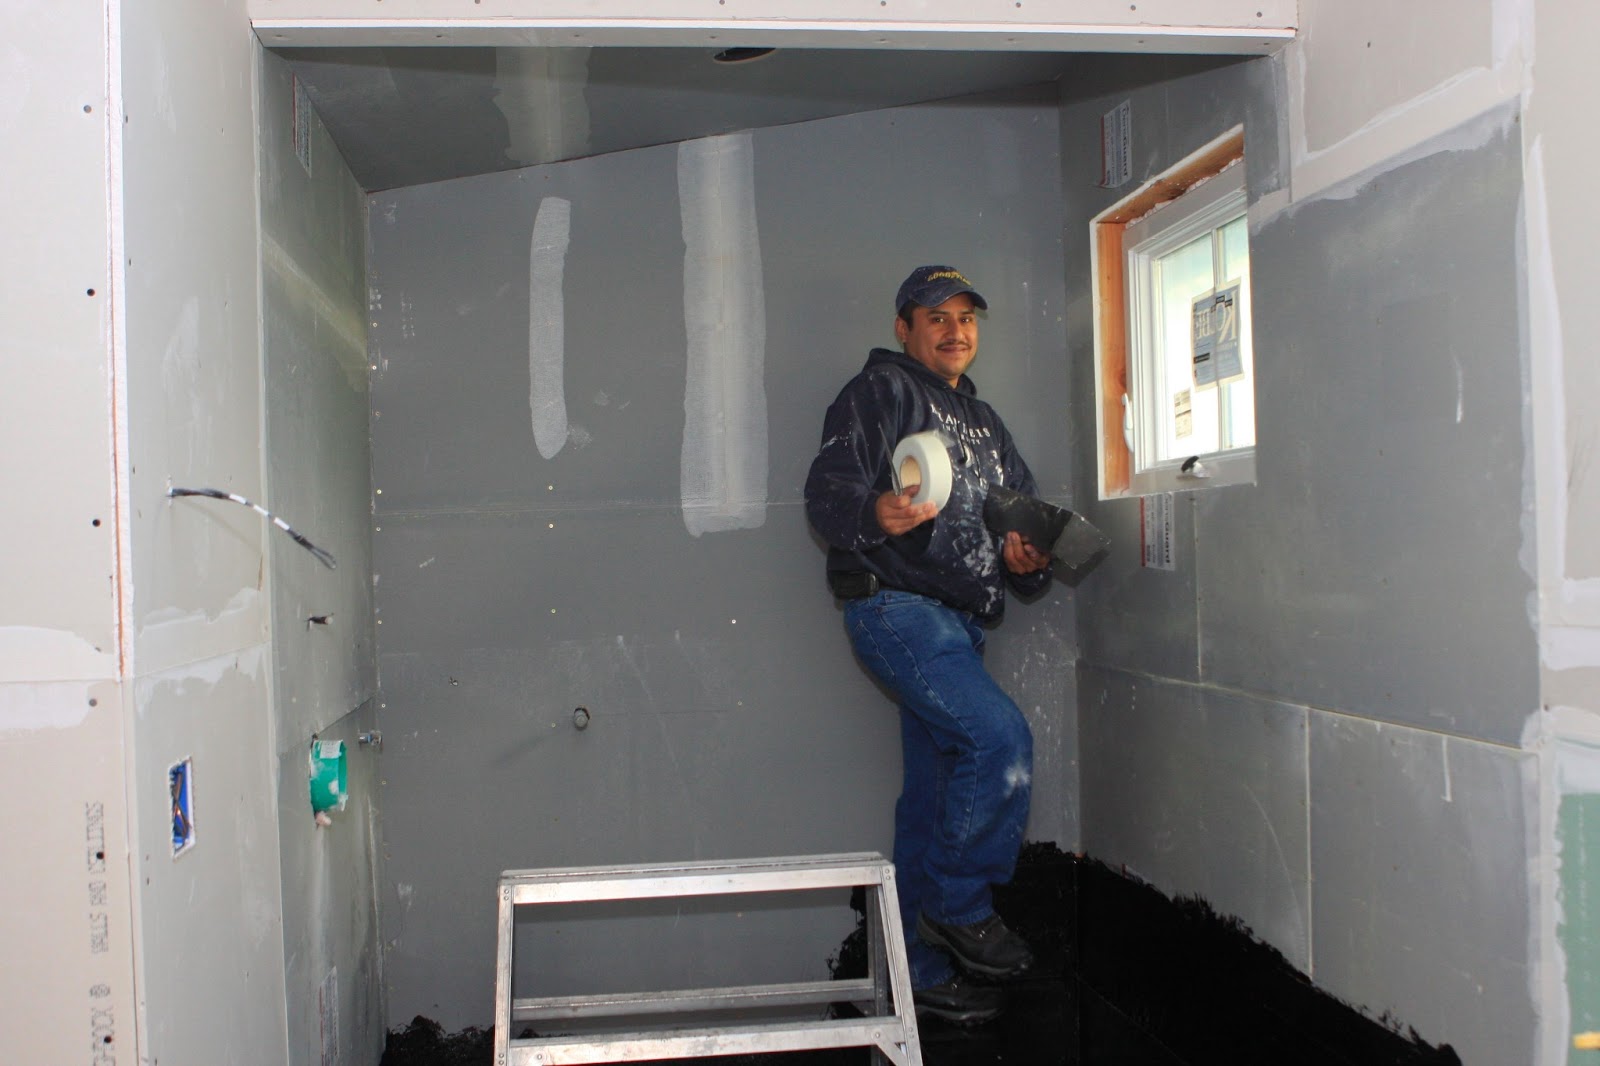
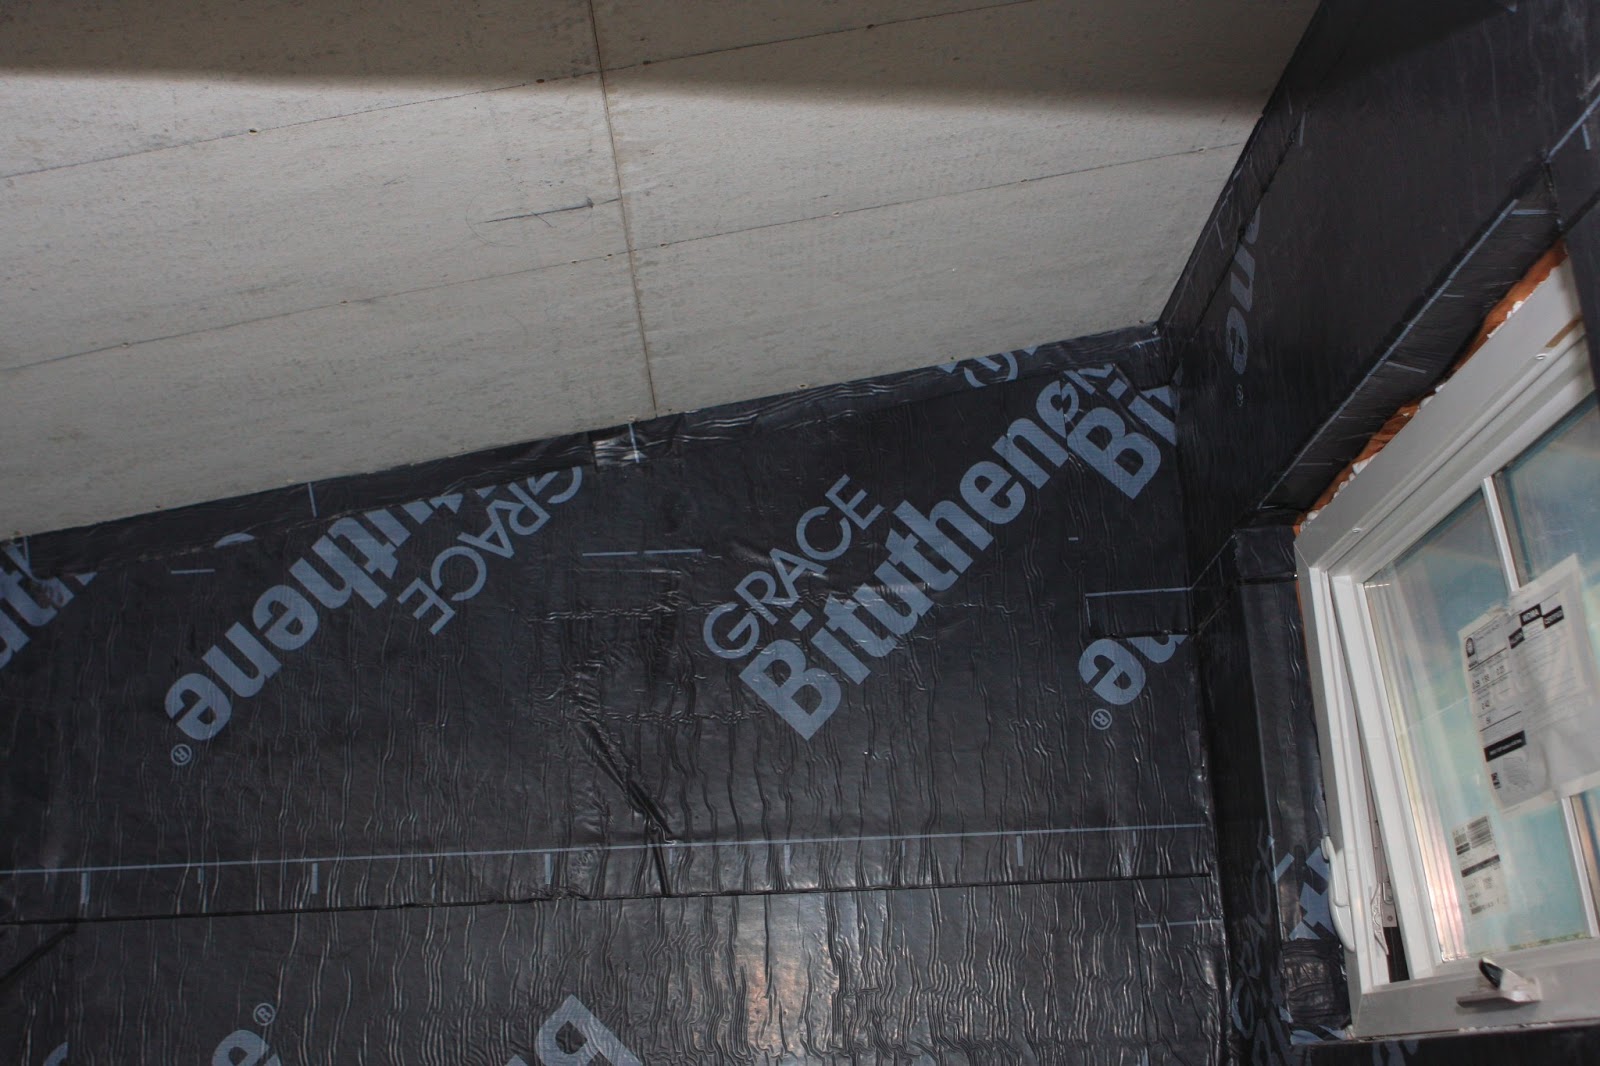
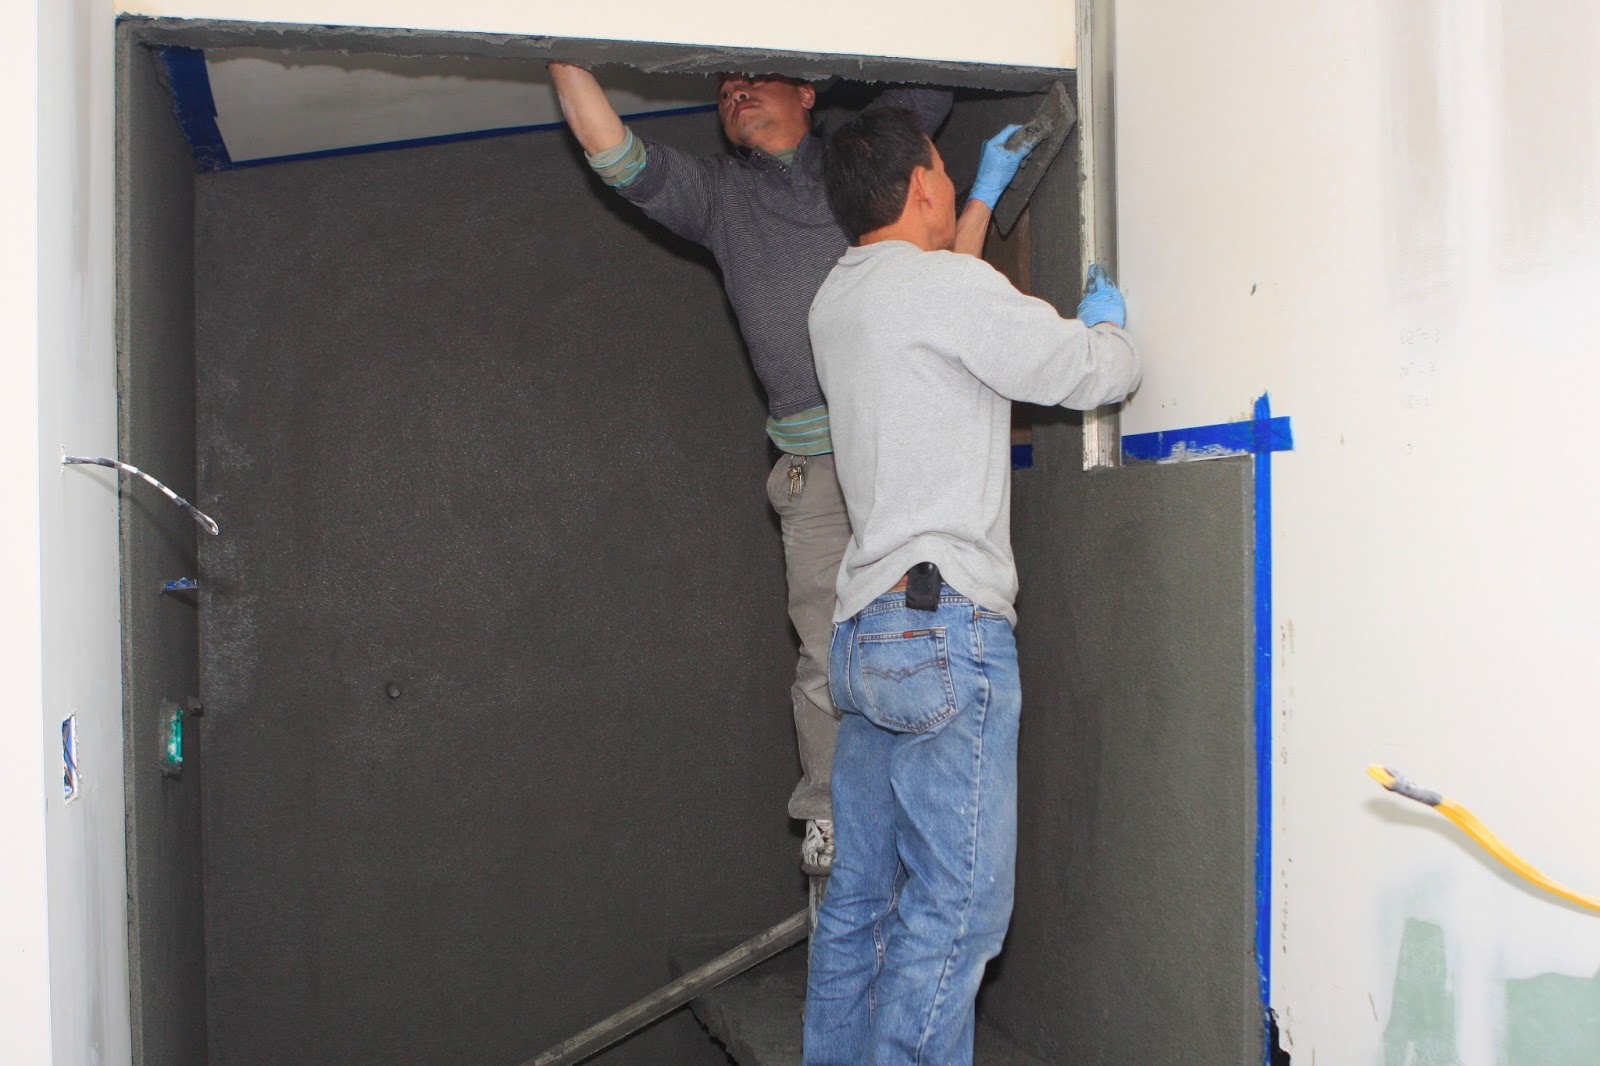
| Adding a fiberglass mesh before the final stucco coat creates a smoother, more crack resistant finish. |
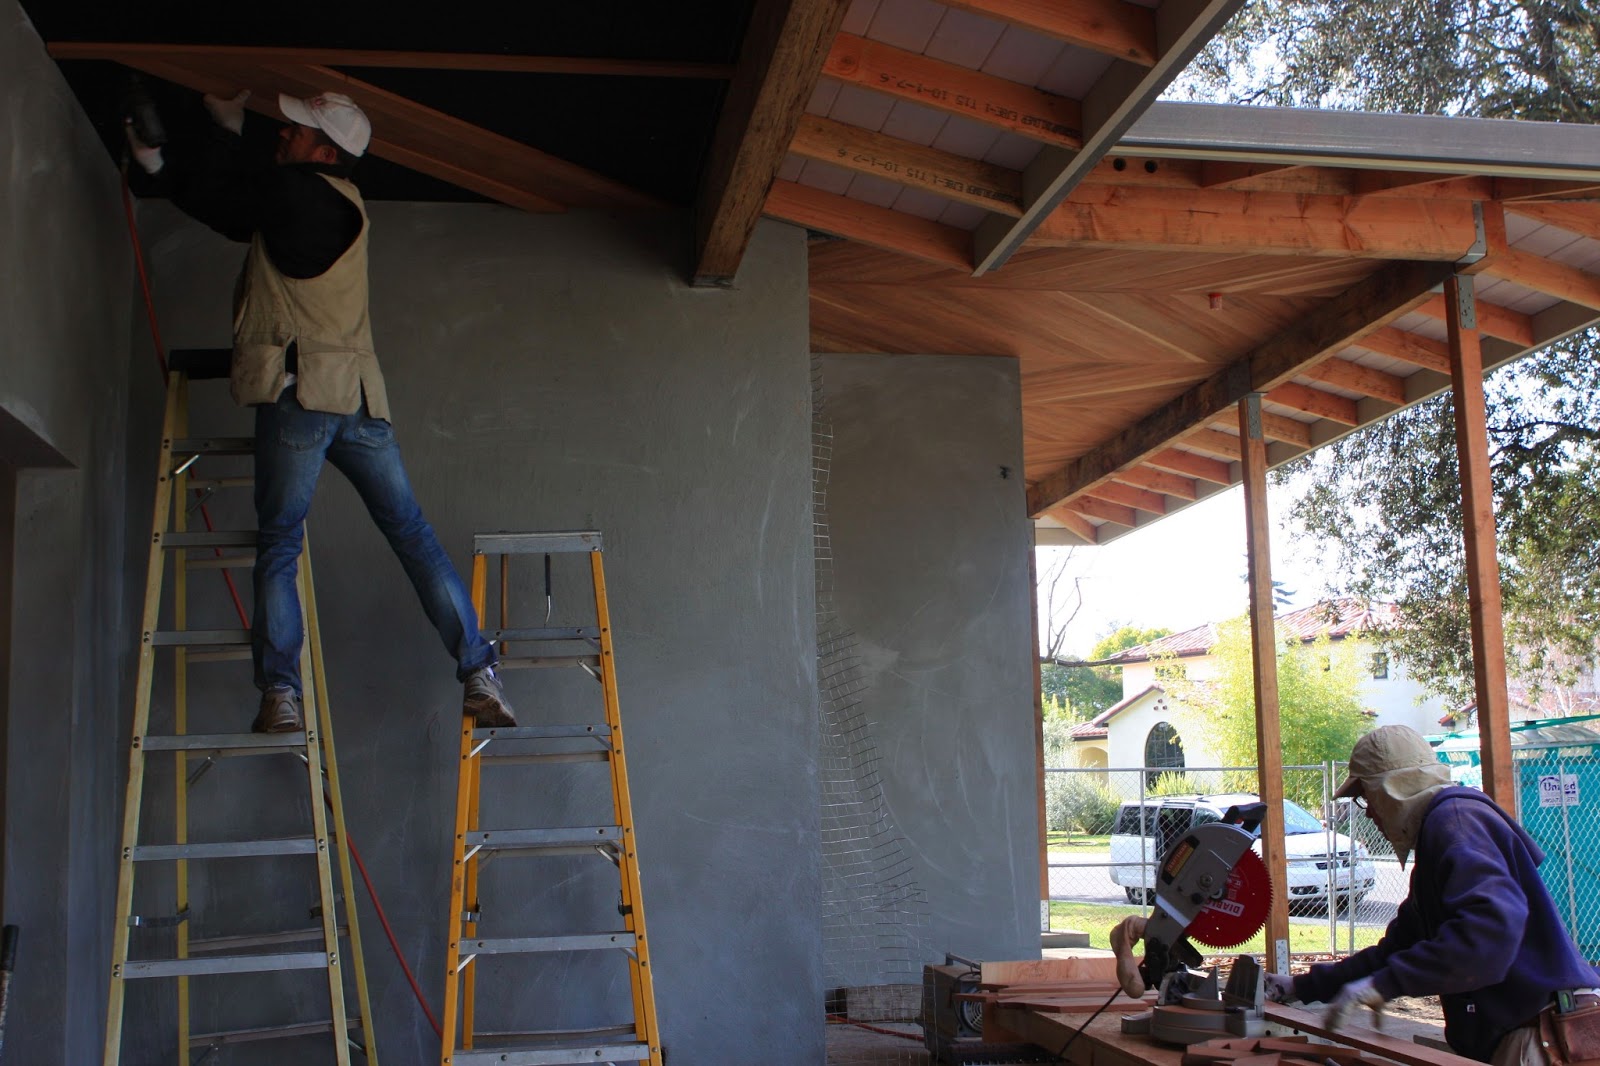
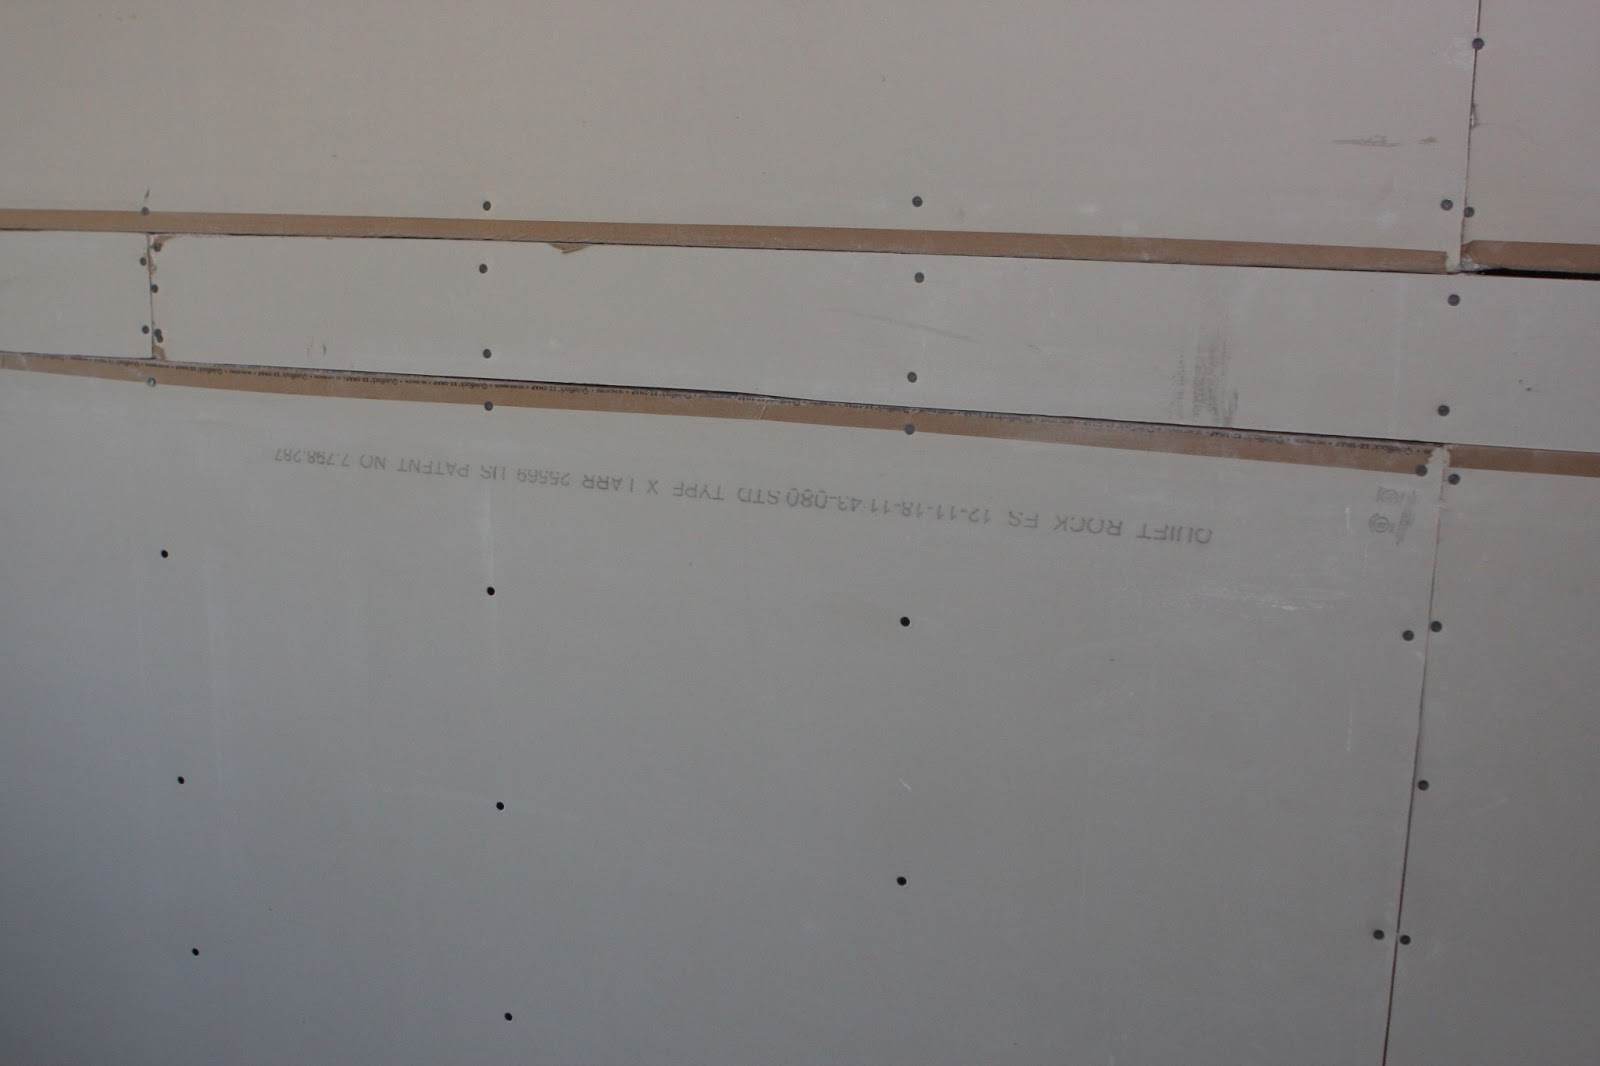
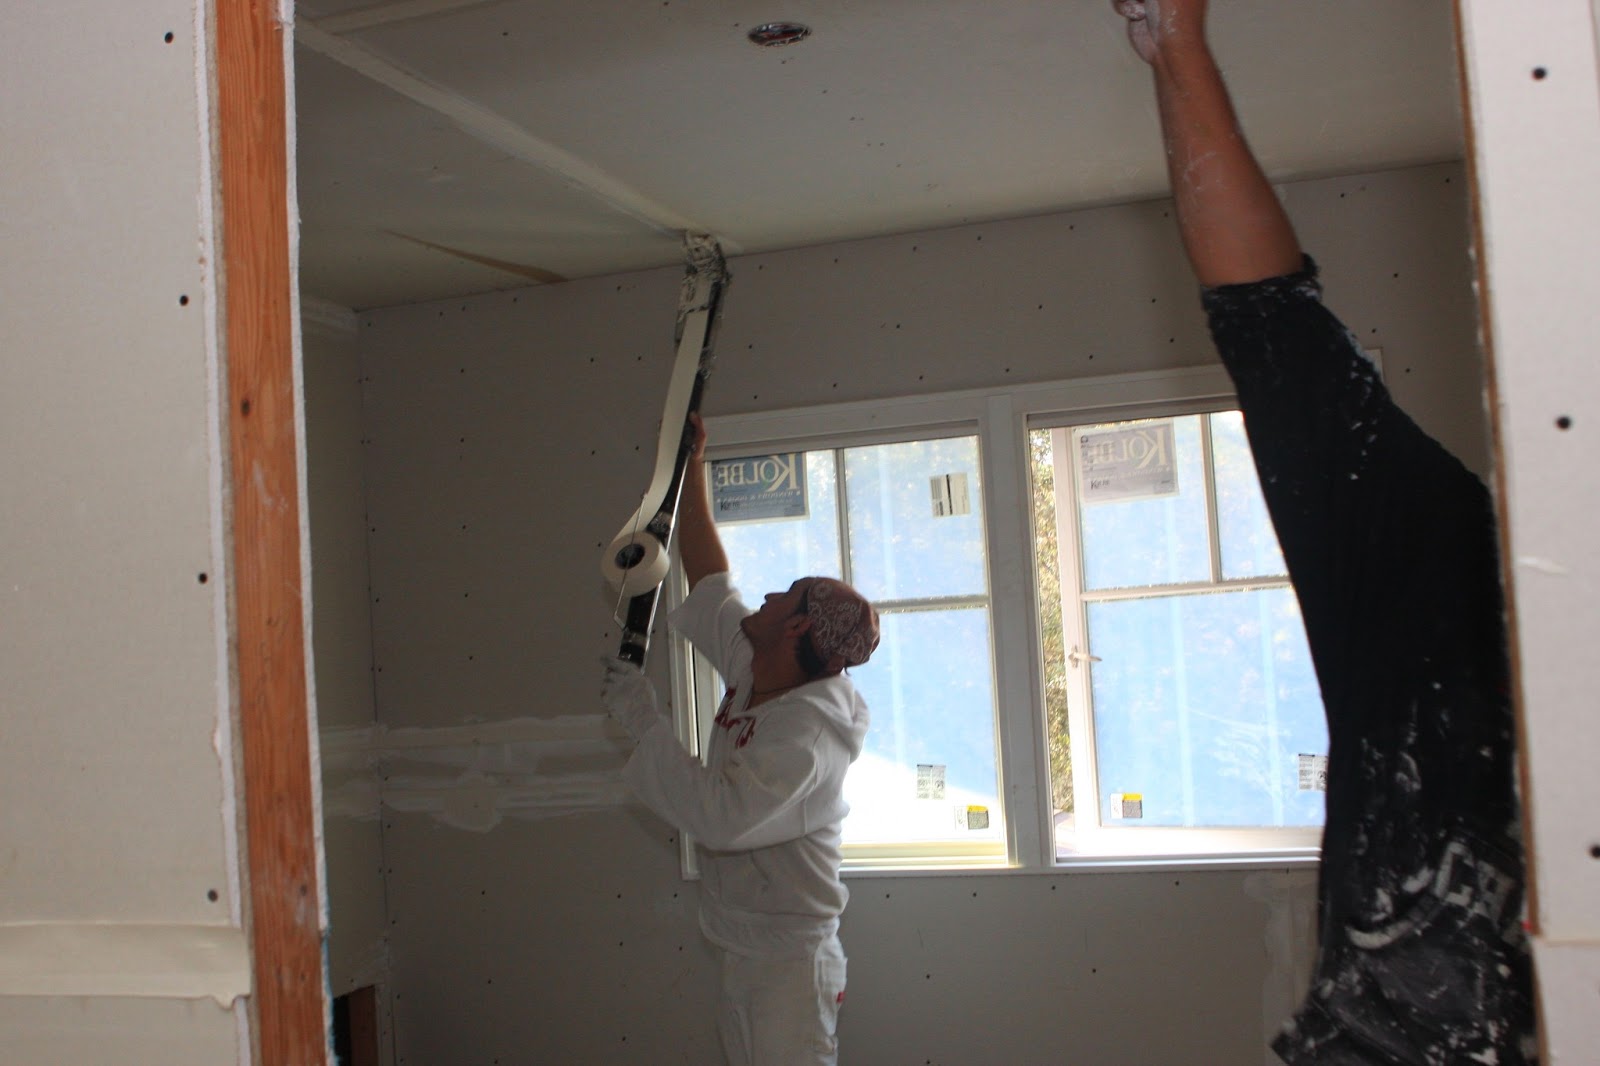
To provide extra crack resistance we upgraded from the typical three-coat application to a four-coat finish. The extra coat is applied before the final finished coat and consists of a layer of fiberglass mesh skimmed with a thin layer of stucco. You will still likely get cracks around windows corners and door openings (we have already spotted a couple of small hairline cracks), but the mesh should help prevent unsightly cracks that spread across large areas of stucco.
Update March 2014:
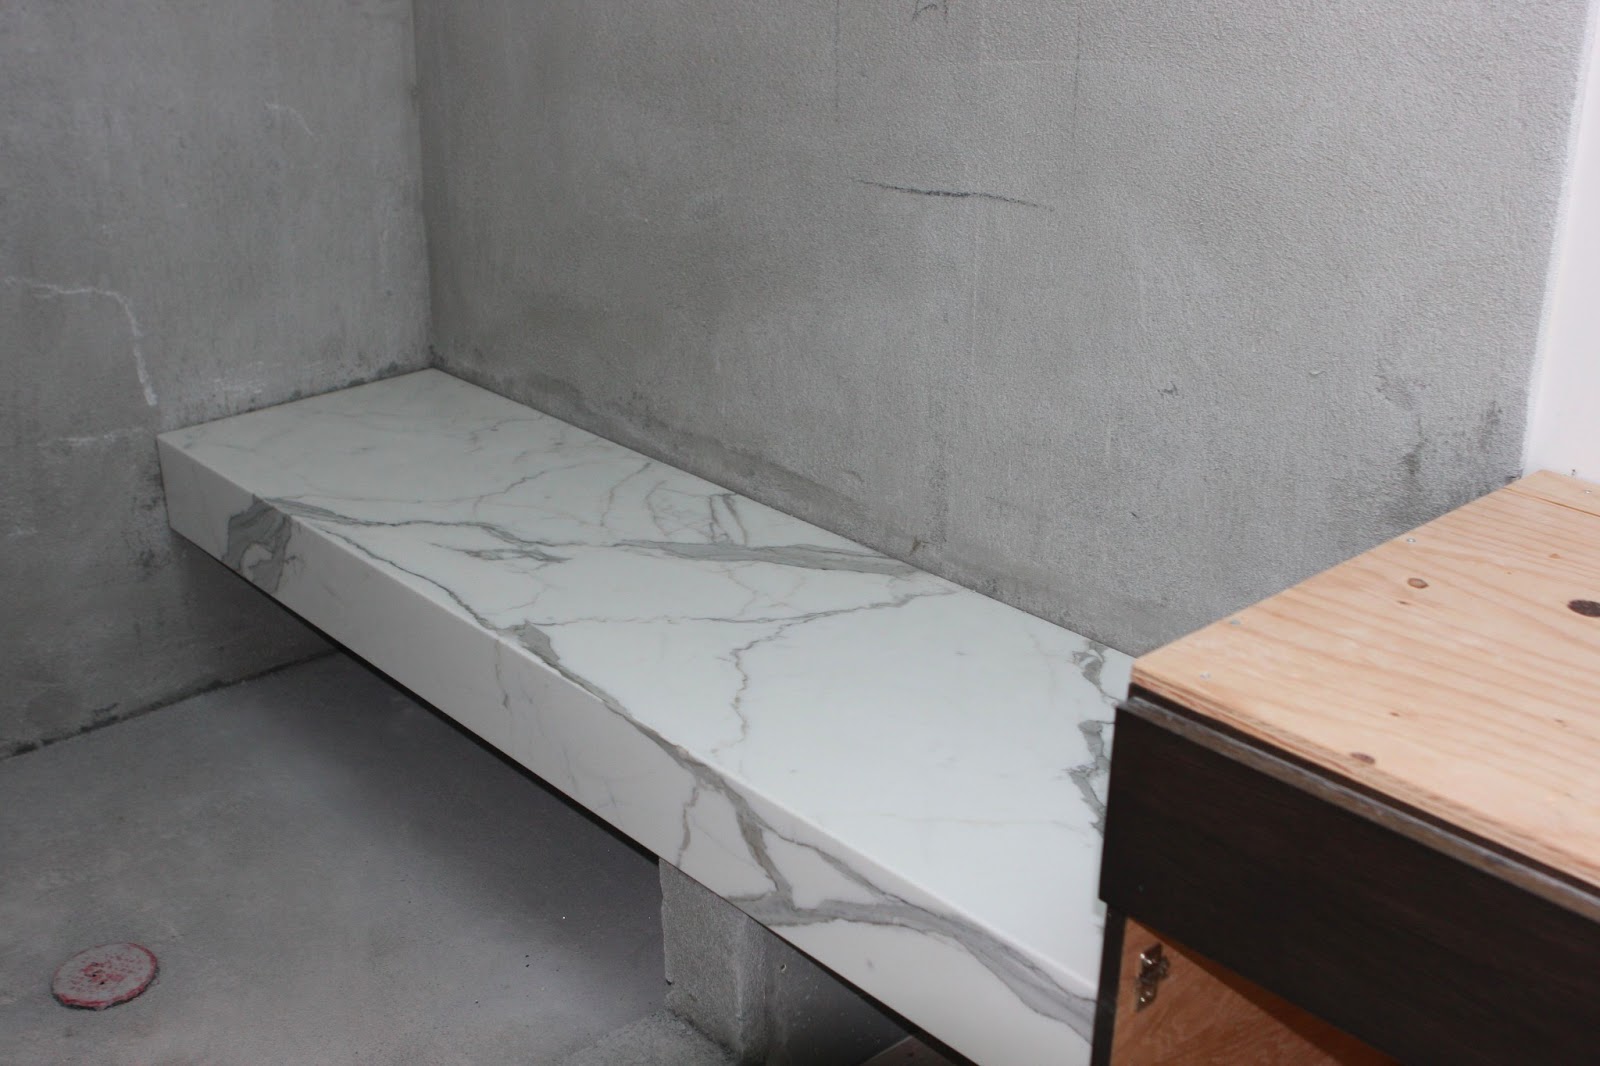
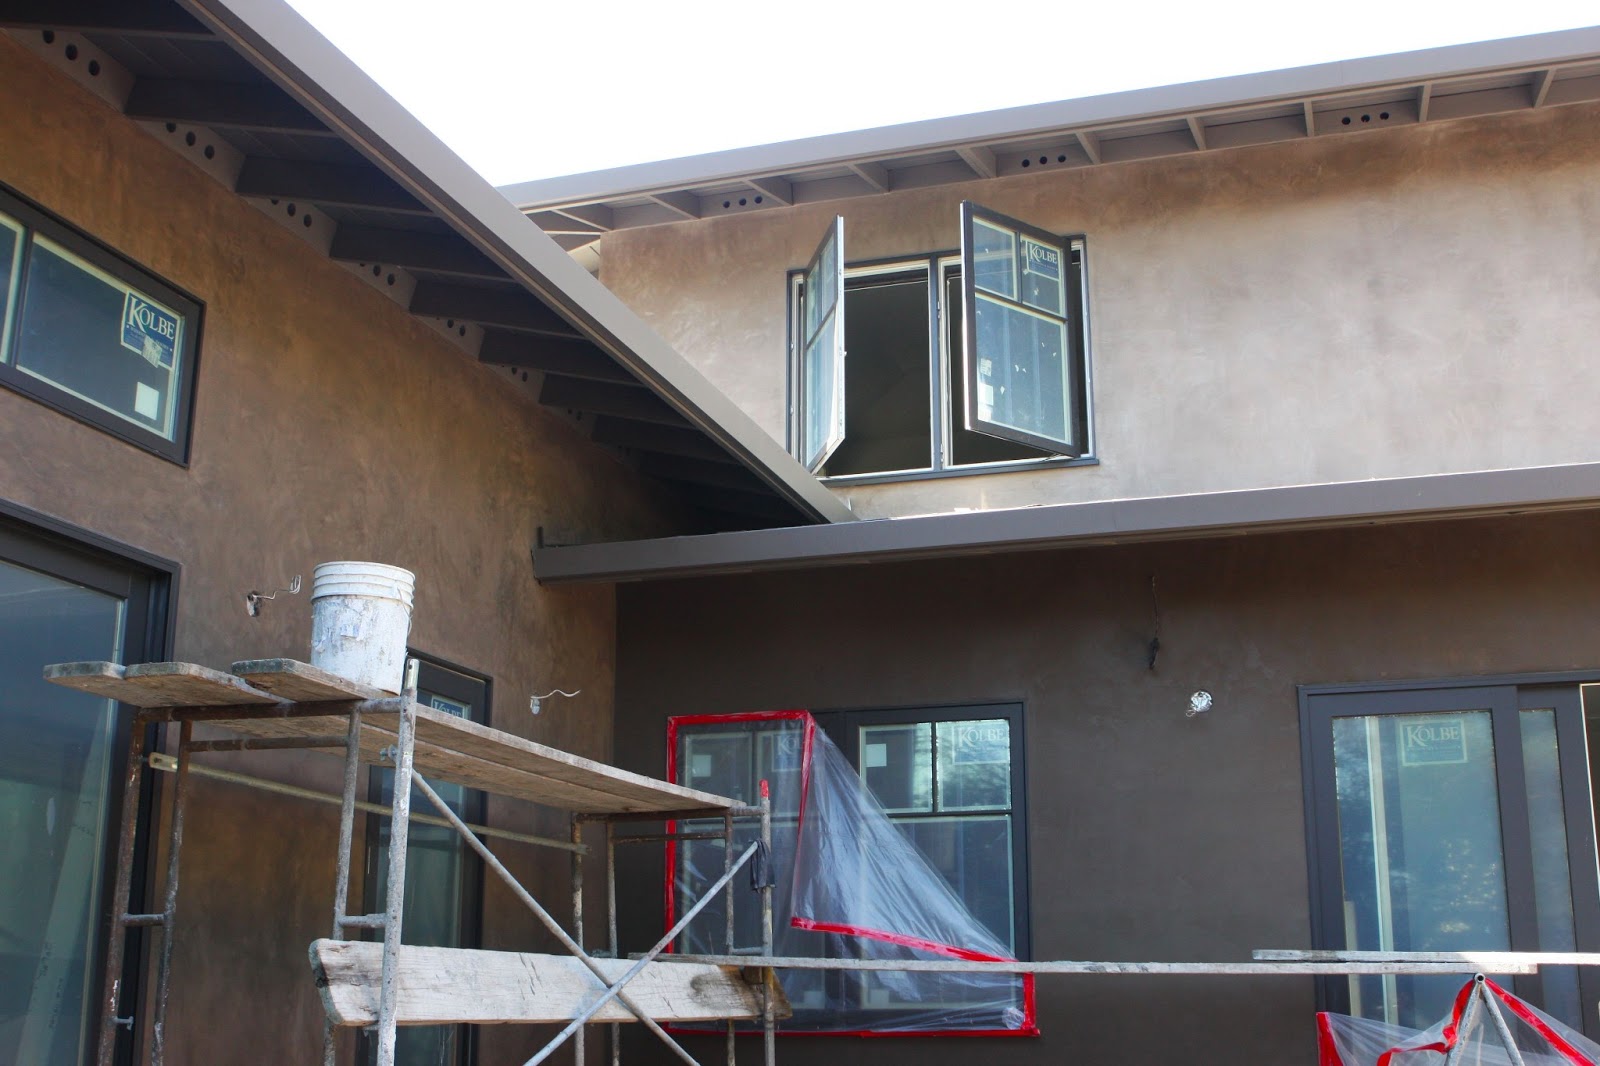
Thanks to Kurt for asking for an update on the state of our stucco in the comments below. It's been a year and the cracks haven't bothered us, but I walked around the house to take a close look. There are hairline cracks around some, but not all of the large windows and doors:
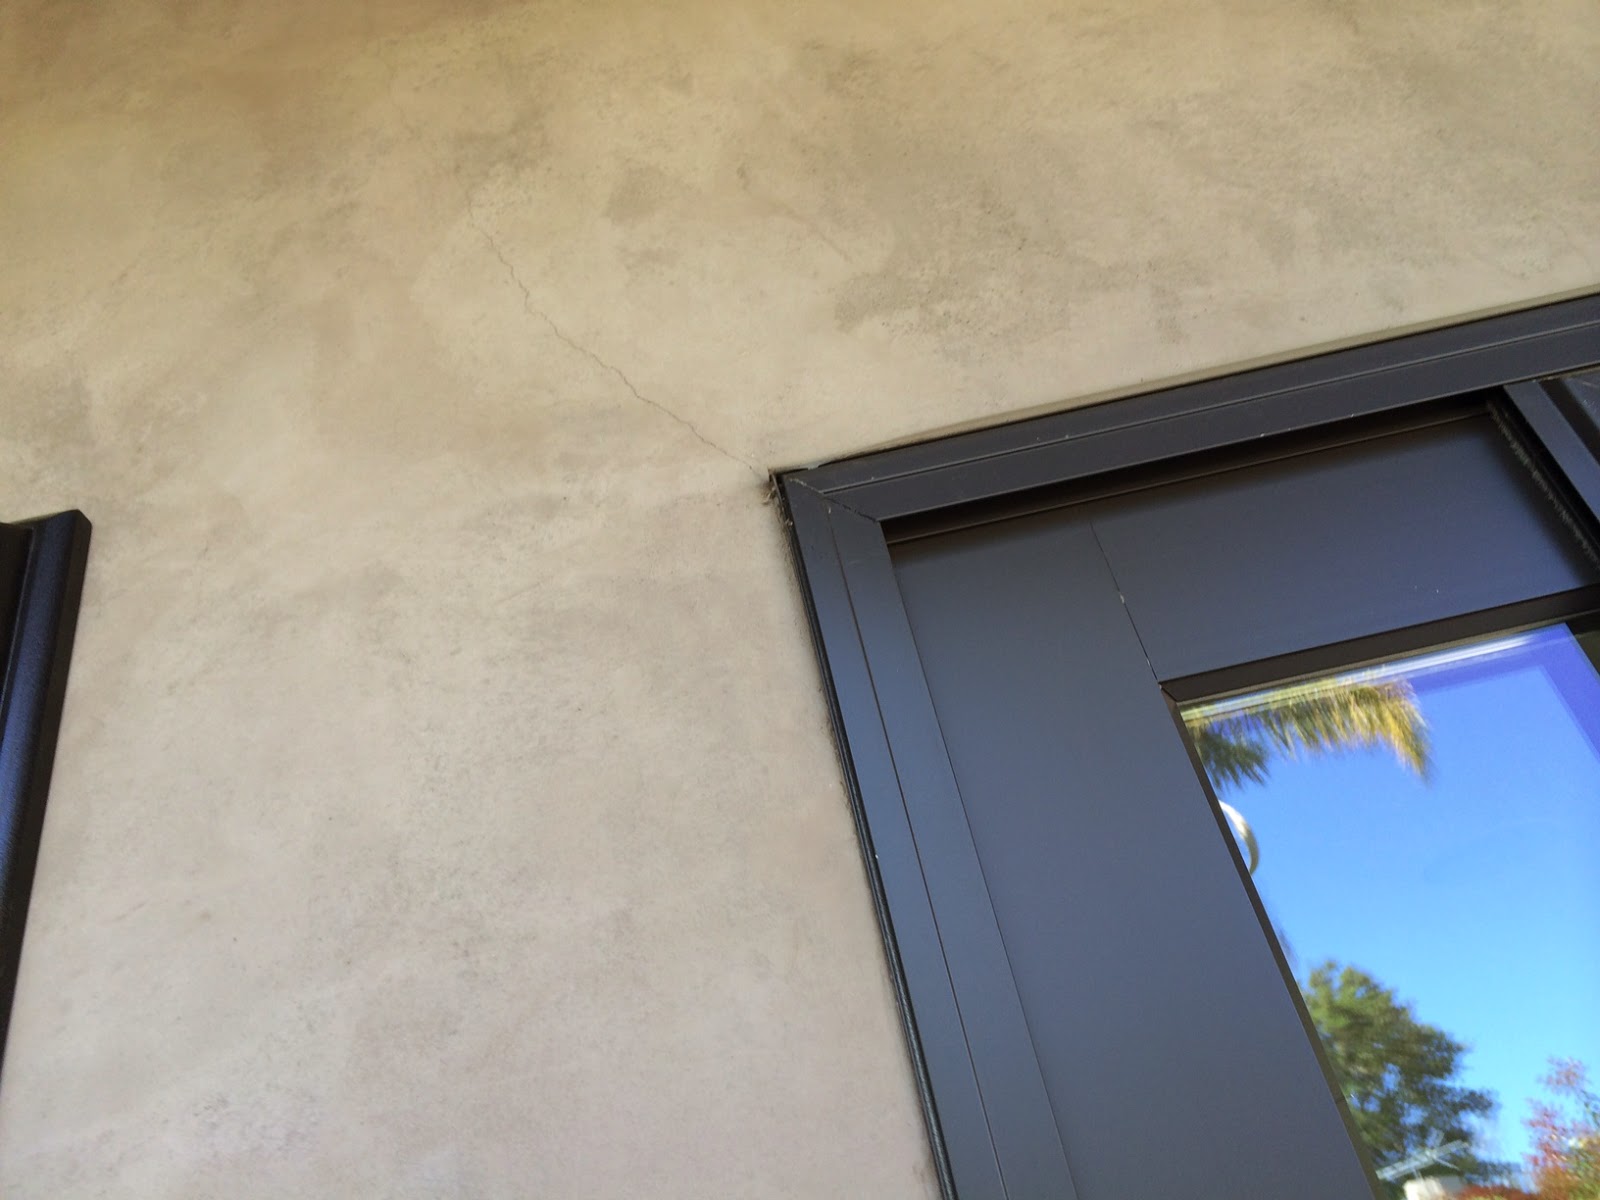
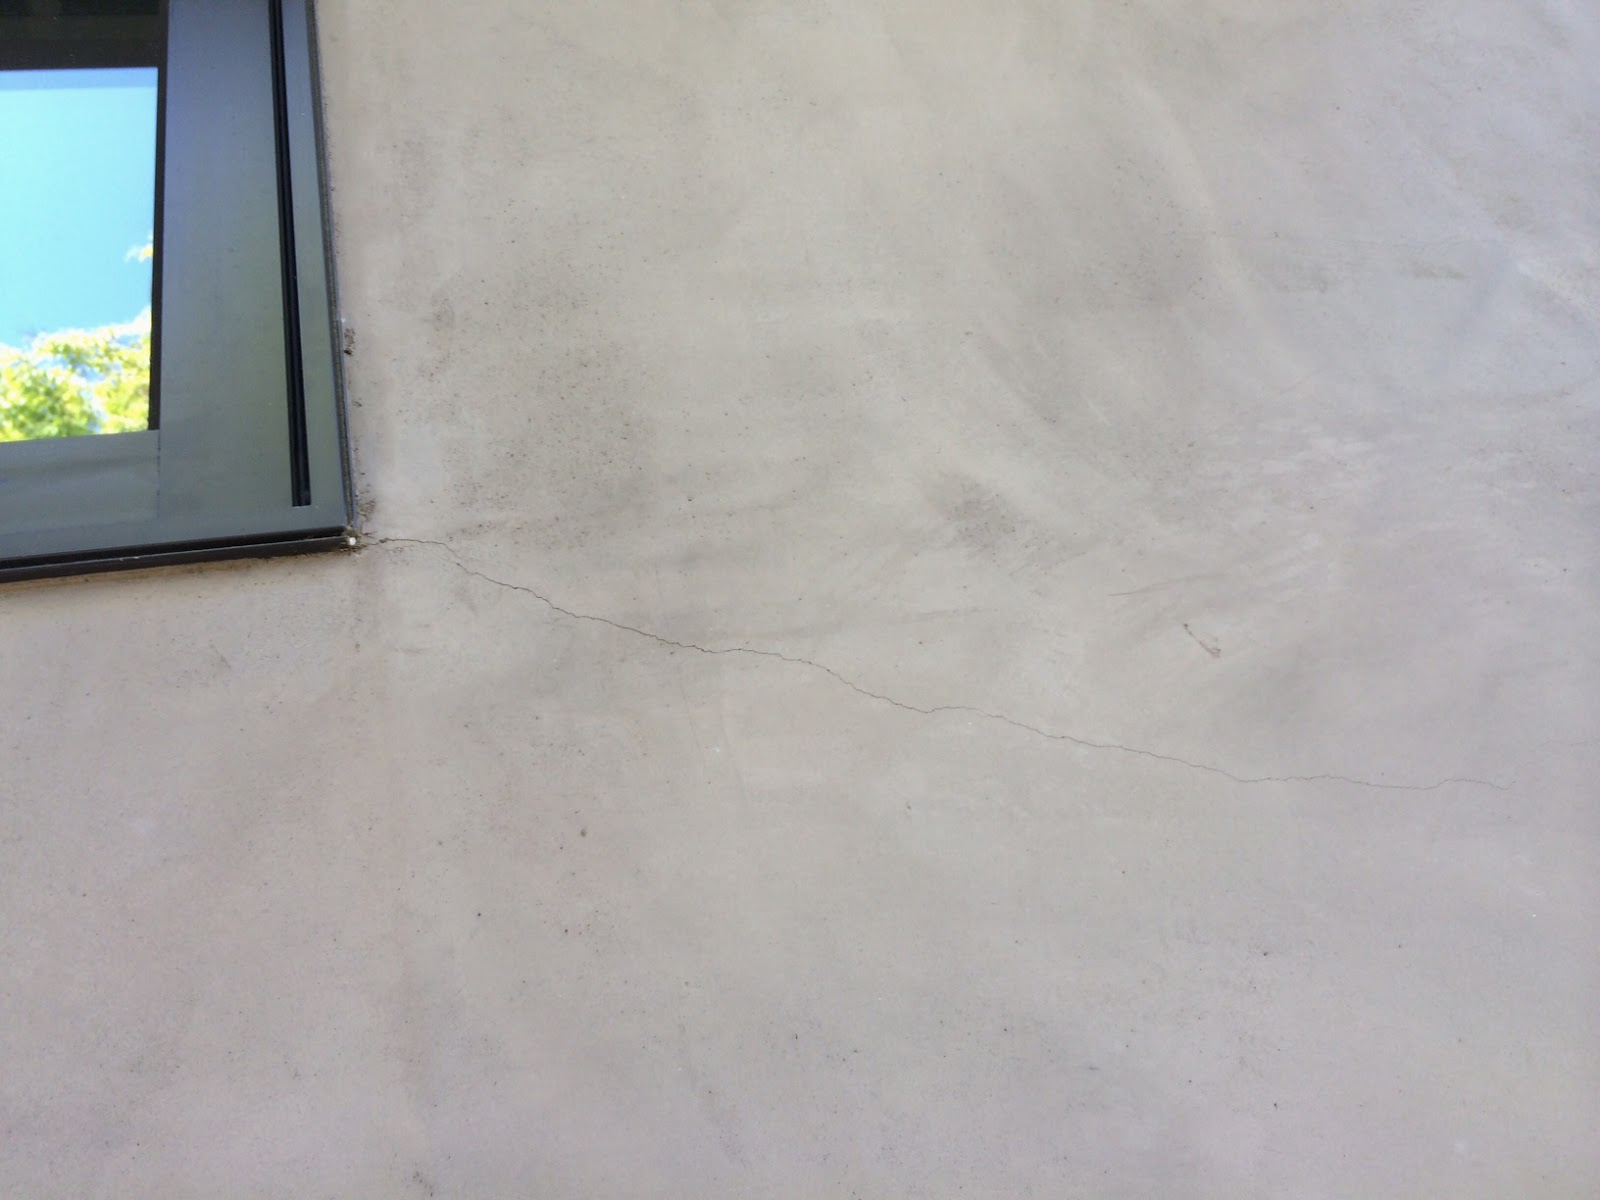
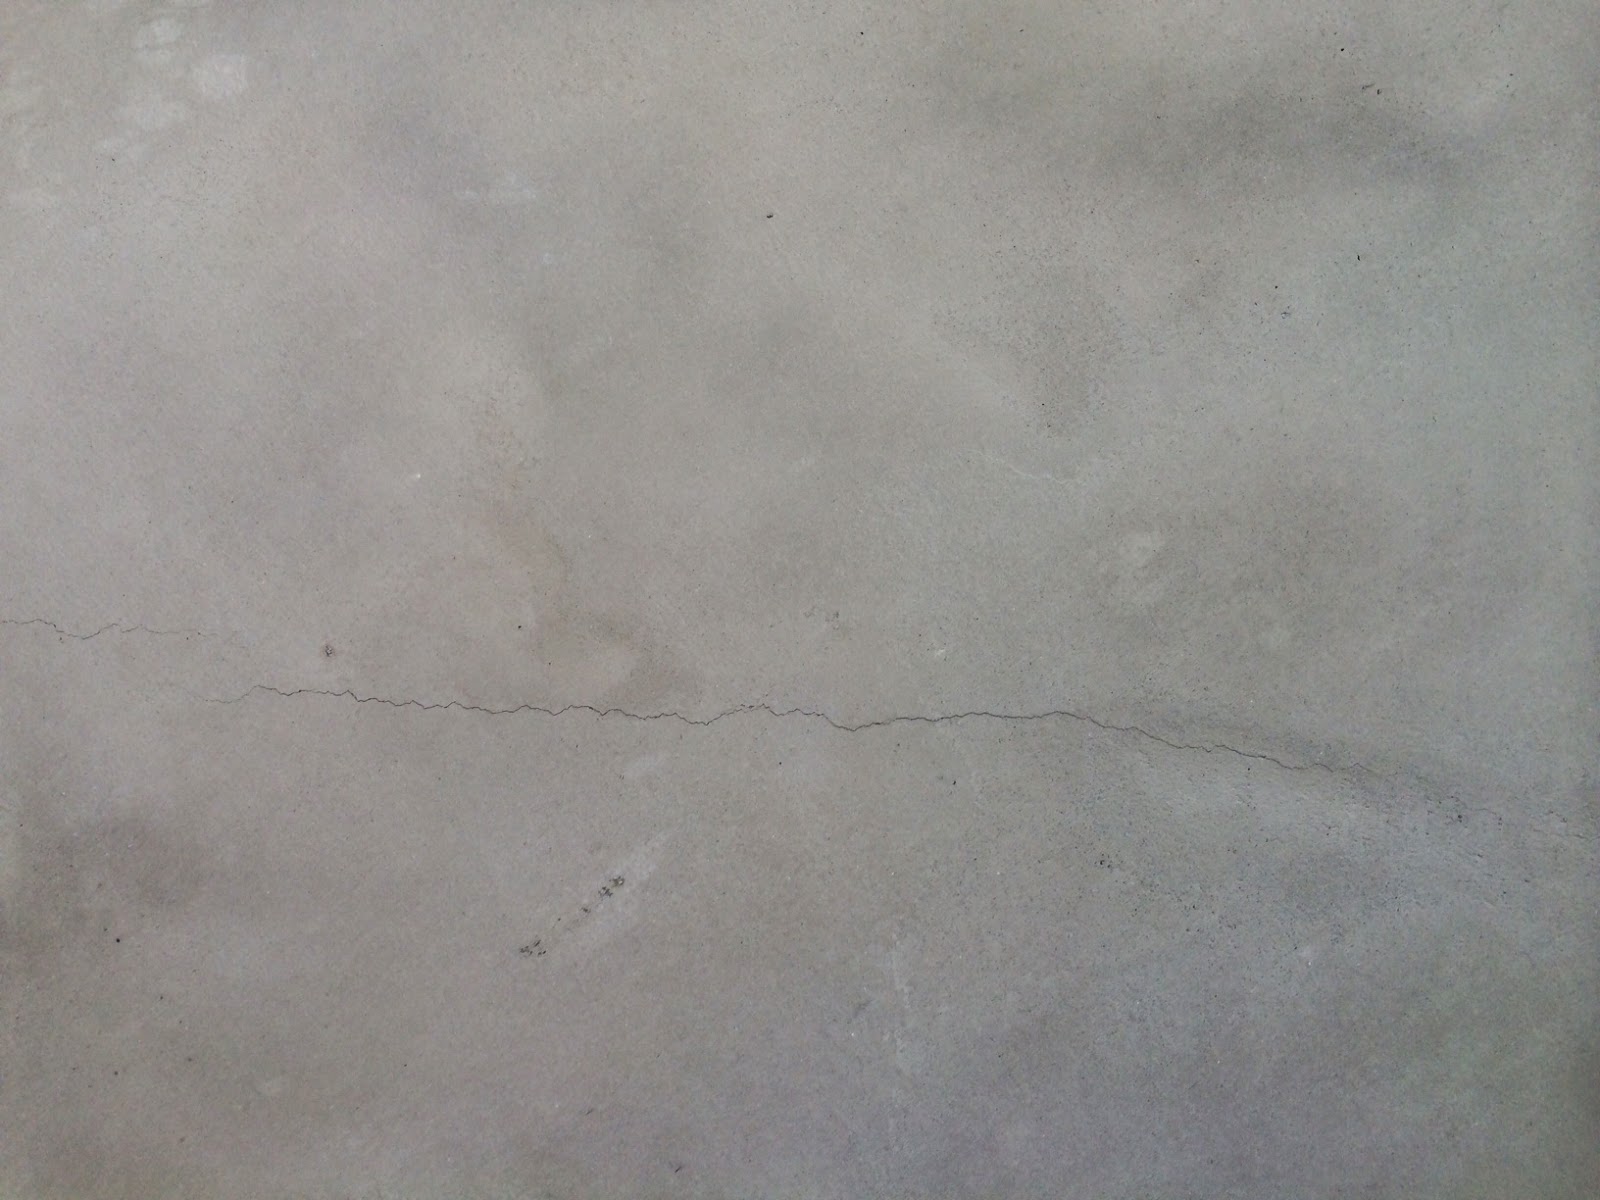
There are a couple of hairline cracks on the back of the house that didn't emanate from a window or door:
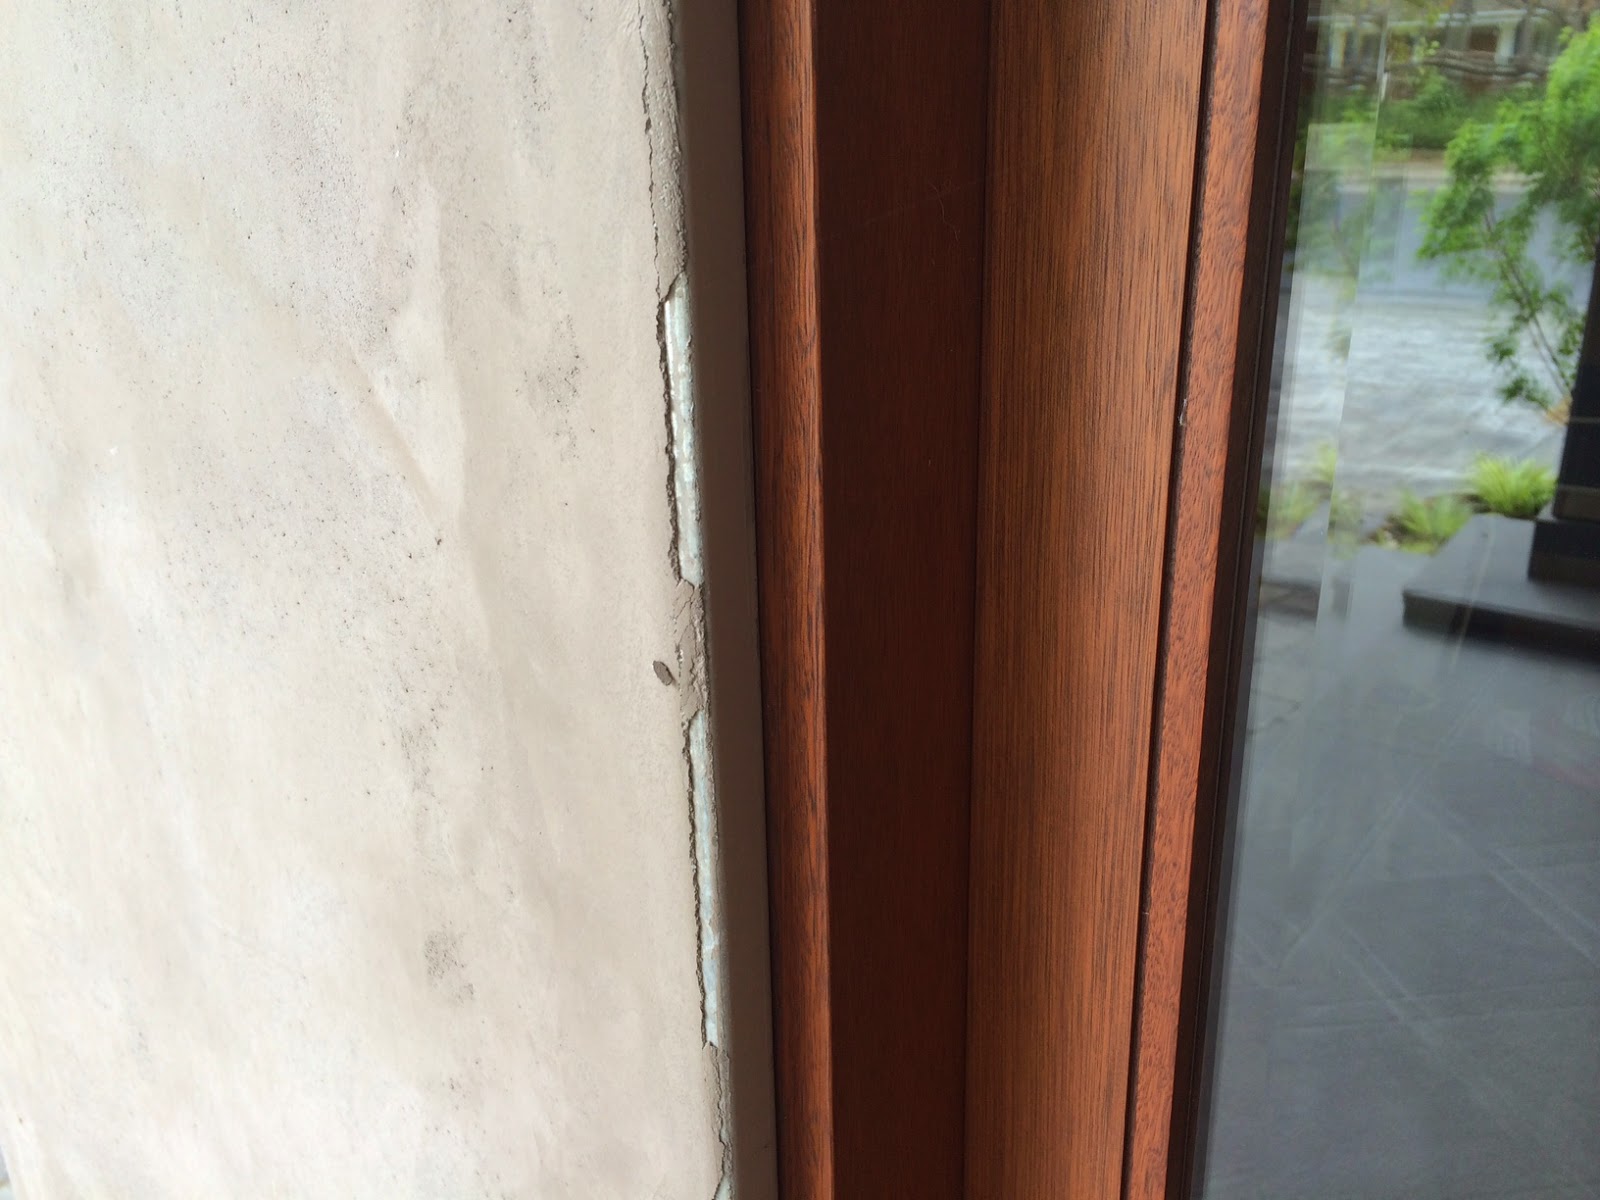
The most noticeable flaws are around the door jamb where some of the stucco has flaked off. I suspect this is unavoidable given the fact that the stucco is only sticking to metal. This also happened around the garage door wrap where someone (who shall remain nameless) backed his car into it.
I'm happy to say that other than the door wraps, the front of the house looks flawless. Fortunately, there are no cracks around the large picture window where we take our family photos. Woohoo!

Most of the cracks are on the south-facing side of the house. My theory (and I have not run this by anyone who really knows) is that the faster the stucco dries, the more likely it is to crack. The south-facing side of the house got the most sun and dried the fastest. The picture window is under the eaves and shaded by an oak tree so it dried the slowest. I'm wondering if applying the stucco in the cooler months would make a difference...or maybe waiting until early evening to apply stucco to a south-facing wall and covering it with a tarp. Just a thought. Like I said, we don't notice the cracks anymore, they're purely cosmetic and barely noticeable if you stand back 15 ft or so. So all in all, still happy after the first year!
There are a couple of hairline cracks on the back of the house that didn't emanate from a window or door:
The most noticeable flaws are around the door jamb where some of the stucco has flaked off. I suspect this is unavoidable given the fact that the stucco is only sticking to metal. This also happened around the garage door wrap where someone (who shall remain nameless) backed his car into it.
I'm happy to say that other than the door wraps, the front of the house looks flawless. Fortunately, there are no cracks around the large picture window where we take our family photos. Woohoo!
Most of the cracks are on the south-facing side of the house. My theory (and I have not run this by anyone who really knows) is that the faster the stucco dries, the more likely it is to crack. The south-facing side of the house got the most sun and dried the fastest. The picture window is under the eaves and shaded by an oak tree so it dried the slowest. I'm wondering if applying the stucco in the cooler months would make a difference...or maybe waiting until early evening to apply stucco to a south-facing wall and covering it with a tarp. Just a thought. Like I said, we don't notice the cracks anymore, they're purely cosmetic and barely noticeable if you stand back 15 ft or so. So all in all, still happy after the first year!