Our baby has decided to be fashionably late, giving me time to spruce up the house and provide you with one last entry before slipping into the abyss of sleep deprivation. To assist with this post, our general contractor sent over his photographer friend, the talented Tam Vo. What I love about Tam's photos is that she didn't use one of those super tricked out wide-angle lenses that stretches every room into looking like an Architectural Digest spread. These photos (dogs and all) actually look like our home...well, except for being perfectly tidy and spotless, that's definitely a one-time embellishment. Enjoy the tour!
Living Room:
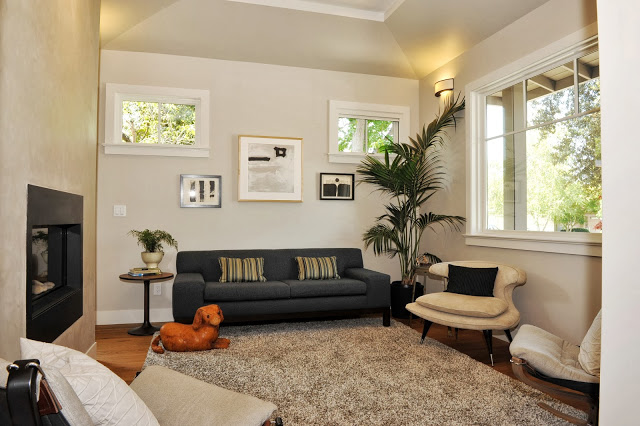
We kept the living room relatively small (12 ft 9 in x 11 ft.) since we don't plan to use it much. To make it feel more spacious, our awesome architect fought tooth and nail with the city planners to allow the living room ceiling to reach up to 10.5 ft high. The majority of the first floor is 9.5 ft high which we found to be plenty tall. Note: the height of your house is one of the areas Palo Alto planners always seem to take issue with.
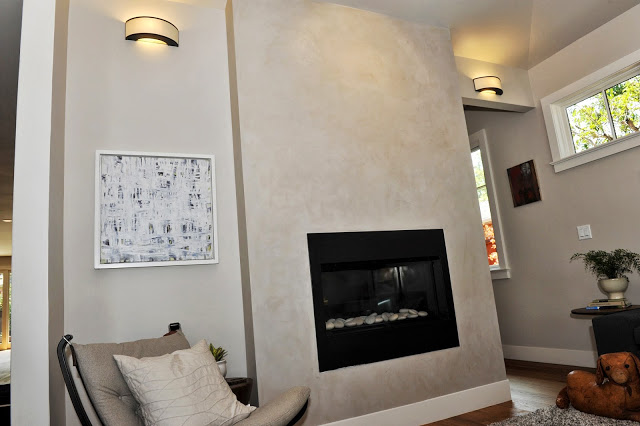 Instead of two enclosed rooms, we joined the living room and office with a see-thru fireplace and a partial wall with an opening that connects them. The wall that wraps the fireplace is done in a Venetian plaster finish.
Office / Optional Dining Room:
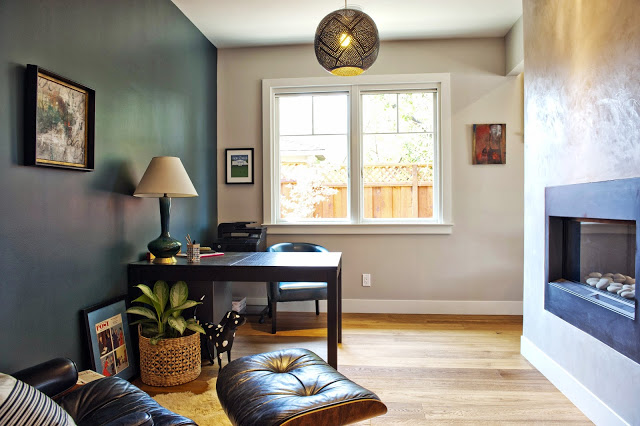
We don't need a formal dining room, so we're using this space as our office. The room has pocket doors that can be closed if needed. You can see part of the door in the next photo (far left).
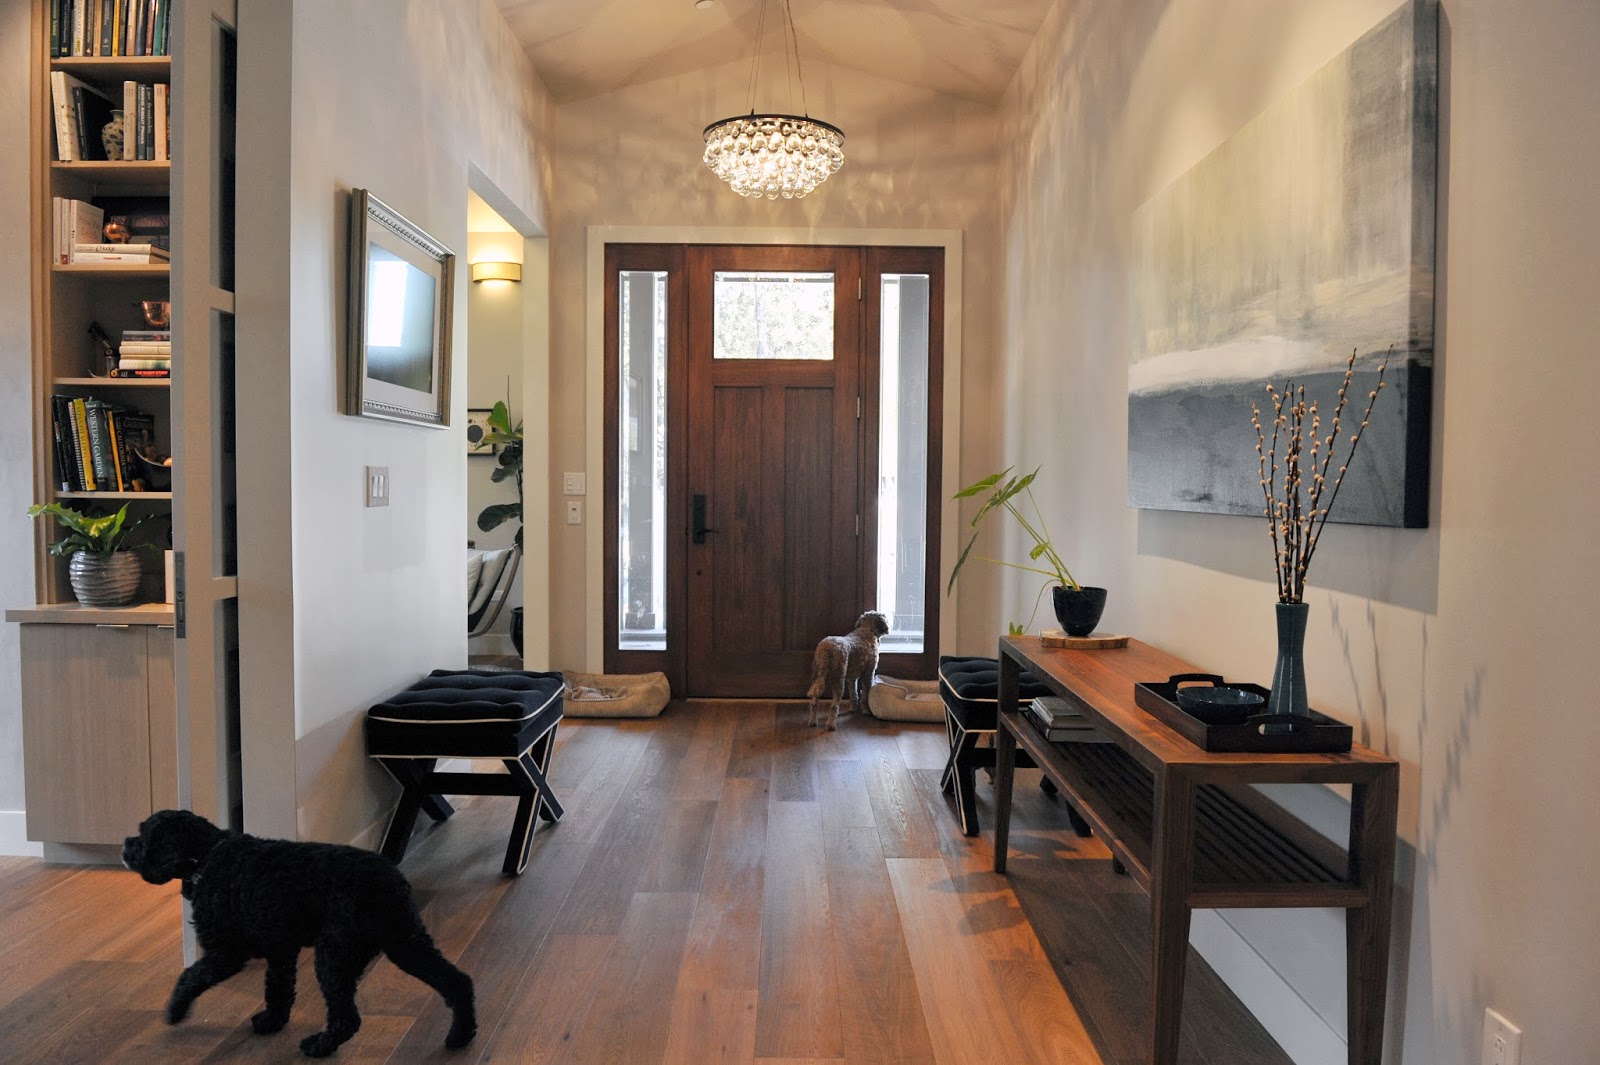
Entry:
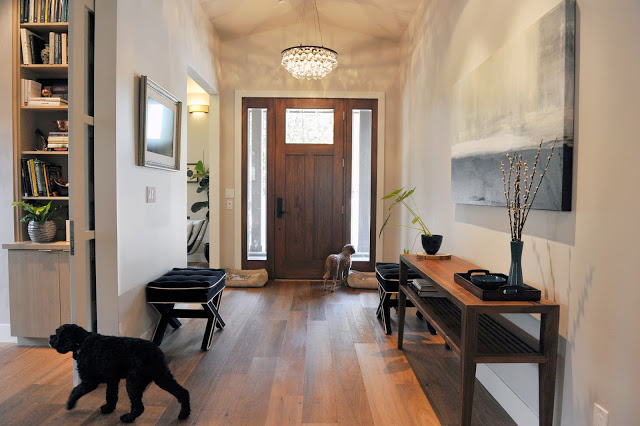
Thanks to our architect's savvy negotiating skills, the city planners allowed us to have a dramatic 11.5 ft vaulted ceiling in our entry way. We adorned it with my favorite light fixture in the house, a stunning Arctic Pear chandelier (miraculously found on eBay). The entry is also conveniently wide enough to accommodate two dog beds by the front door so that Cisco and Astro can be on duty protecting our house while we're out.
Great Room:
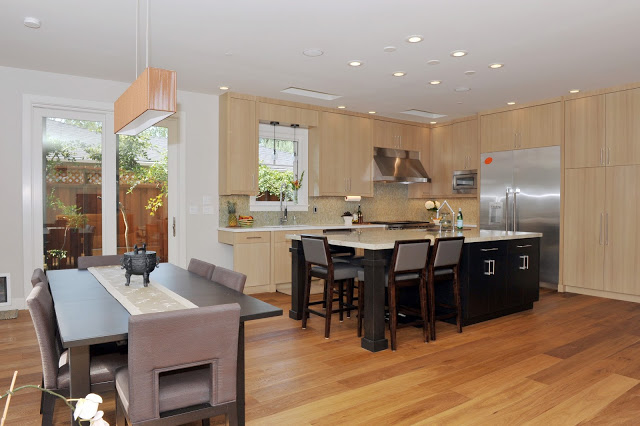
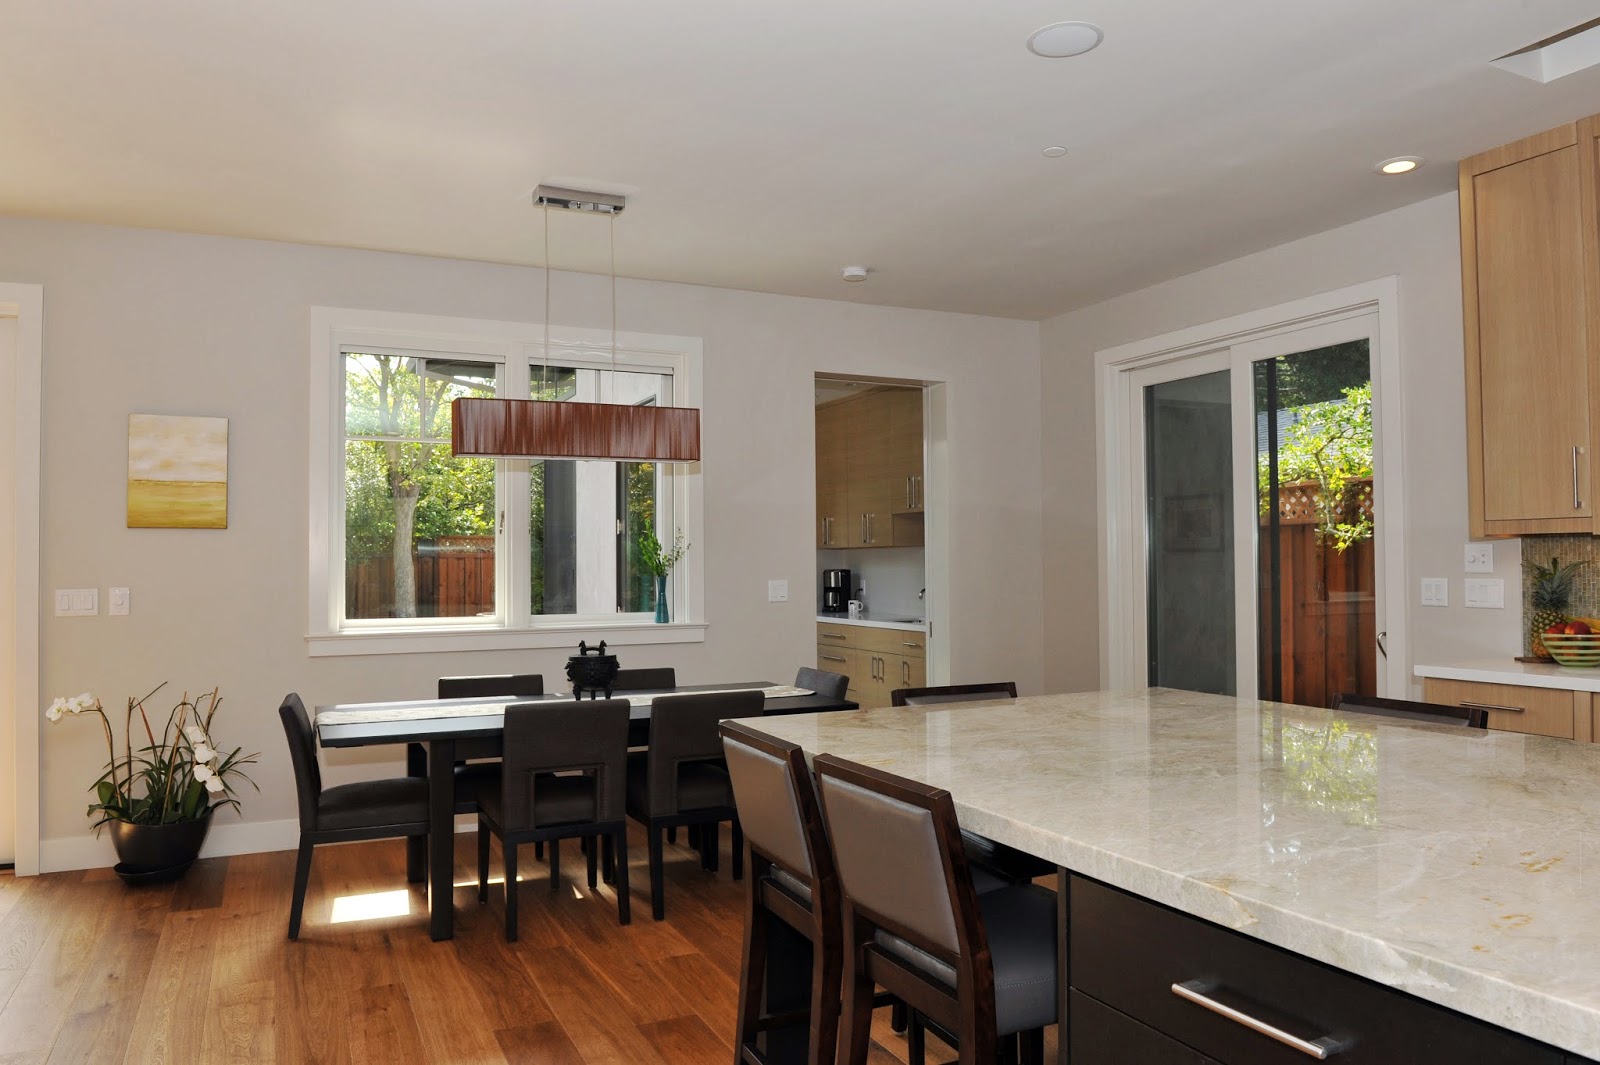
Our great room includes a kitchen, dining nook and family room. We made this the largest area of the house since we knew we'd be spending most of our time here. Our cabinets are custom made out of rift sawn white oak and stained with a natural, 0% VOC, oil finish by Rubio Monocoat.
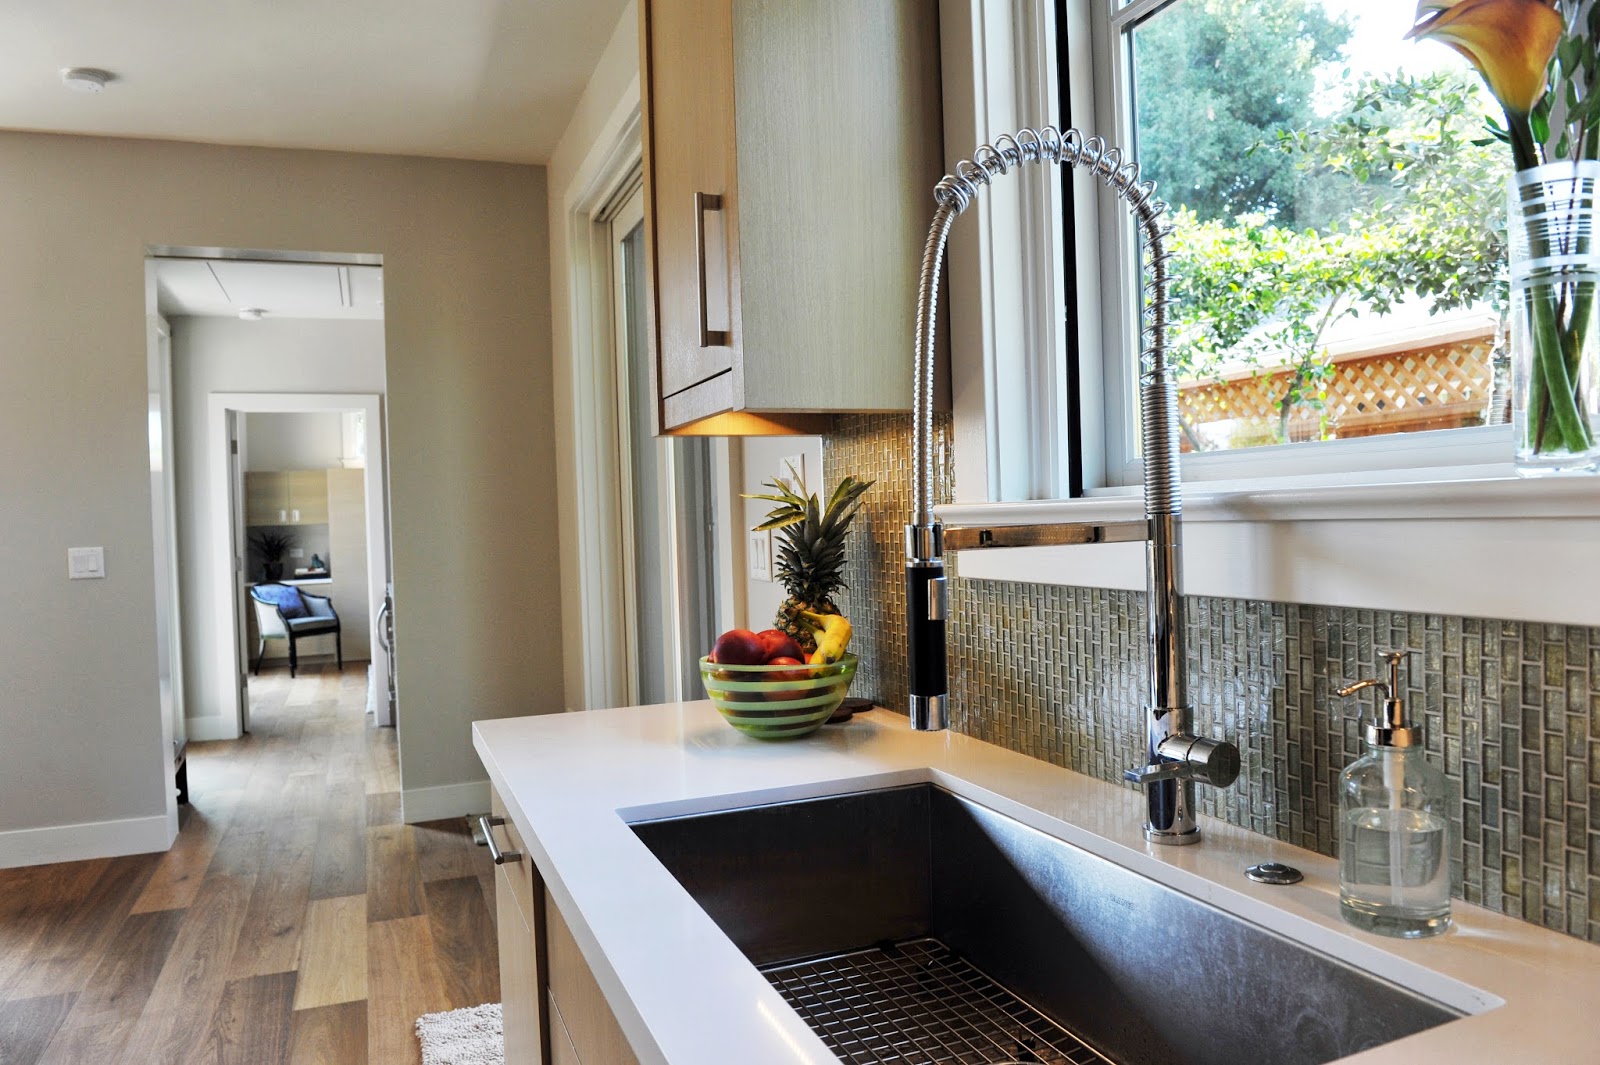
We have a dining nook for entertaining. However, we eat most of our meals at the kitchen island. Topped with Madre Perla granite and a nifty "chef-inspired" prep sink from Kohler, the oversized island is our favorite part of the kitchen.

We installed Du Chateau engineered wood floors throughout the house. Engineered wood floors are more durable and resistant to moisture than hardwood, making them suitable for kitchens and homes with radiant heat. They are also more sustainable. I shopped around and got the best price for the floors plus installation from Al at Stanford Carpets. Their service turned out to be impeccable too, making them my #1 go-to shop for all things flooring (we also got carpet runners and vinyl attic flooring there too). What I like about the Du Chateau floors is that they have a hard wax finish from natural oils instead of toxic polyurethane. The wax soaks into the wood giving it a pleasing matte finish that can be spot-fixed. With polyurethane, you have to sand down and refinish the whole floor whenever you need to make fixes. Also, since Du Chateau floors are pre-finished and the wax only takes a day to dry, you save about 2 weeks in the build process.
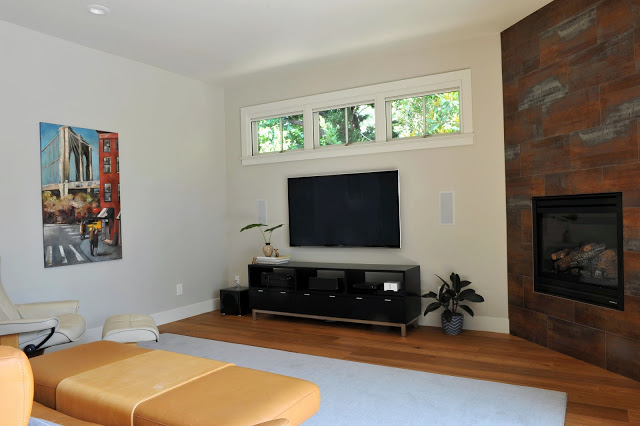
_In our family room we replicated Bardessono's signature corner fireplace. We were able to do this thanks to Kristin, the uber-helpful guest services rep who researched the exact name of the tile (which I then ordered from Aubry Flooring). Located in the delicious town of Yountville, CA, Bardessono is our favorite dog-friendly weekend getaway spot. As one of the only LEED-platinum certified hotels in the country, it's a great place to get green design ideas.
The Granny Unit / Guest Suite / Flex room:

Off of our kitchen is a butler's pantry (aka mud room) that leads to the guest room / "Multi-Generational Wing." The idea behind this space is that it can be closed off via the pocket door and lived in as a separate, private unit. There's a small beverage fridge in the pantry, along with a sink plus room for a small cooktop and microwave. For now, it's our guest room for whomever is willing to change a few diapers during their stay.
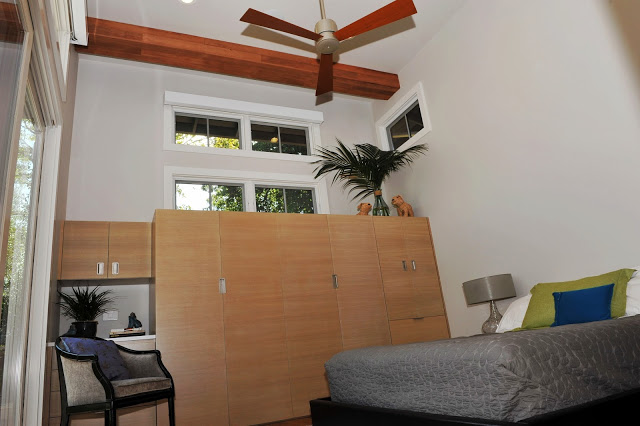
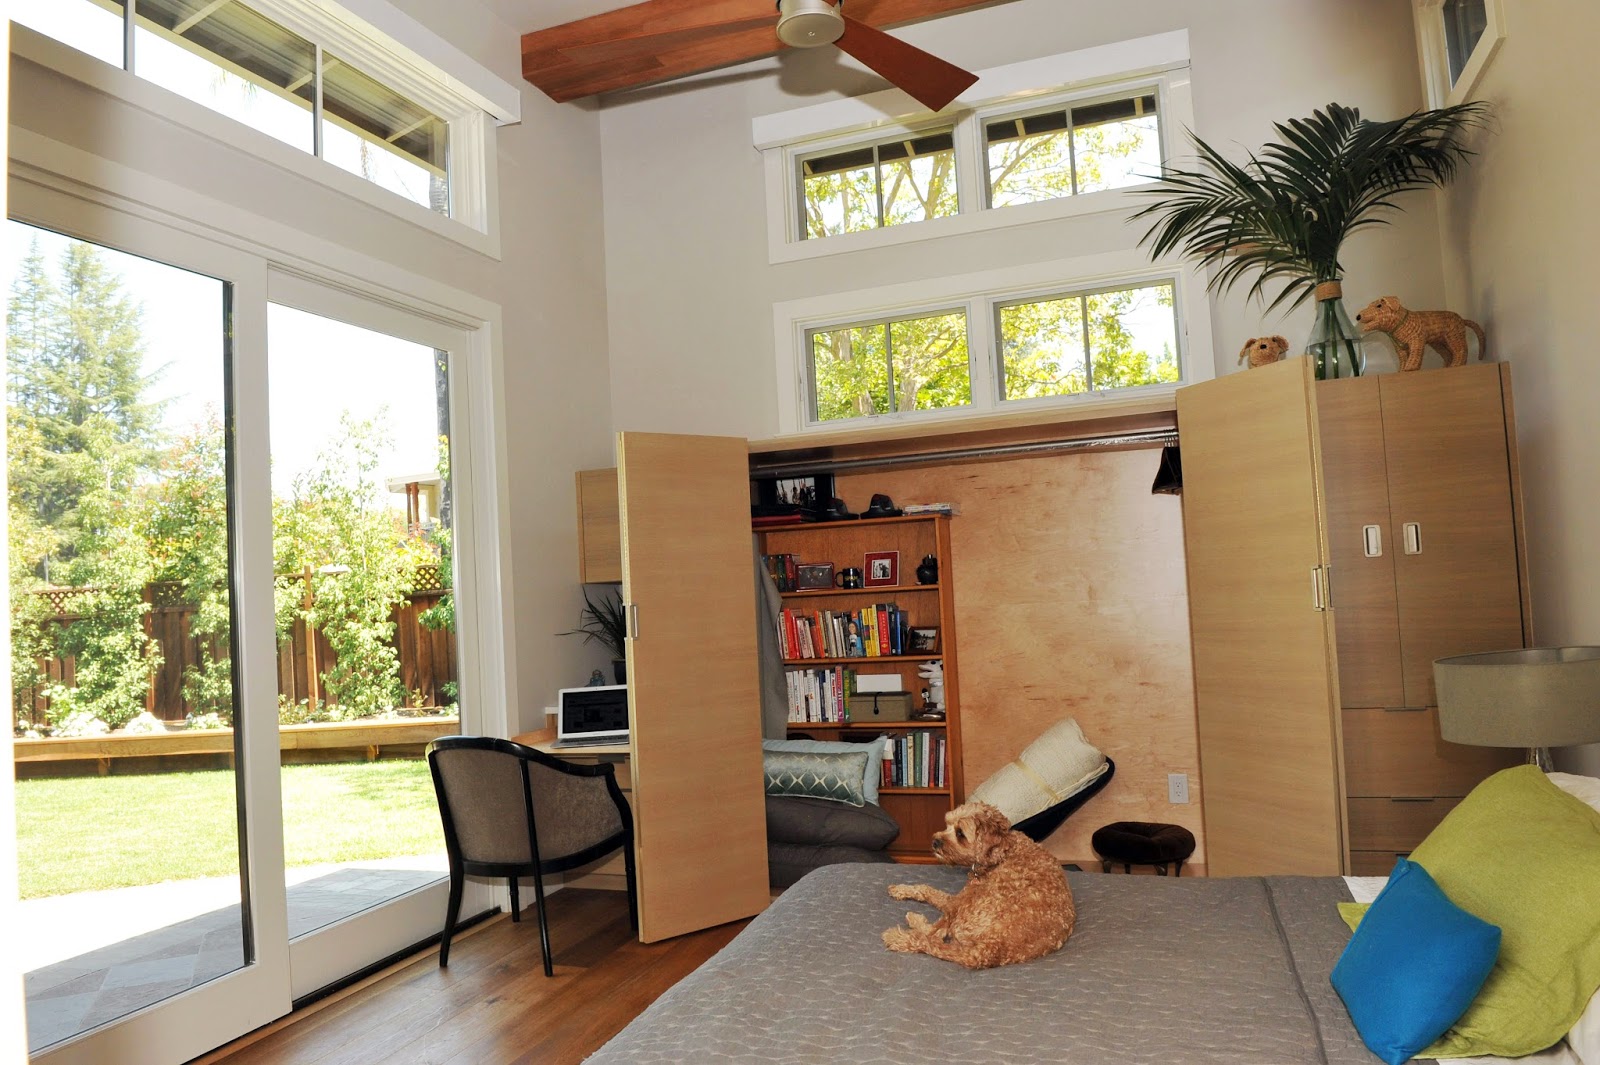
We designed the cabinets/closets so that we can store a low profile, platform queen sized bed in them. This way we pull out and assemble the bed when we have guests and they can use the closet for their clothes. When we don't have guests we can put the bed back into the closet and convert the space into whatever suits our fancy. Pretty sure that this will become a play room in the not too distant future...

The room has its own entrance and an excellent view of the squirrels in the backyard.
Because the guest room doesn't have any of the second floor over it, we were able to make the ceiling 13 ft high which feels spectacular when you walk in. It allows for lots of picturesque windows which makes it feel very zen but comes with a hefty price tag when you factor in electric windows and blinds. Two key learnings: 1. Electric windows aren't worth the cost and hassle. 2. Plan ahead when you have high windows and make sure you wire for automatic blinds before you close up the walls.
Guest bathroom:
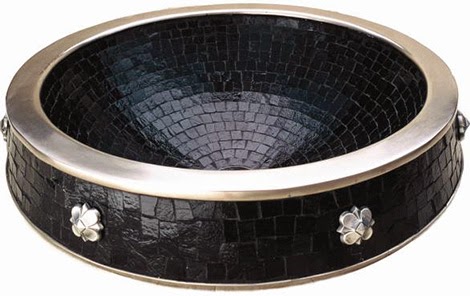
And of course, guests are treated to a spa-like bathroom with a pretty pebble floor that's good for massaging tired feet.
Nursery:
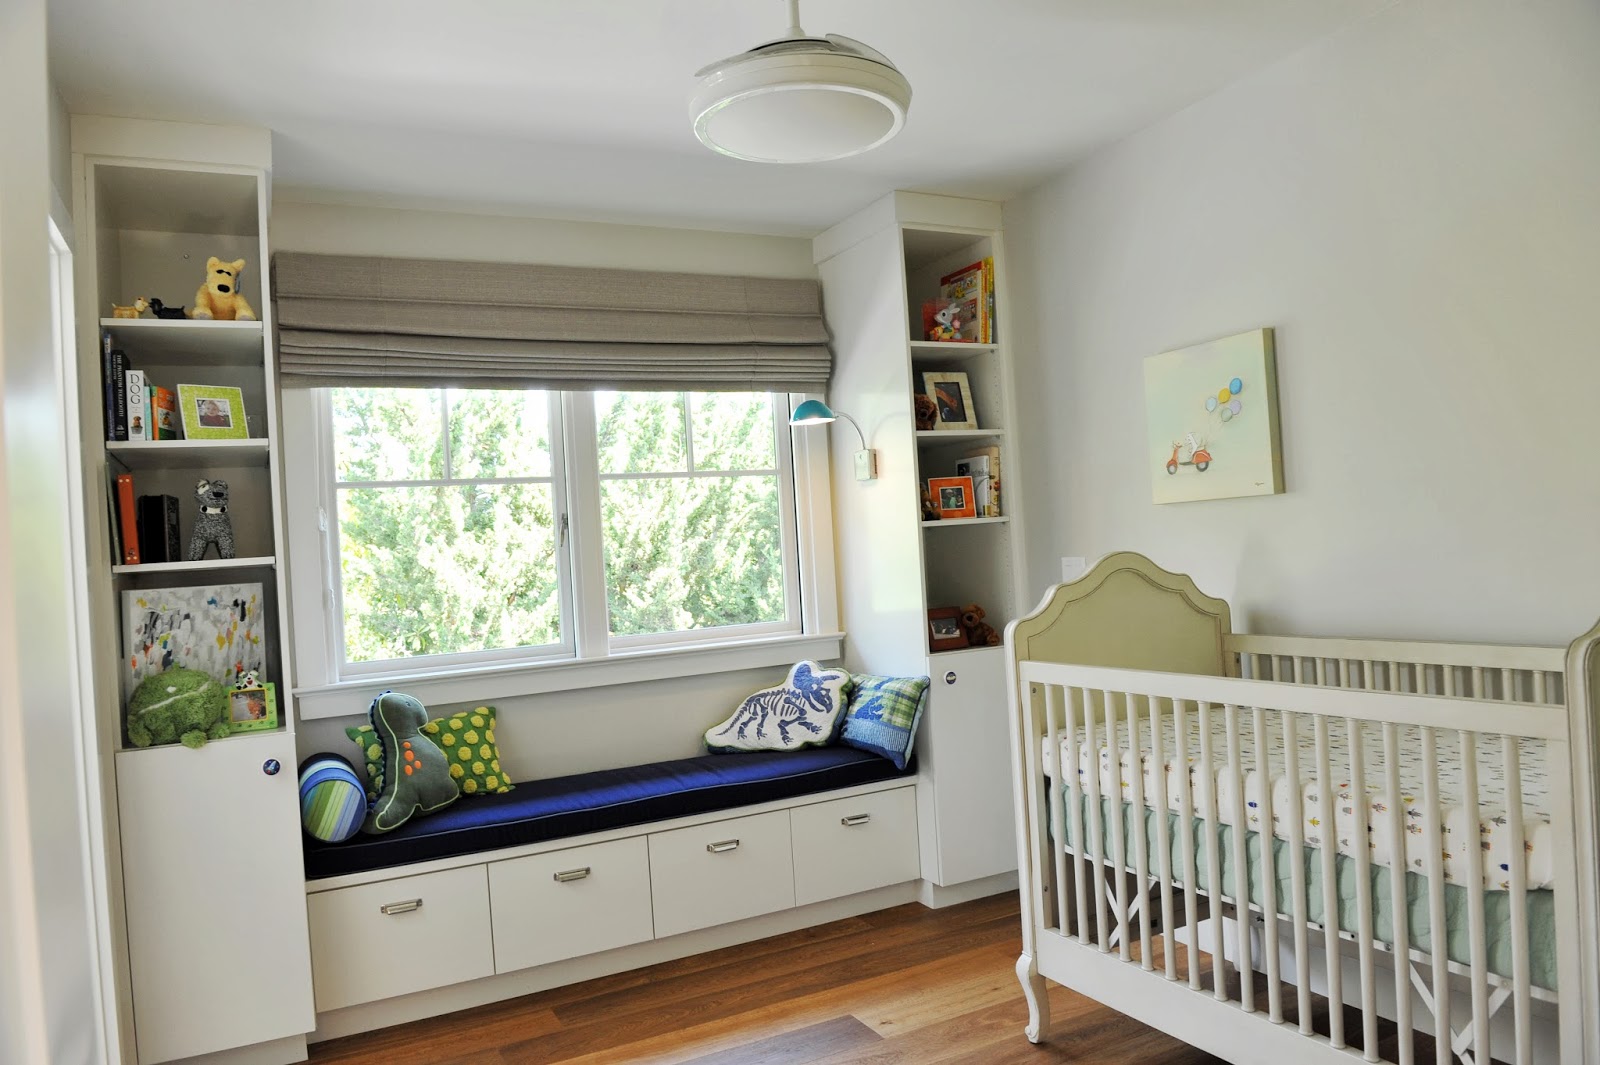
_If Baby O ever decides to make an appearance, this will be his room. The window seat was pure joy to create. CushionSource.com is an awesome website where you can order custom cushions and pillows. I ordered the window seat cushion and coordinating bolster pillow from them. You simply plug in your dimensions and pick from their collection of fabrics or send in your own. It's super easy and they will send you fabric samples upon request.
The main light fixture is a cleverly disguised ceiling fan called the Fanaway. The fan has retractable plastic blades that tuck inside itself when not in use.
Here's a photo of the Fanaway in action. The only problem with the fixture is it comes with an obnoxiously bright white (4200K) florescent bulb. I replaced it with a warmer (2700K) bulb made by Satco (FCL 40W T5 - S8164) that you can purchase from Light Bulbs, Etc.
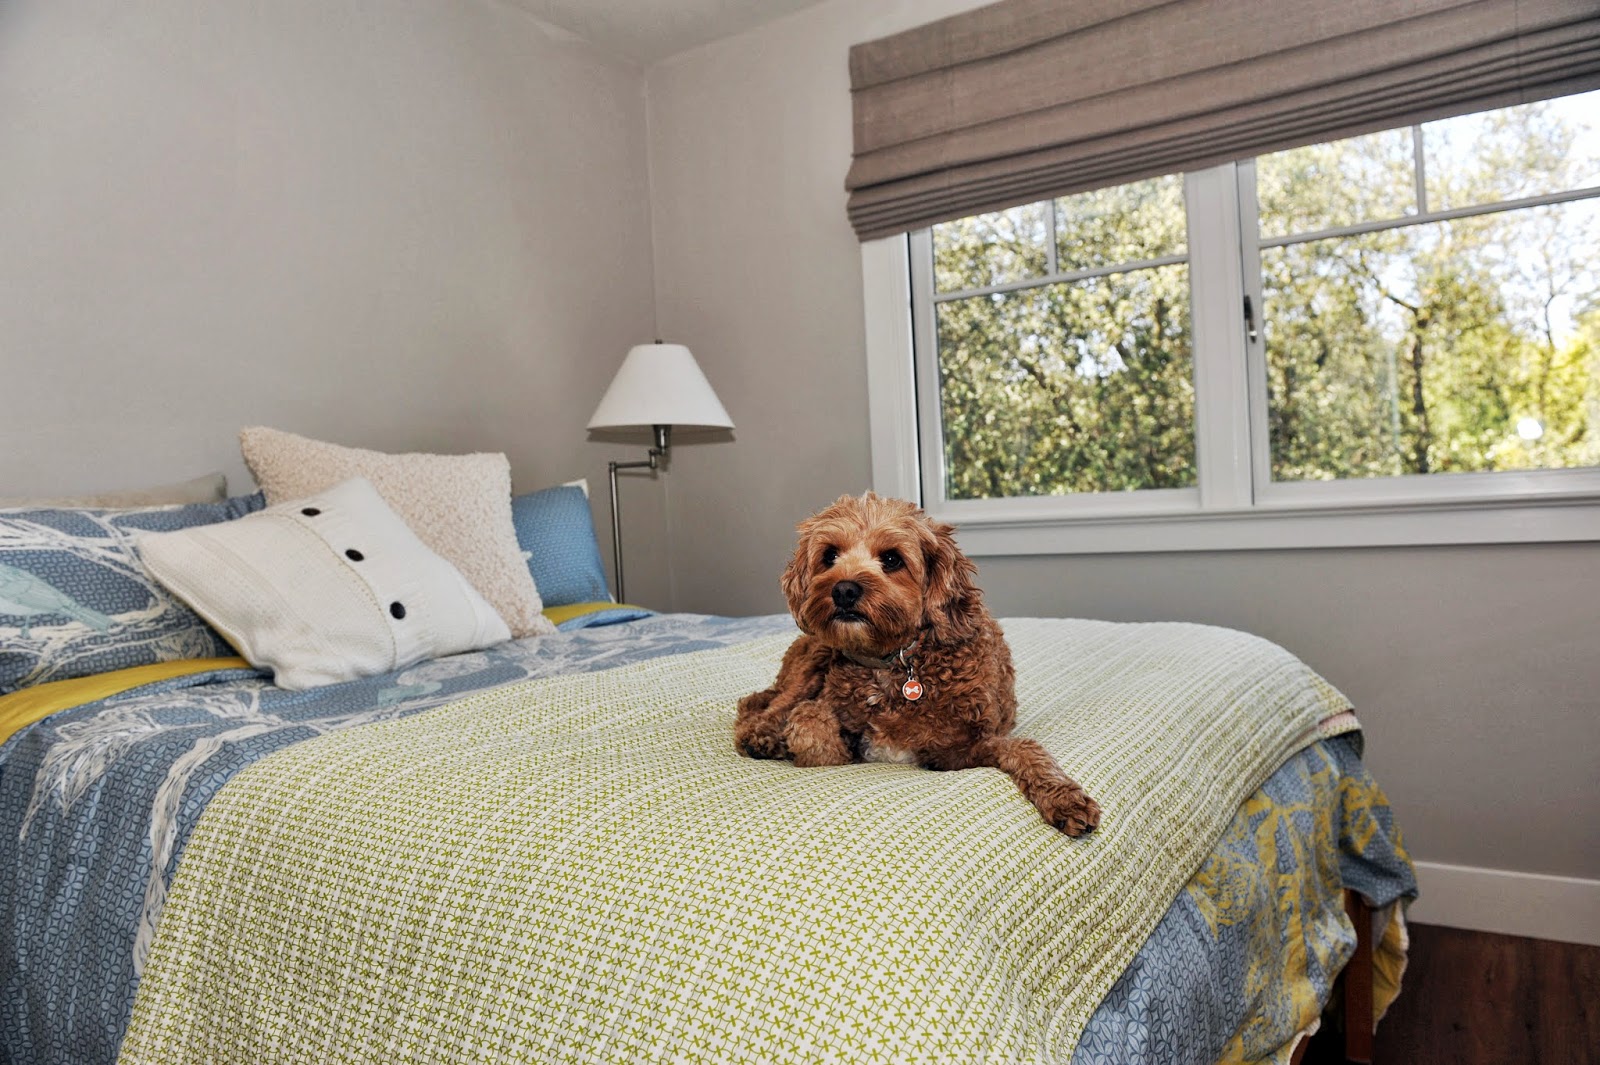
Astro's room:
I originally named this room the owl room because it overlooks the holly oak in our front yard where a family of owls lives. For whatever reason, Astro claimed this room as his own and can usually be found lounging in it when we're not home or when he needs his space.
Jack & Jill bathroom:
Astro's room and the nursery share a Jack & Jill bathroom. All of the tile in this bathroom came from All Natural Stone in San Jose. The counters are a polished Blizzard Caesarstone. The backsplash is shimmery glass tile mosaic that looks like little fish and is aptly named Rainbow Pisces.
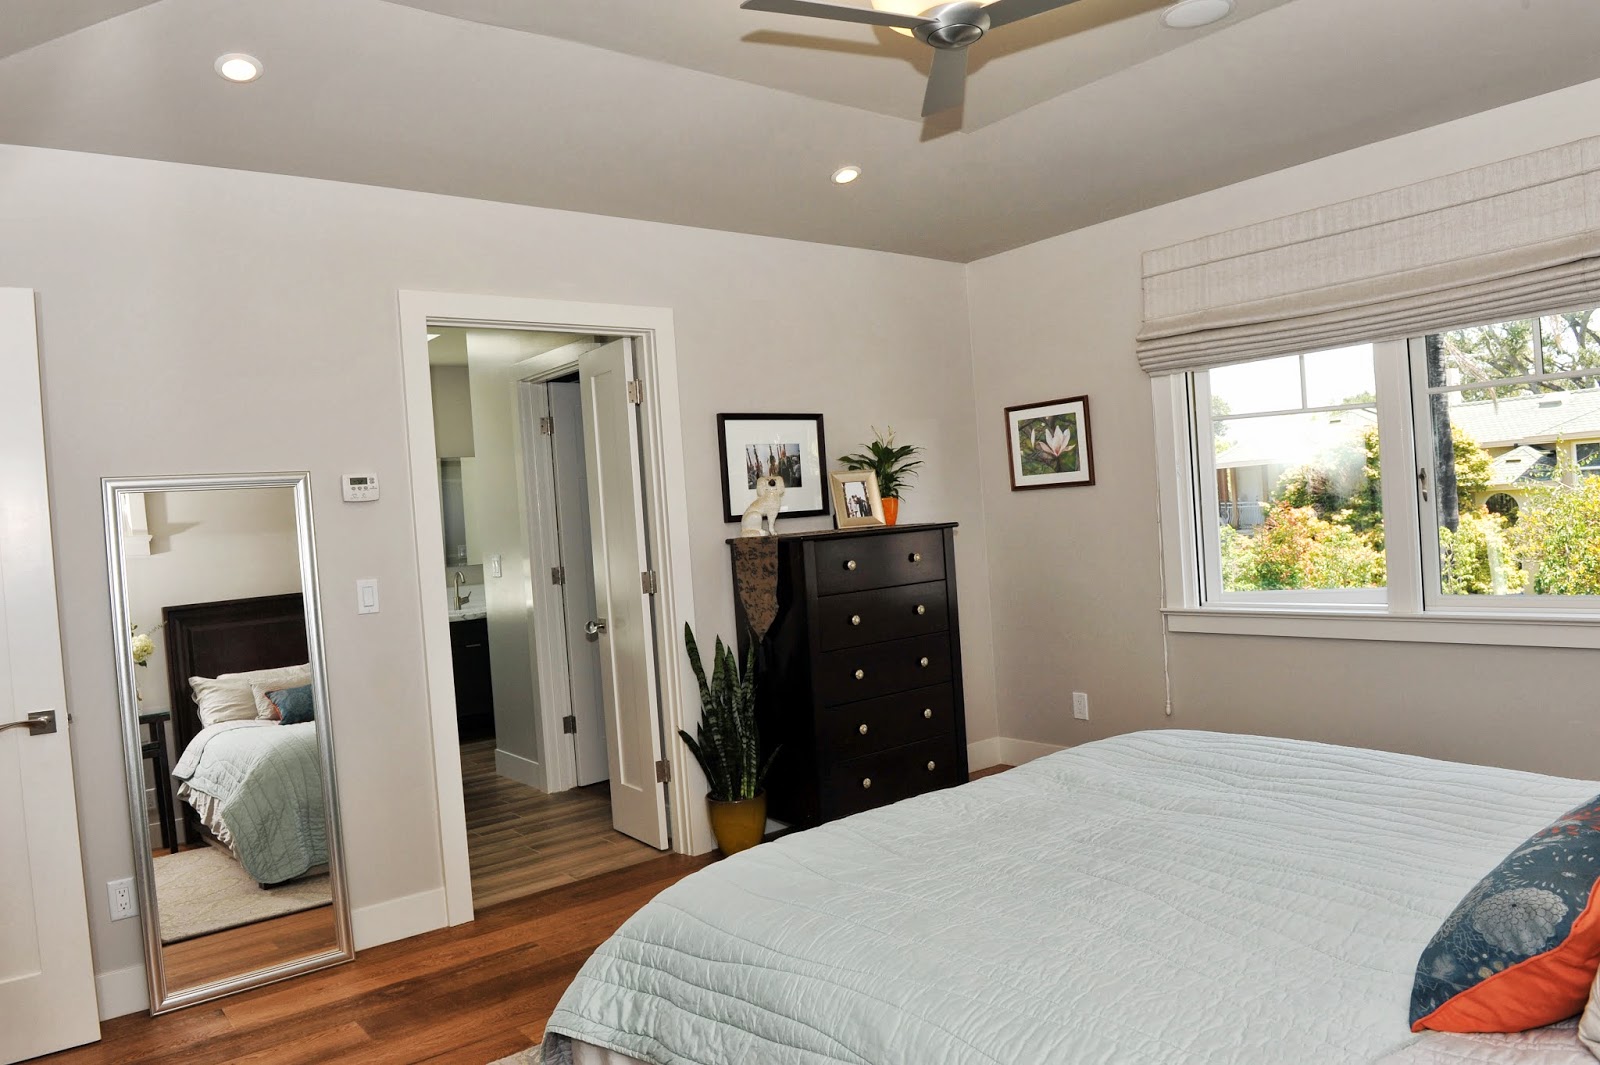
Master bedroom:
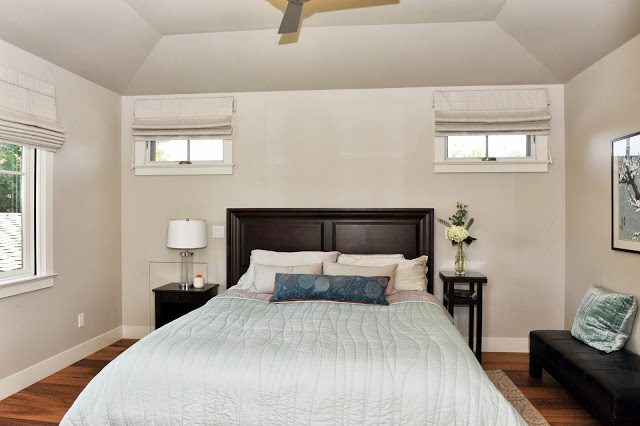
All of the ceilings on the second floor are 8.5 ft, except for the master bedroom which we decided to make fancier and taller (9.5 ft).

The hallway leads to our beloved his and her closets and the master bathroom.
Master bathroom:
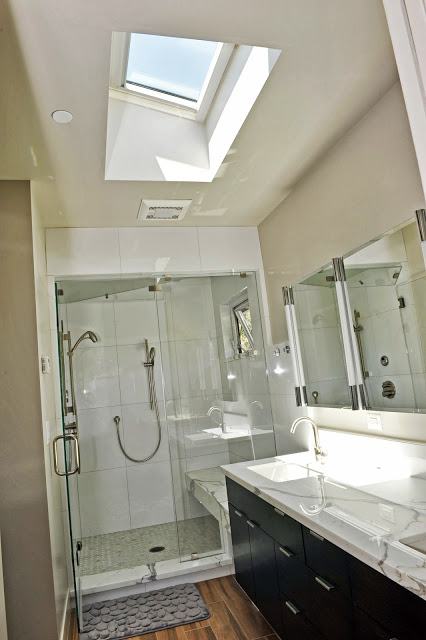
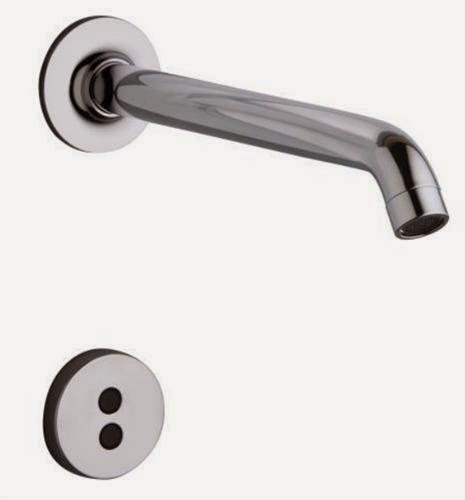
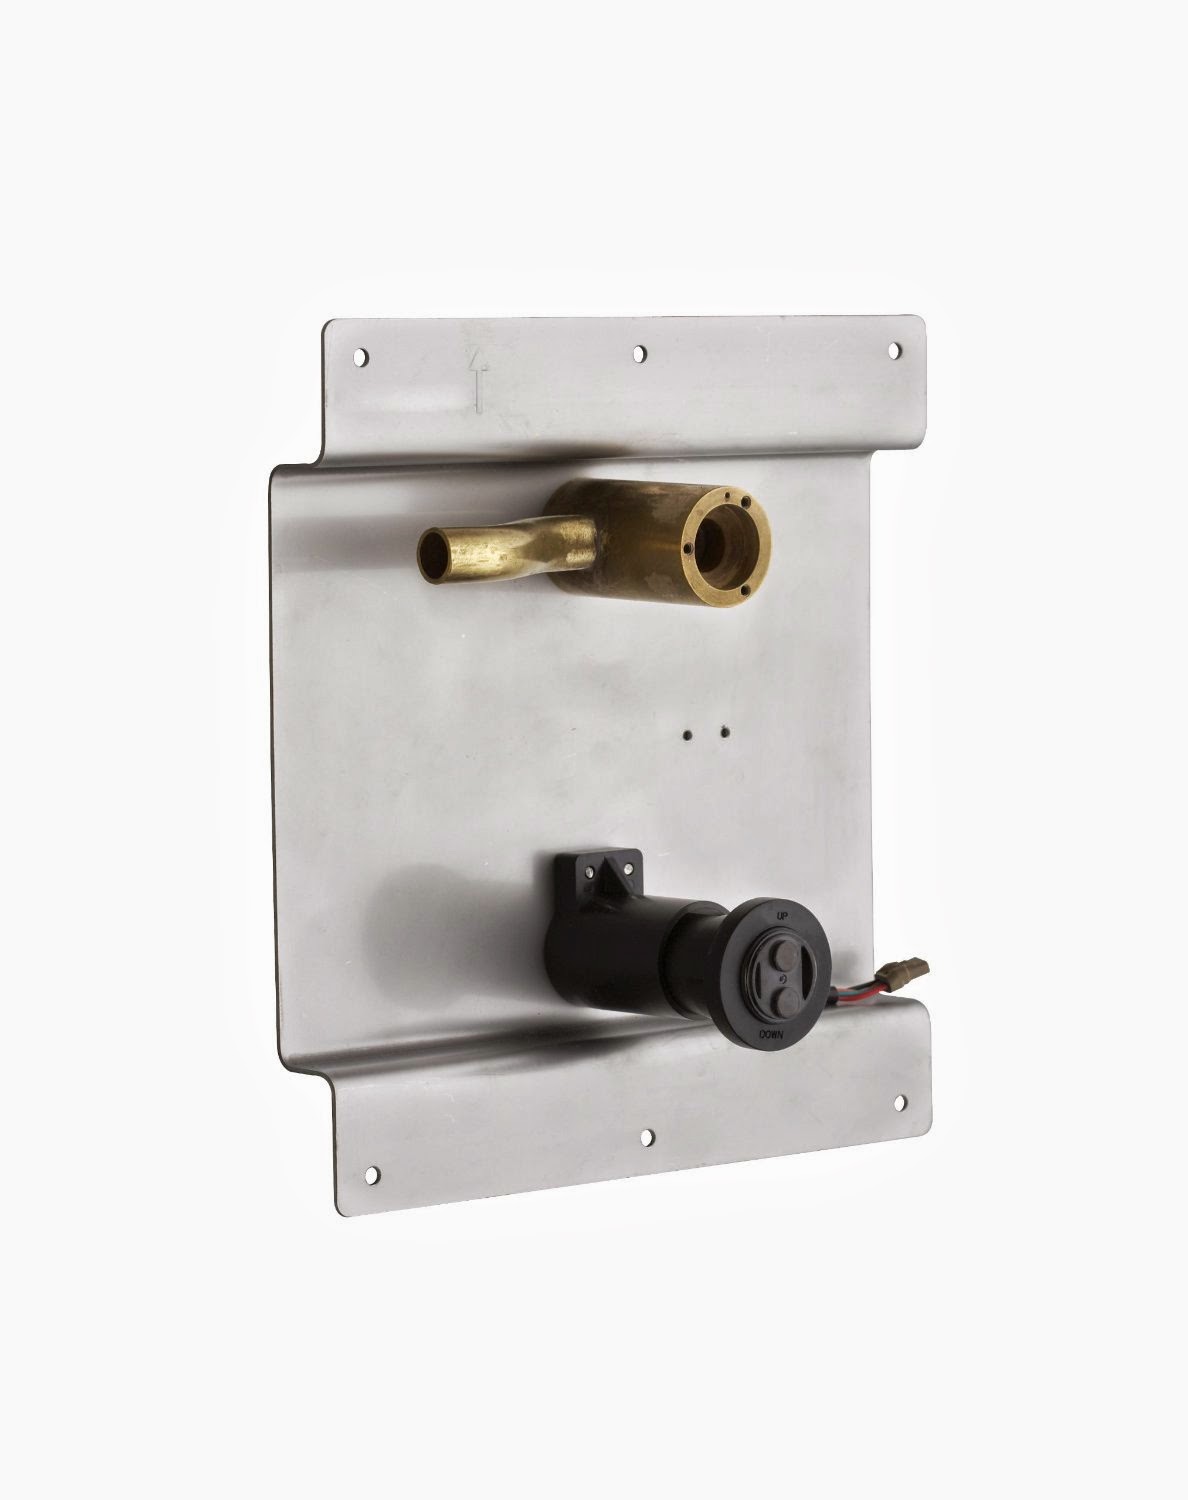
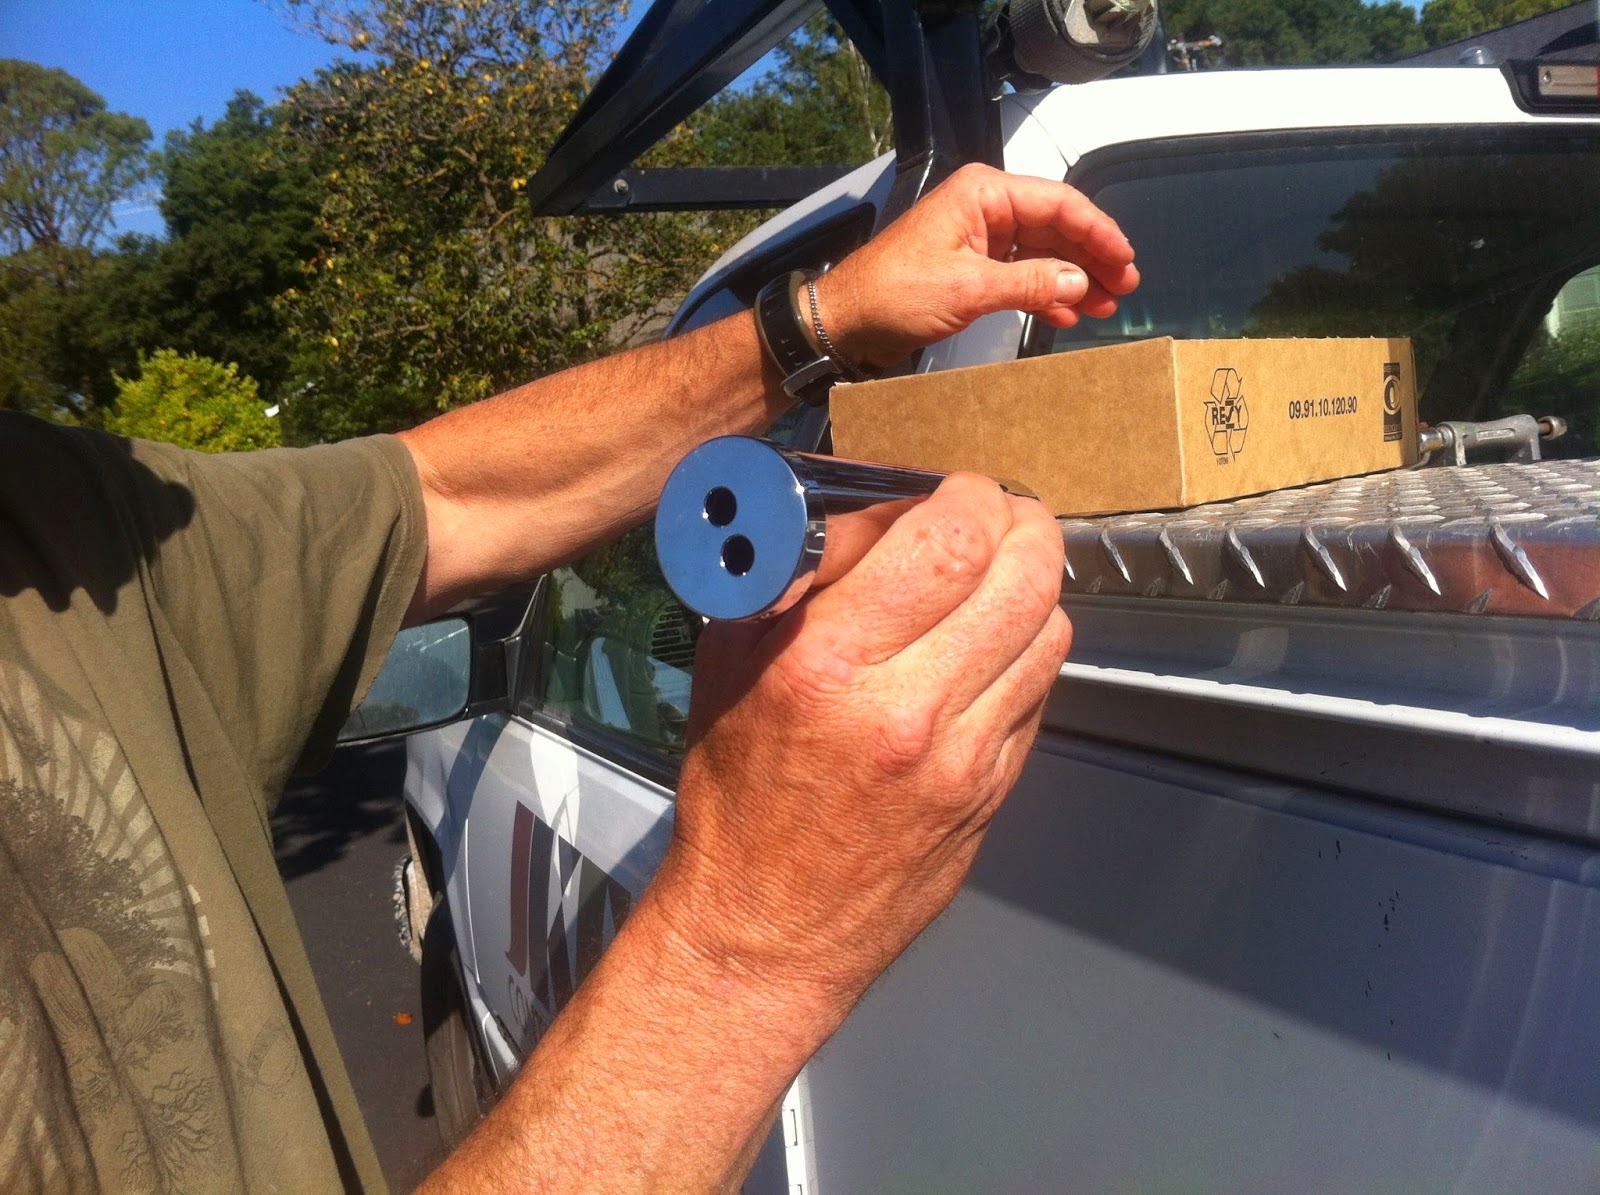
In addition to his and her closets, we also put in his and her shower heads. This is actually quite convenient if your spouse has tall Norwegian genes since you don't have to fiddle with the shower head height everyday. If you do decide to put in dual shower heads, make sure you use the Hansgrohe iBox rough. If you remove a special pin in it, you can use both shower heads at the same time (just don't mention this to the inspector). I'm also a big fan of the Mr. Steam steam shower feature...and eucalyptus lavender essence oils. Love. Love. Love.
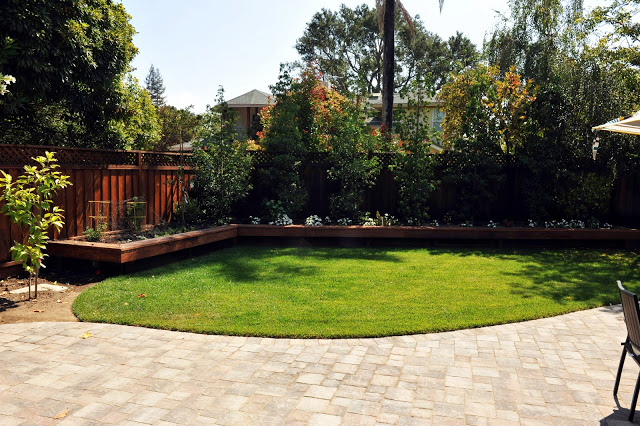
Backyard:
We're still working away at our landscaping, but here's a peek at our backyard. After some initial missteps, our Evergreen Dogwoods are thriving once again.
Living Room:

We kept the living room relatively small (12 ft 9 in x 11 ft.) since we don't plan to use it much. To make it feel more spacious, our awesome architect fought tooth and nail with the city planners to allow the living room ceiling to reach up to 10.5 ft high. The majority of the first floor is 9.5 ft high which we found to be plenty tall. Note: the height of your house is one of the areas Palo Alto planners always seem to take issue with.

Office / Optional Dining Room:

We don't need a formal dining room, so we're using this space as our office. The room has pocket doors that can be closed if needed. You can see part of the door in the next photo (far left).
Entry:
Great Room:

Our great room includes a kitchen, dining nook and family room. We made this the largest area of the house since we knew we'd be spending most of our time here. Our cabinets are custom made out of rift sawn white oak and stained with a natural, 0% VOC, oil finish by Rubio Monocoat.
We have a dining nook for entertaining. However, we eat most of our meals at the kitchen island. Topped with Madre Perla granite and a nifty "chef-inspired" prep sink from Kohler, the oversized island is our favorite part of the kitchen.
We installed Du Chateau engineered wood floors throughout the house. Engineered wood floors are more durable and resistant to moisture than hardwood, making them suitable for kitchens and homes with radiant heat. They are also more sustainable. I shopped around and got the best price for the floors plus installation from Al at Stanford Carpets. Their service turned out to be impeccable too, making them my #1 go-to shop for all things flooring (we also got carpet runners and vinyl attic flooring there too). What I like about the Du Chateau floors is that they have a hard wax finish from natural oils instead of toxic polyurethane. The wax soaks into the wood giving it a pleasing matte finish that can be spot-fixed. With polyurethane, you have to sand down and refinish the whole floor whenever you need to make fixes. Also, since Du Chateau floors are pre-finished and the wax only takes a day to dry, you save about 2 weeks in the build process.

_In our family room we replicated Bardessono's signature corner fireplace. We were able to do this thanks to Kristin, the uber-helpful guest services rep who researched the exact name of the tile (which I then ordered from Aubry Flooring). Located in the delicious town of Yountville, CA, Bardessono is our favorite dog-friendly weekend getaway spot. As one of the only LEED-platinum certified hotels in the country, it's a great place to get green design ideas.
The Granny Unit / Guest Suite / Flex room:
Off of our kitchen is a butler's pantry (aka mud room) that leads to the guest room / "Multi-Generational Wing." The idea behind this space is that it can be closed off via the pocket door and lived in as a separate, private unit. There's a small beverage fridge in the pantry, along with a sink plus room for a small cooktop and microwave. For now, it's our guest room for whomever is willing to change a few diapers during their stay.

We designed the cabinets/closets so that we can store a low profile, platform queen sized bed in them. This way we pull out and assemble the bed when we have guests and they can use the closet for their clothes. When we don't have guests we can put the bed back into the closet and convert the space into whatever suits our fancy. Pretty sure that this will become a play room in the not too distant future...
The room has its own entrance and an excellent view of the squirrels in the backyard.
Because the guest room doesn't have any of the second floor over it, we were able to make the ceiling 13 ft high which feels spectacular when you walk in. It allows for lots of picturesque windows which makes it feel very zen but comes with a hefty price tag when you factor in electric windows and blinds. Two key learnings: 1. Electric windows aren't worth the cost and hassle. 2. Plan ahead when you have high windows and make sure you wire for automatic blinds before you close up the walls.
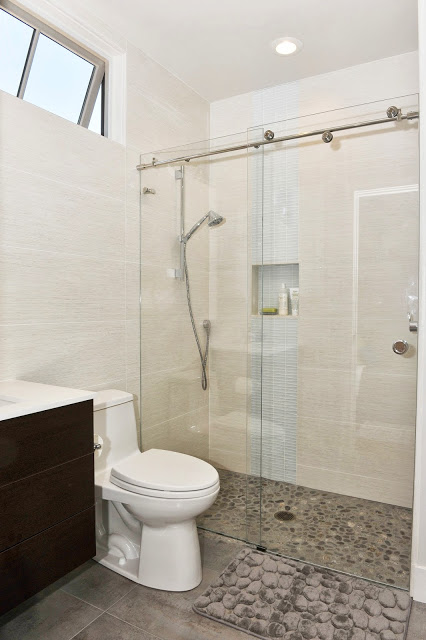
Guest bathroom:

And of course, guests are treated to a spa-like bathroom with a pretty pebble floor that's good for massaging tired feet.
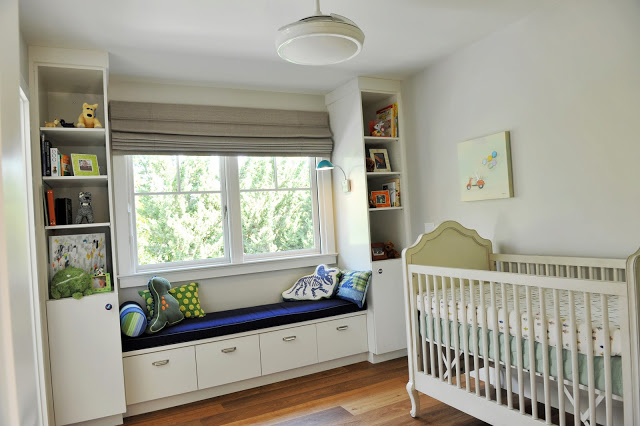
_If Baby O ever decides to make an appearance, this will be his room. The window seat was pure joy to create. CushionSource.com is an awesome website where you can order custom cushions and pillows. I ordered the window seat cushion and coordinating bolster pillow from them. You simply plug in your dimensions and pick from their collection of fabrics or send in your own. It's super easy and they will send you fabric samples upon request.
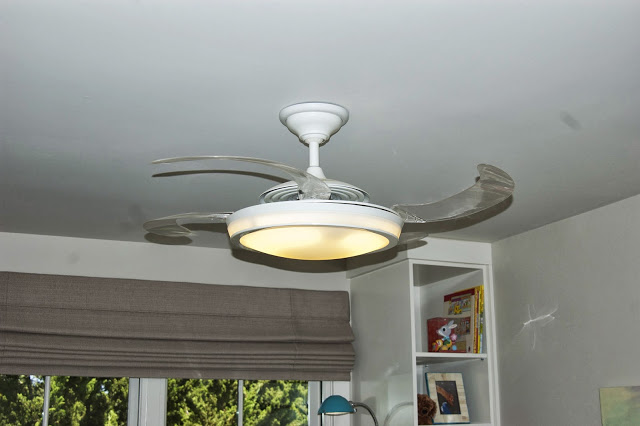
The main light fixture is a cleverly disguised ceiling fan called the Fanaway. The fan has retractable plastic blades that tuck inside itself when not in use.

Here's a photo of the Fanaway in action. The only problem with the fixture is it comes with an obnoxiously bright white (4200K) florescent bulb. I replaced it with a warmer (2700K) bulb made by Satco (FCL 40W T5 - S8164) that you can purchase from Light Bulbs, Etc.
Astro's room:
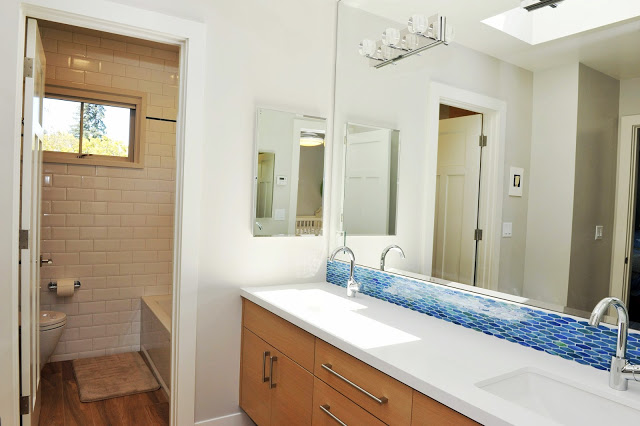
Jack & Jill bathroom:

Astro's room and the nursery share a Jack & Jill bathroom. All of the tile in this bathroom came from All Natural Stone in San Jose. The counters are a polished Blizzard Caesarstone. The backsplash is shimmery glass tile mosaic that looks like little fish and is aptly named Rainbow Pisces.
Master bedroom:

All of the ceilings on the second floor are 8.5 ft, except for the master bedroom which we decided to make fancier and taller (9.5 ft).
The hallway leads to our beloved his and her closets and the master bathroom.
Master bathroom:

In addition to his and her closets, we also put in his and her shower heads. This is actually quite convenient if your spouse has tall Norwegian genes since you don't have to fiddle with the shower head height everyday. If you do decide to put in dual shower heads, make sure you use the Hansgrohe iBox rough. If you remove a special pin in it, you can use both shower heads at the same time (just don't mention this to the inspector). I'm also a big fan of the Mr. Steam steam shower feature...and eucalyptus lavender essence oils. Love. Love. Love.
Backyard:
We're still working away at our landscaping, but here's a peek at our backyard. After some initial missteps, our Evergreen Dogwoods are thriving once again.